Common 3D Printing Solutions
Common design problems encountered in 3D printing and their practical solutions, organized by category.
Functionality
Problem
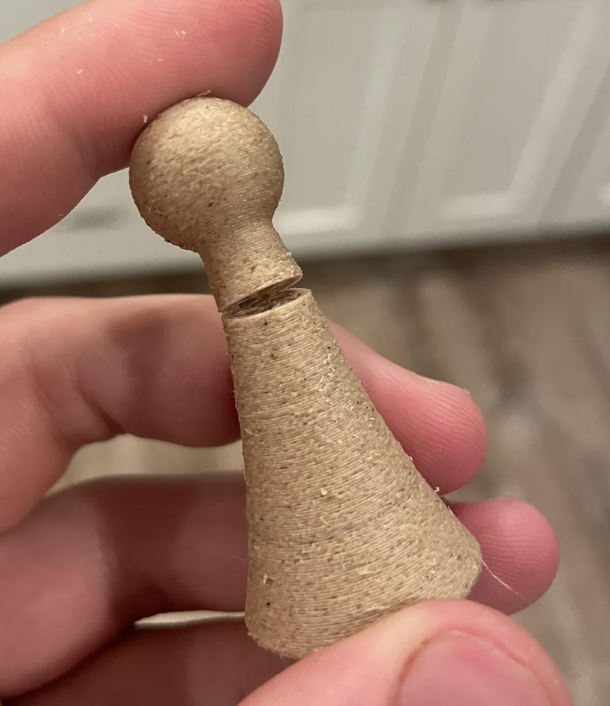
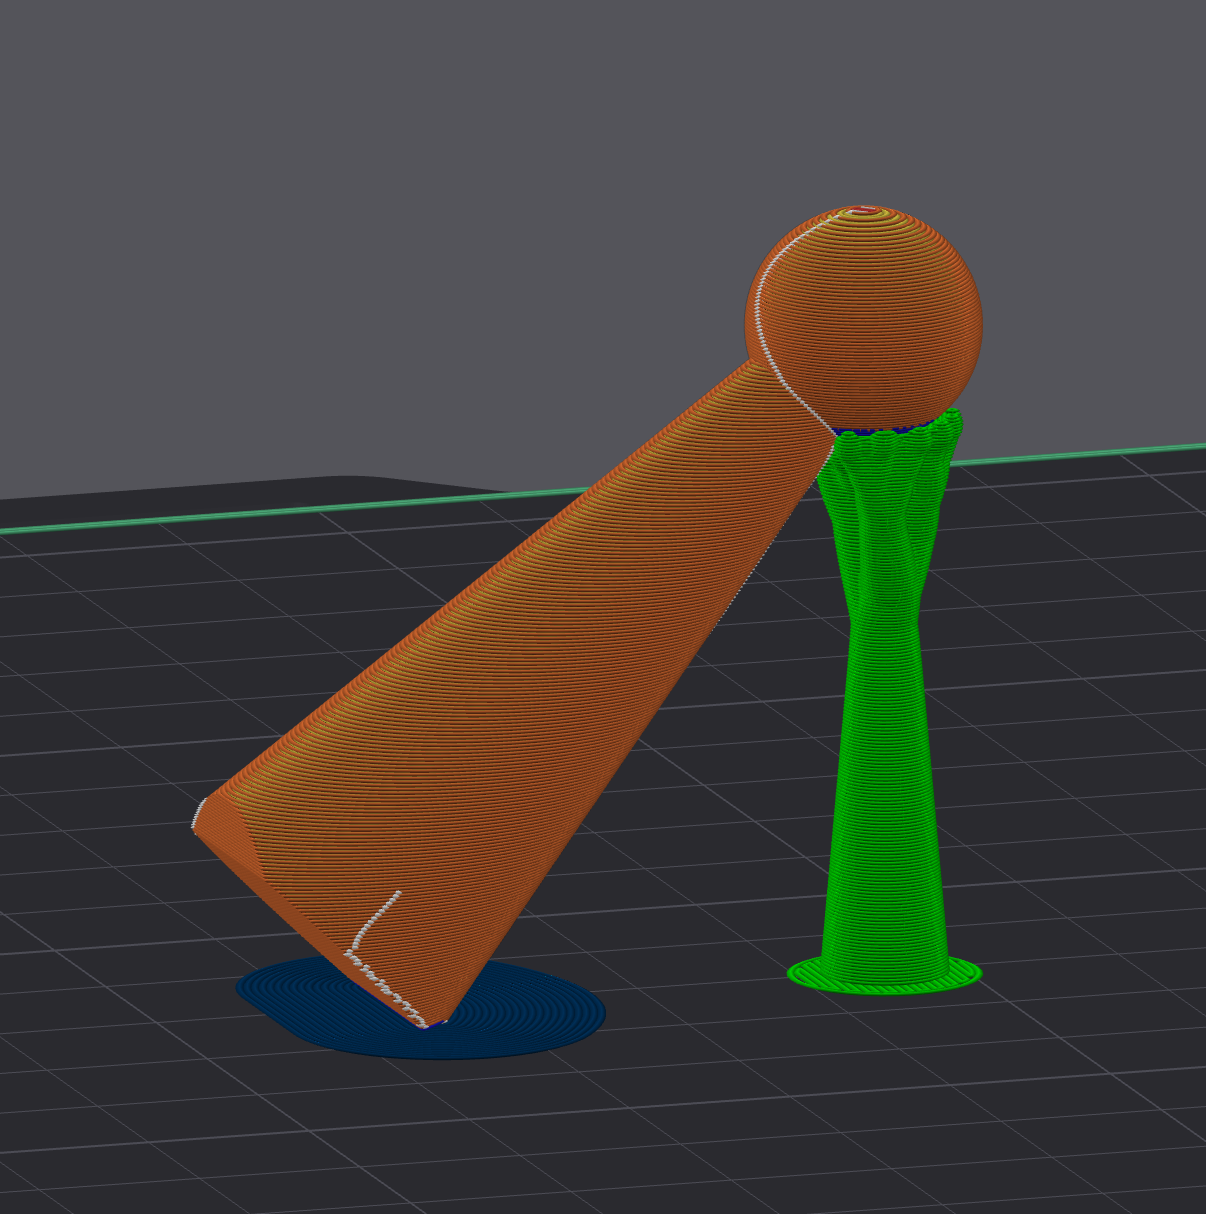
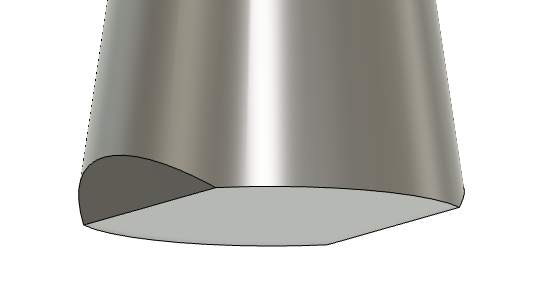
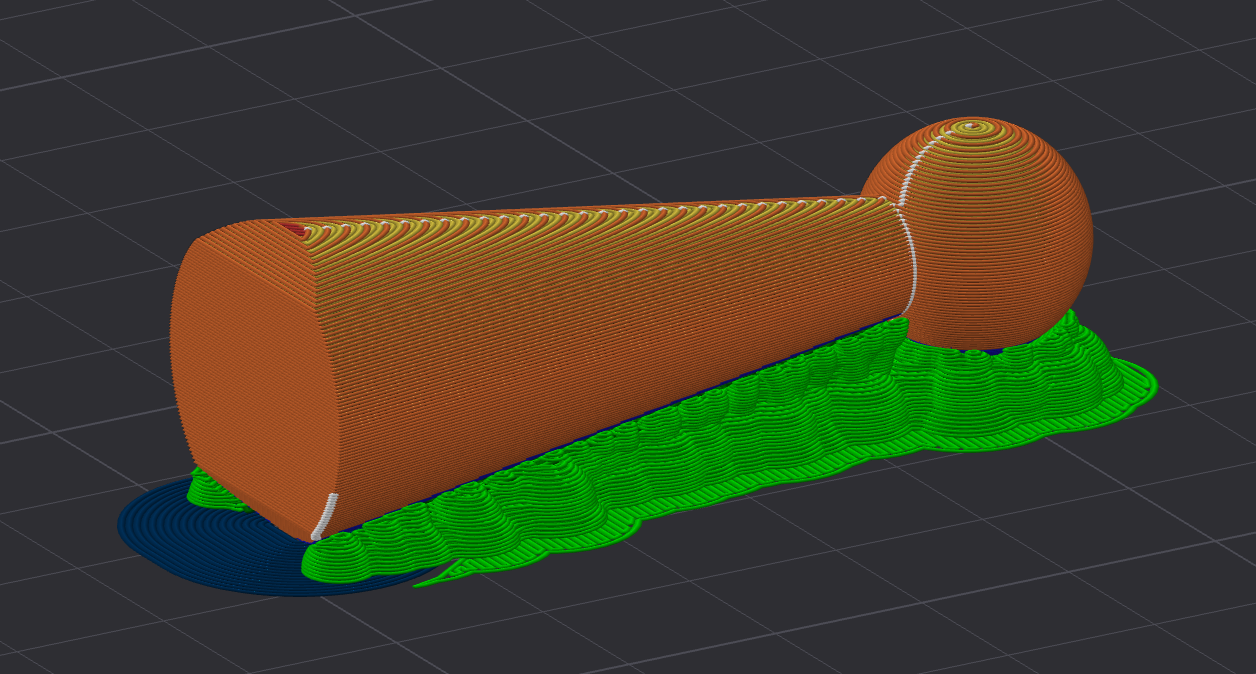
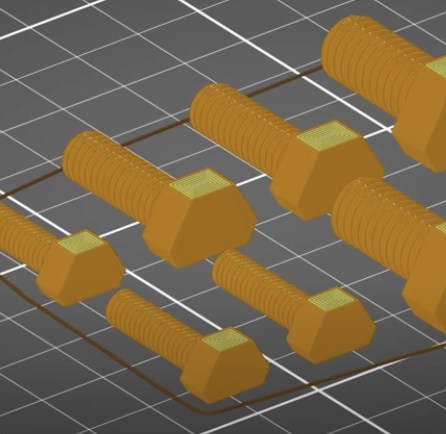
Part is most easily printed in an orientation that causes snapping on layer lines.
Solution
Print the object at a 45 degree angle. This ensures strength in the commonly stressed directions. Add a chamfer on the bottom so the printer isn’t trying to print an infinitely small edge. Add a tight brim in the slicer (in blue) so it doesn’t fall. For large objects you can design supports to hold the part up.
What NOT to Do
Print the object in the opposite orientation with a ton of supports (because you hate yourself).
Problem
3D printed threads are too weak to thread in and out multiple times (or the part requires that they be taken out often).
Solution
Make sure you’re printing with enough perimeters/walls. If the threads are smaller than M6, consider using a high temperature filament and heat set inserts. If it is possible, have the threads print at an angle.

What NOT to Do
Print with an expensive filament and hope it doesn’t break again.
Problem
3D printed bolt is stripping or snapping on the layer lines.
Solution
Print the bolt in two pieces horizontally and join them together in the threads or with glue.
What NOT to Do
Print with an expensive filament and hope it doesn’t break again.
Problem
3D printed bolt or threads don’t fit properly due to printing tolerances.
Solution
Account for printer tolerances by adjusting thread dimensions. Add 0.1-0.2mm clearance to mating surfaces. Consider printing a test piece first to calibrate the fit for your specific printer and material combination.
Aesthetic
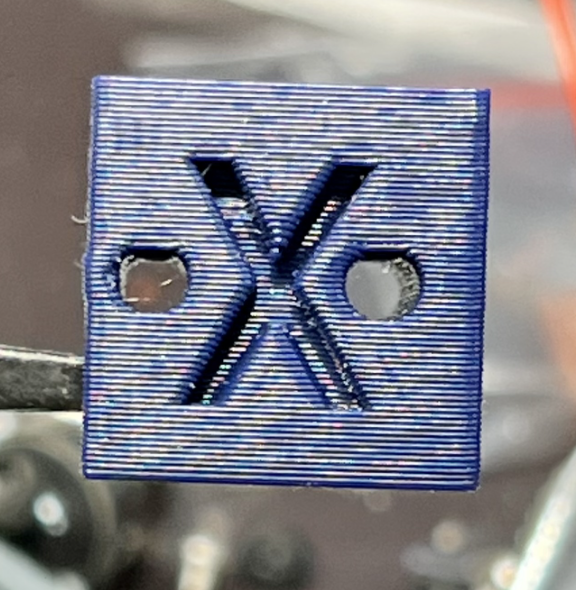
Problem
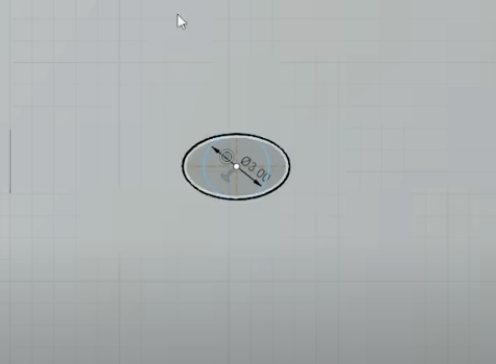
Holes on vertical walls are printing squashed.
Solution
Design holes with a slightly oval shape to compensate, print with a smaller or adaptive layer height, make sure you’re cooling the print enough. Check your printer’s belt tension if the holes are very squished.
What NOT to Do
Make the holes larger in every dimension to compensate.
Problem
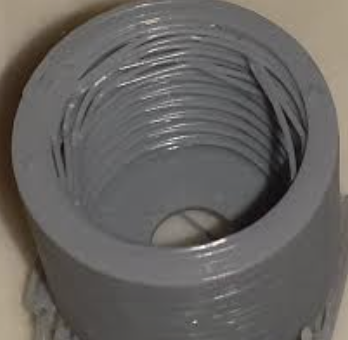
3D printed threads are stringy due to overhangs.
Solution
Print with a layer height smaller than 0.20mm or turn on adaptive layer height. Threads smaller than M5 or 3/16″ may never print correctly. Consider using metal heat-set inserts or embedded nuts.
What NOT to Do
Use supports, they will be very hard to remove, and it will probably print even worse.
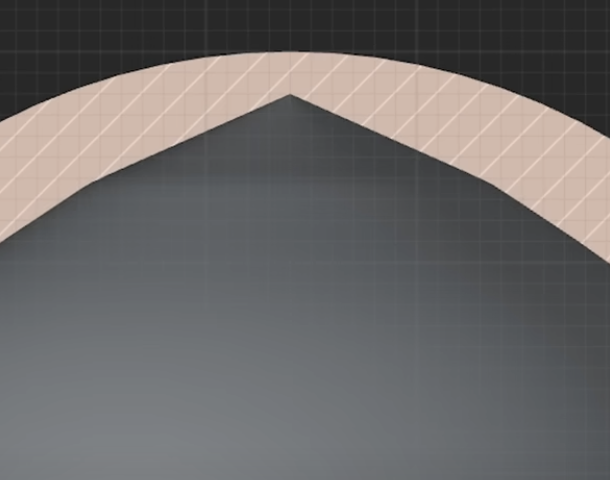
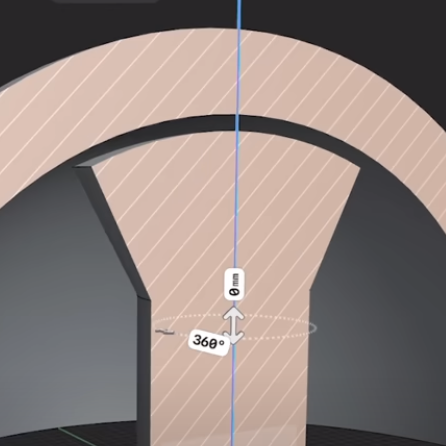
Problem
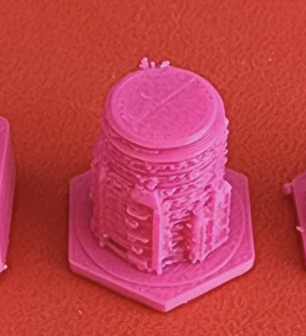
Top of circles/domes is stringy.

Solution
Design to come to a point on the inside or flat part that can be supported, or design your own mushroom shaped support with a 0.5mm gap.
What NOT to Do
Use auto-generated supports.
Problem
Cylinders/circles that need to be printed horizontally are deformed on the bottom.
Solution
Use a smaller layer height and ensure the support Z height is the same as the layer height. If the slicer supports it (e.g. Orca Slicer) use an independent support Z height.