Basic Maintenance for X1C
To ensure a smooth operation, high quality prints and a long lifetime of the X1C, it is recommended to perform regular maintenance for the most important parts:
Toolhead Maintenance
Is it very important to perform regular maintenance on the toolhead, as the extruder, nozzle, hotend fan and part cooling fan can gather filament and debris over time. One way to remove any debris is by using a can of compressed air which can blow away any small pieces of filament.
If this solution does not work, you might be required to disassemble the extruder and perform some in-depth cleaning of the components.
In the image below, you can see the inside of the extruder which gathered dust and debris after printing for around 400 hours with no maintenance.
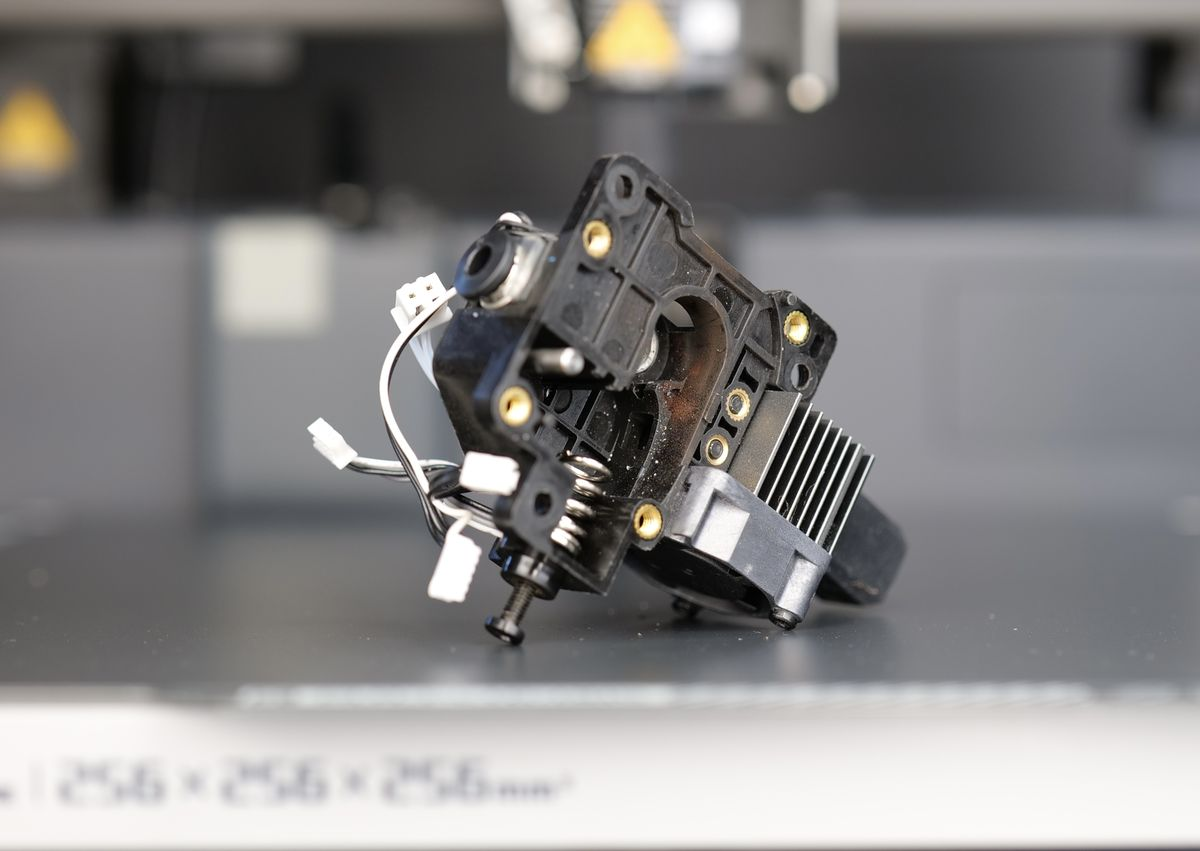
A detailed guide is available on the Bambu Lab Wiki to walk you through the process of cleaning and greasing the extruder after a longer period of use. This will help keep the extrusion system in excellent condition to get good print quality.
X-Axis Carbon Rods Maintenance and Belt Tensioning
The Bambu Lab X1C uses a pair of dual carbon fiber rods for the X-axis motion system. These rods are lightweight, rigid, and paired with self-lubricating bushings located in the print head, which eliminate the need for traditional greasing.
When printing with filaments like ABS or ASA, cleaning of the carbon rods should be done more often, ideally after 7-10 spools of printed filament, as some of the VOCs released during printing can become attached to the carbon rods.
📌 It is extremely important not to apply any grease, oil, or lubricant to these carbon rods. Unlike metal rods with linear bearings, carbon rods rely on a dry, friction-managed contact surface. Adding any lubricant can attract dust, degrade the bushings, cause binding, or even lead to mechanical failure and poor print quality.
When the cleaning procedure is done, the belts are also re-tensioned. It is strongly recommended to always do these operations at the same time, for the best results.
Cleaning procedure:
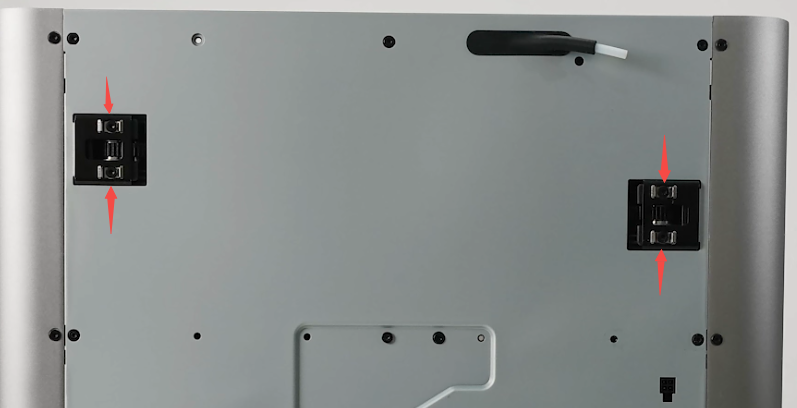
The first step in cleaning the carbon rods is to loosen the four screws at the back that secure the belt tensioners. This step is crucial as it allows the print head to move more easily during cleaning and helps ensure the belt tension is evenly adjusted once done.
❗❗❗Do not remove the screws. Simply loosen them.
Apply a generous amount of IPA (isopropyl alcohol) to a clean microfiber cloth or paper towel, or directly to the carbon rods, then gently wipe along the length of each rod, removing any dust or buildup. It is recommended to repeat this step 2-3 times, until there is no more debris on the cleaning cloth.
It is also recommended to move the print head along the X axis a few times, with the carbon rods soaked with IPA, to help clean the inside of the bushings too.

Once cleaning is complete, move the X axis back and forward along the Y axis a few times, then push it towards the back of the printer.

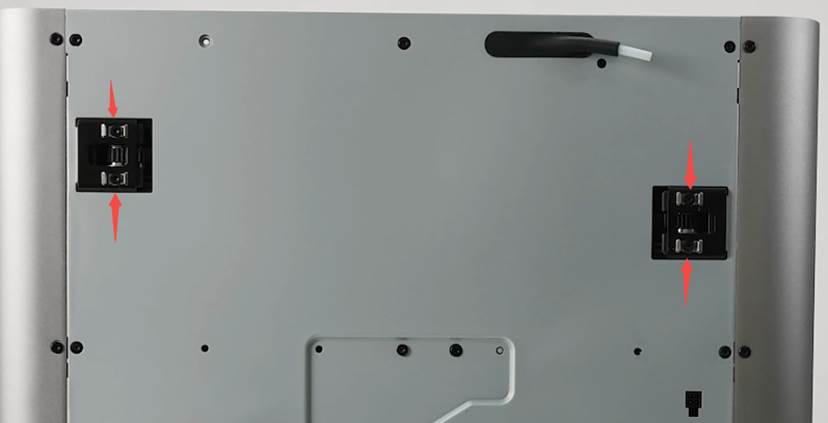
Next, tighten the belt tensioner screws until you feel slight resistance, being careful not to overtighten to avoid potential damage or printing issues.
Once done, perform a full calibration from the printer’s menu, and you’re ready to start printing again!
A video guide showing the procedure with IPA sprayed on the carbon rods is available below:
Y-Axis Maintenance
The Y-axis uses linear rods, which require cleaning and oiling from time to time. The maintenance period for the Y-axis rods doesn’t need to be performed as often as for the X-axis, but it’s still important to perform it after a few hunder print hours.
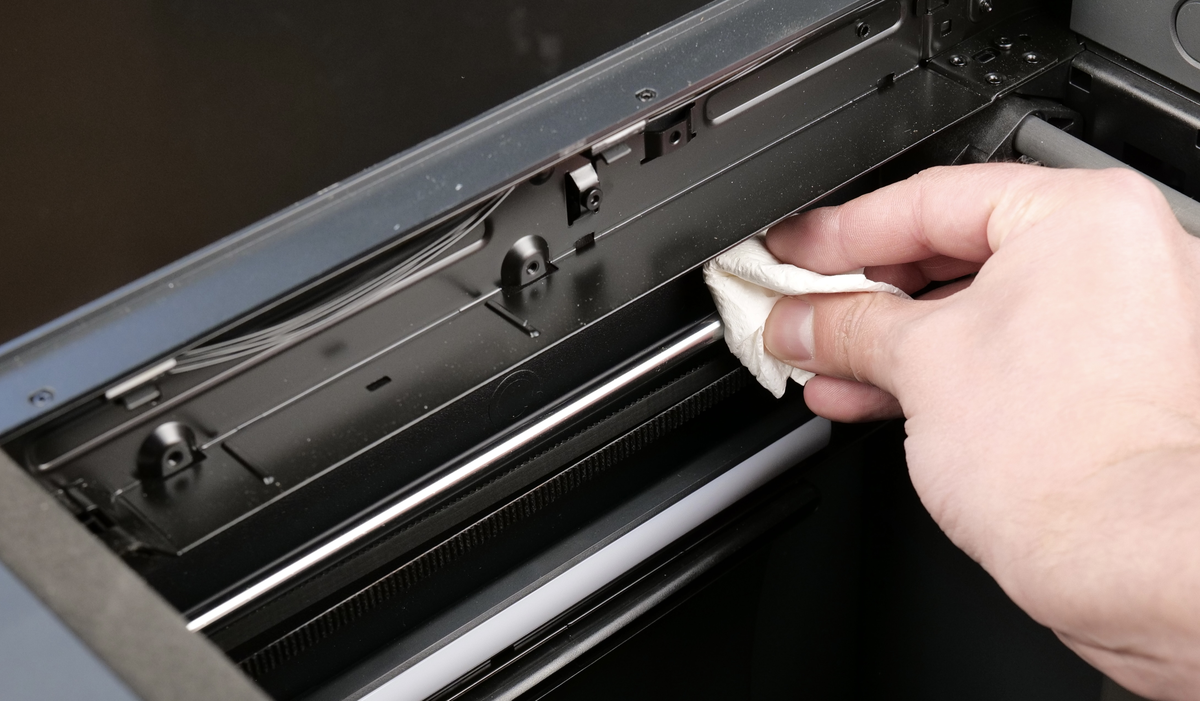
To do so, start by wiping the rods with clean paper towels, to remove any dust or contaminants.
Once the rods are cleaned, apply a bit of oil on a piece of microfiber cloth, then carefully apply it across the rods. Avoid applying too much oil as it can drip on the belts, which is to be avoided.

Z-Axis Maintenance
For the Z-axis, there are two items that need to be cleaned and maintained from time to time. Three linear rods and three leadscrews.
Let’s start with the linear rods. Just like the Y-axis, the rods need to be cleaned first by using a clean paper towel or microfiber cloth. Start by lowering the heatbed to the lowest position, then gently wipe them to remove any dust or contaminants.
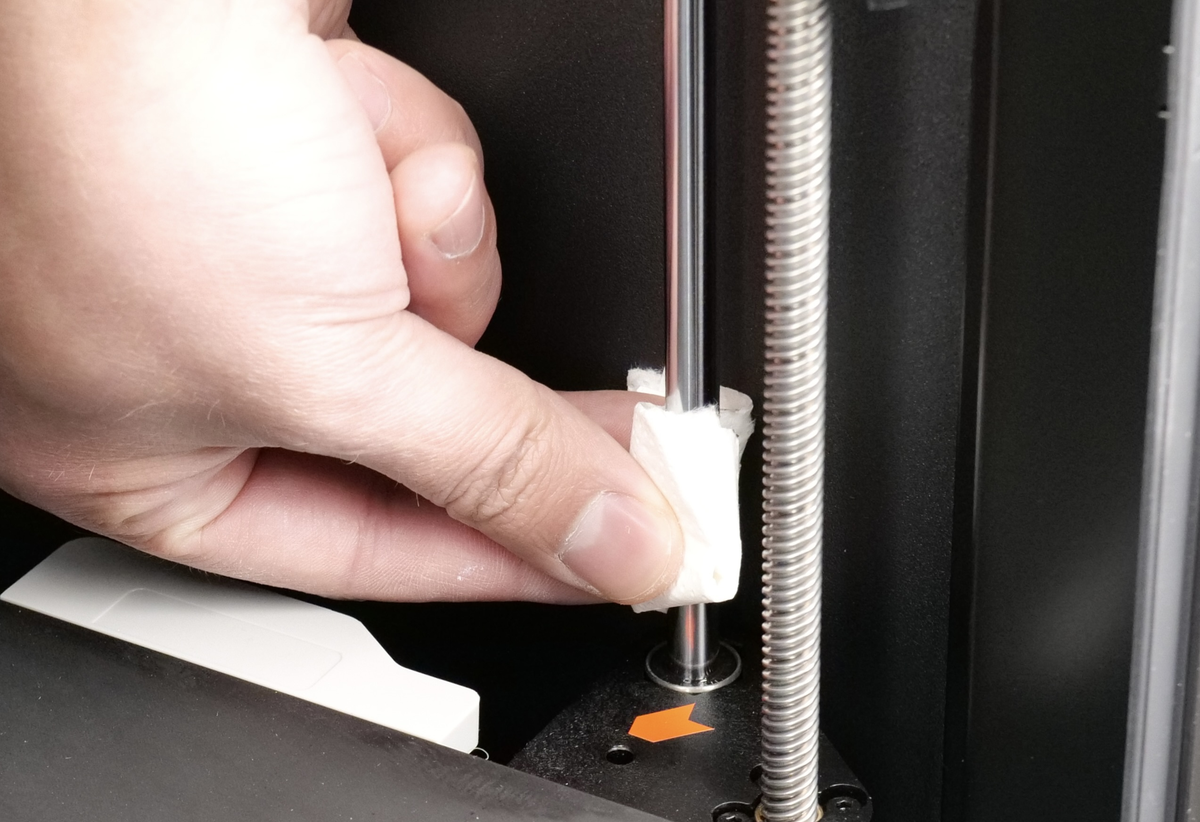
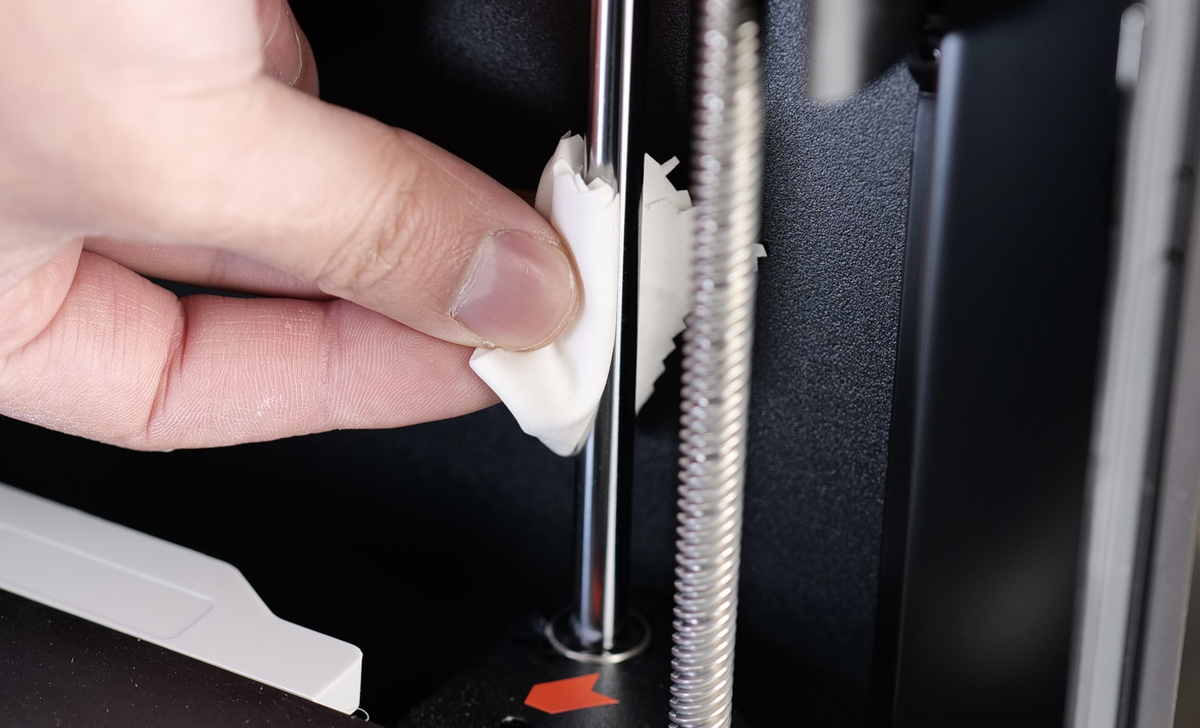
Once they are wiped, apply a bit of oil on a piece of microfiber cloth, then apply it across the entire section of the rod.
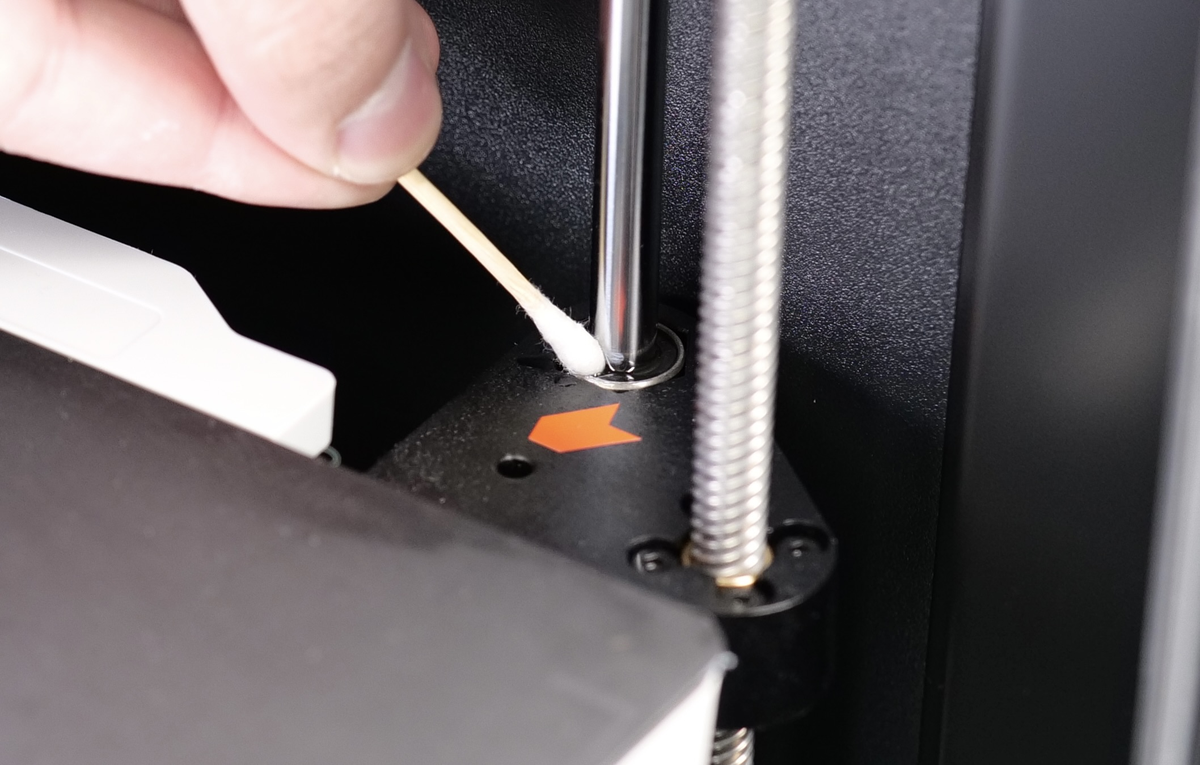
Avoid applying too much oil as it can drip on the linear bearing. If that happens, use a q-tip to remove any excess oil.
Repeat the same procedure for all the three linear rods, then move the heatbed to the highest position.
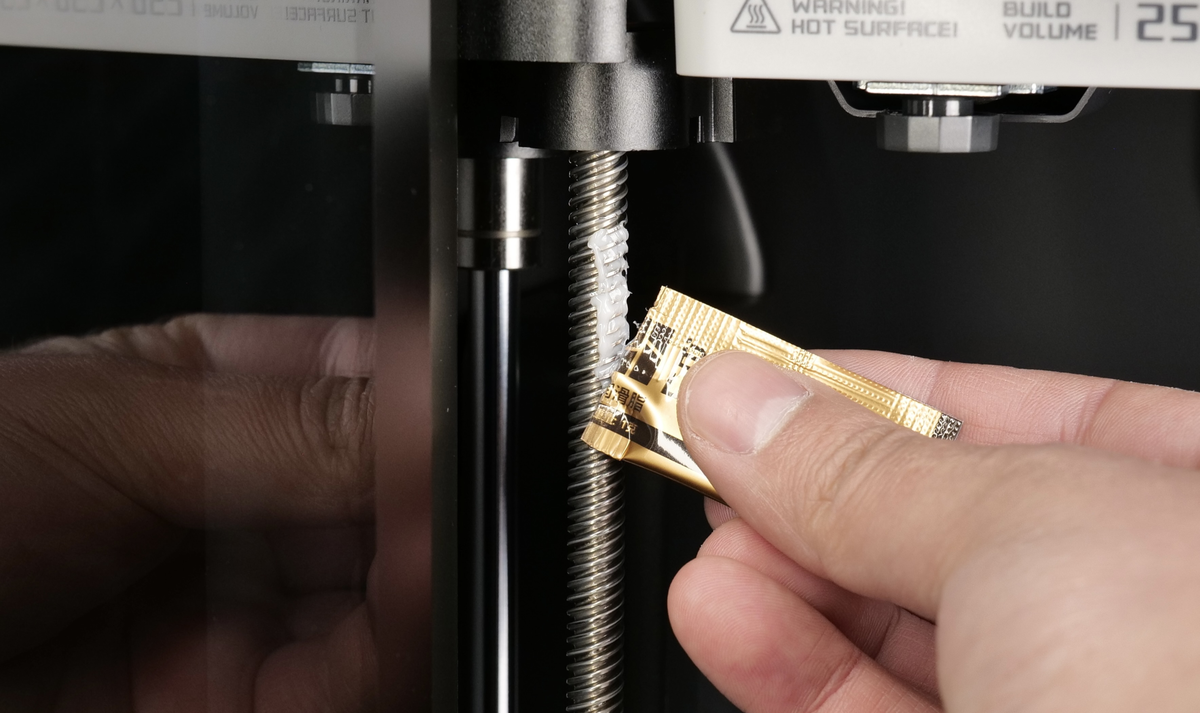
For the leadscrews, we will use the included grease which comes in the golden packages in your accessory box.
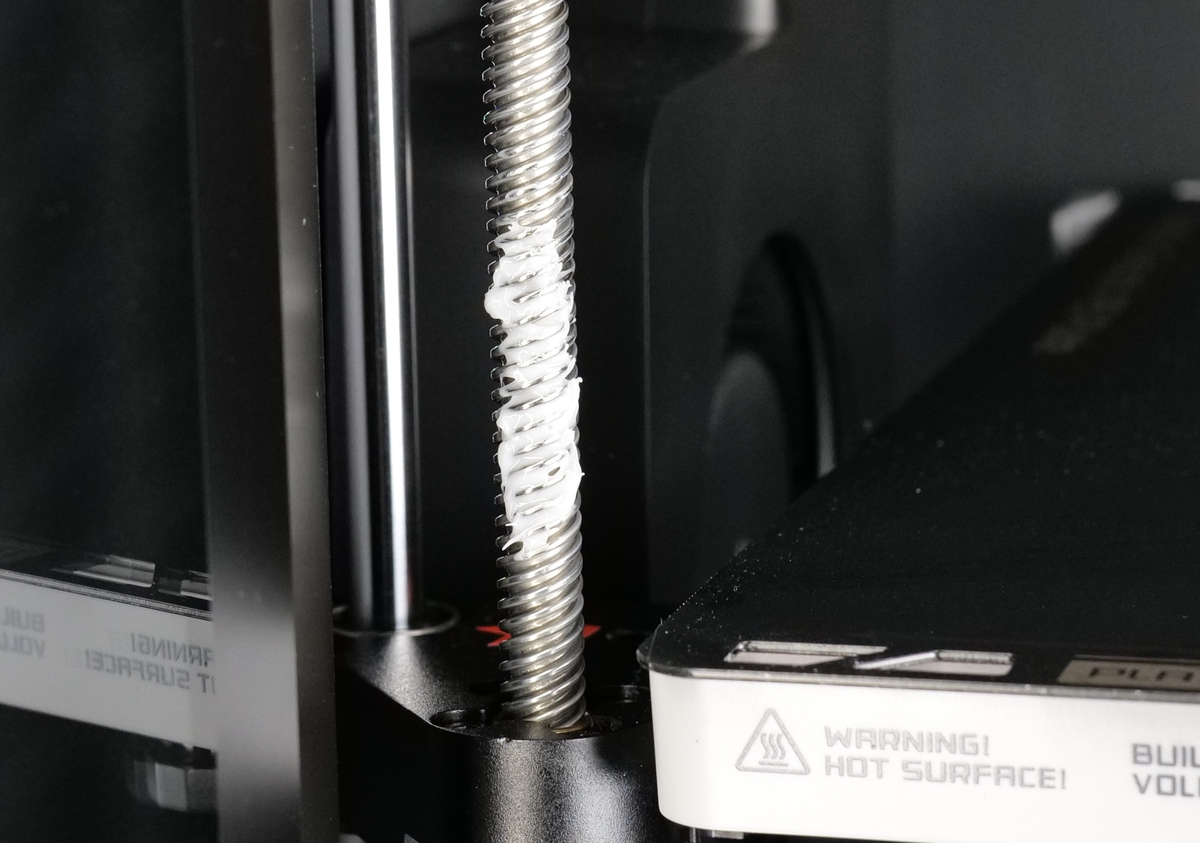
Apply a thin coat of grease across the entire length of the leadscrew. Avoid applying too much, as it will build up under the leadscrew nut, which is to be avoided.
Do this operation for all three leadscrews, then move the heatbed to the bottom of the printer, and repeat the operation for the top of the three leadscrews.
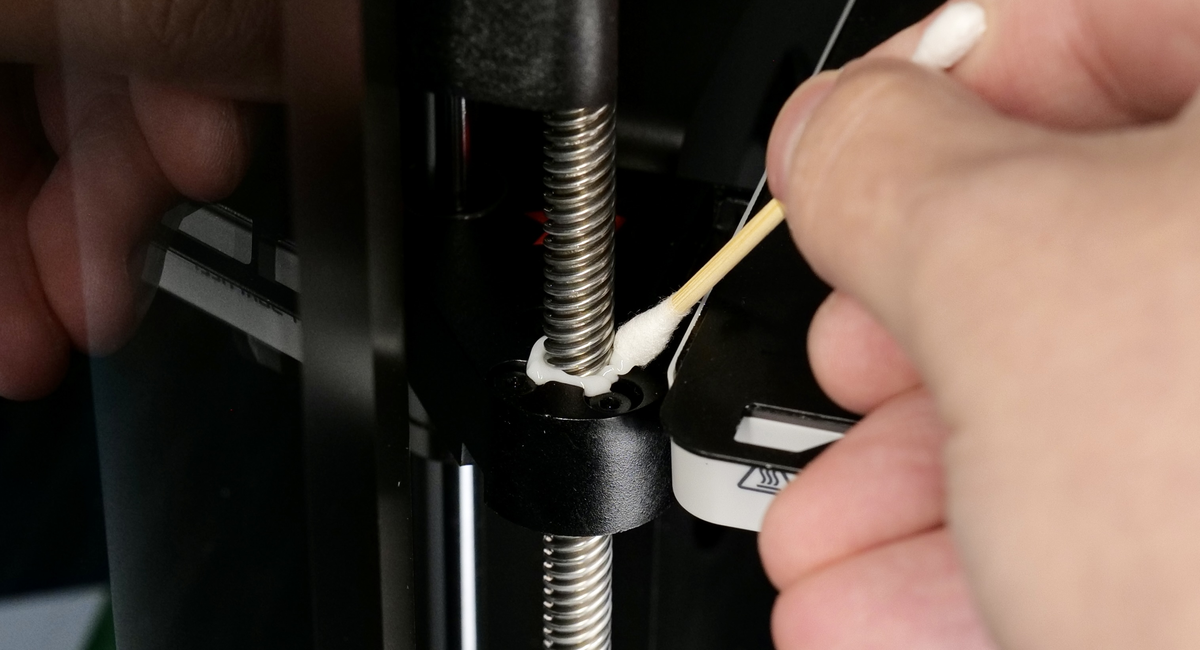
Once the grease is applied, use the on-screen buttons to move the heatbed up and down 2-3 times, so that the grease spreads evenly over the leadscrew.
Then, simply clean the excess grease using a q-tip, as shown.
This completes the maintanence process of the Z-axis.
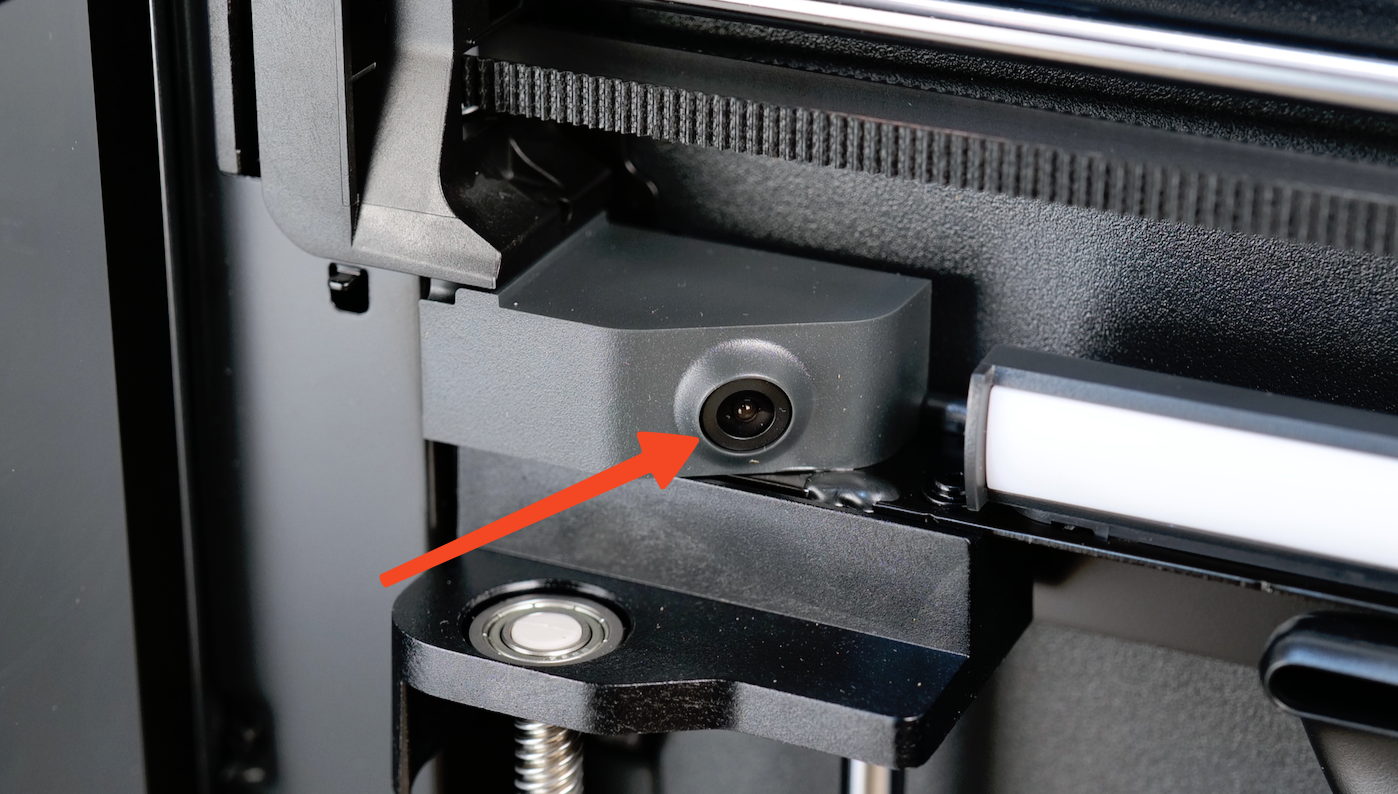
Camera Lens
Over time, the camera lens can become foggy due to debris buildup. This can occur more frequently when printing ABS or ASA filament. It is recommended to clean it at the same time when cleaning the carbon rods, by simply wiping the lens with IPA and a clean cloth.
Nozzle Wiper
The nozzle wiper, located in the purge chute, is a crucial part of cleaning the tip of the nozzle before starting a print, or during a multi-color print. Over time, the nozzle wiper can become worn out. Regularly check the nozzle wiper and if damage is present, simply replace it with one of the spares included in the package.
The process is easy – simply remove the screw holding the wiper in place, then install the replacement wiper. Just be sure not to over-tighten the screw, as it screws directly into plastic. Tightening the screw too much can damage the thread and cause issues.
PTFE tubes
Over time, the PTFE tubes used on the printer can also become worn and will require replacement to ensure the printer continues to work smoothly. The PTFE tubes get worn over time due to the friction generated by the filament when traveling through it. Some filaments, like the ones infused with carbon fiber or the glow-in-the-dark will accelerate the wear of the PTFE tubes.
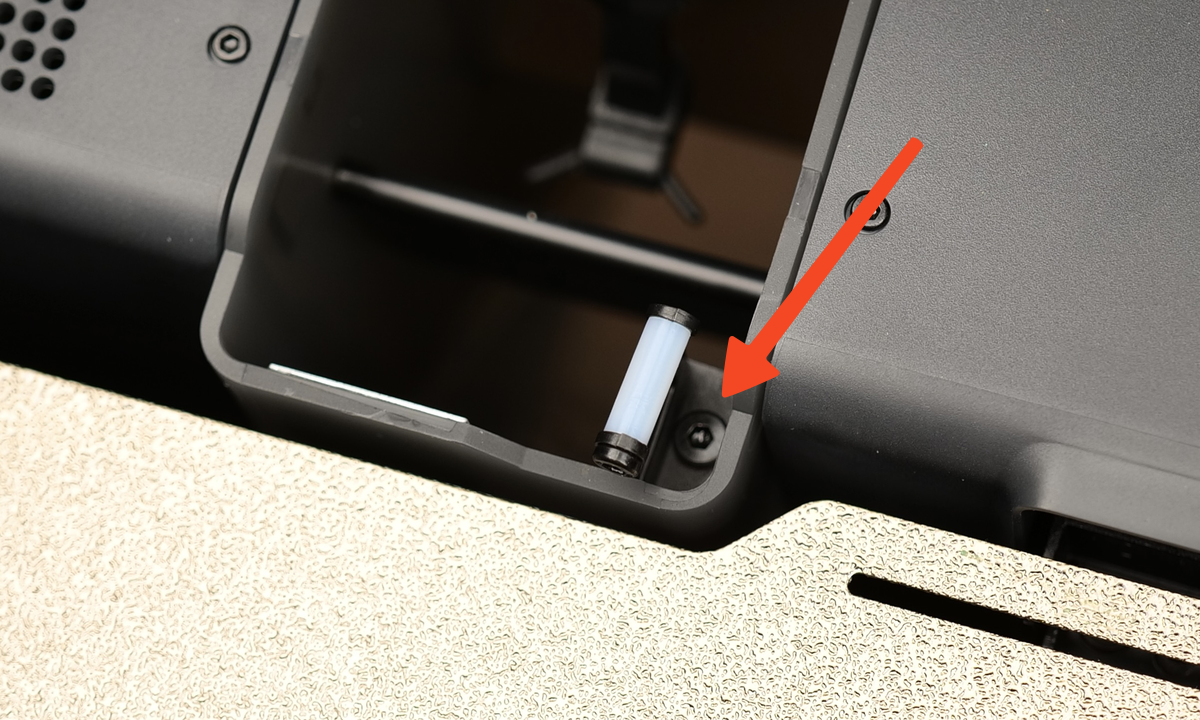
To release the PTFE tube, simply use a hex wrench to press down on the tube coupler, as shown below. While the coupler is pressed down, the tube can be easily pulled out. When doing this operation, be careful not to damage the black ribbon cable of the filament sensor.
It’s worth noting that you can also press on the black plastic bracket to release the tube, but you might need to lossen the two screws holding it in place, before doing this operation.