Starting a print from Bambu Studio
If you haven’t already, start by downloading and installing the latest version of Bambu Studio for your operating system.
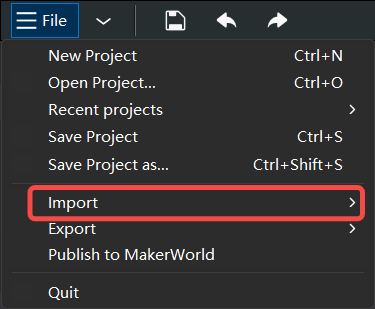
Once Bambu Studio is installed and opened, you will be greeted by the interface pictured below. First, drag and drop one of the .3mf or .STL files you have downloaded. In this example, we are using the 3D Benchy. You can also import the model from the File -> Import menu.
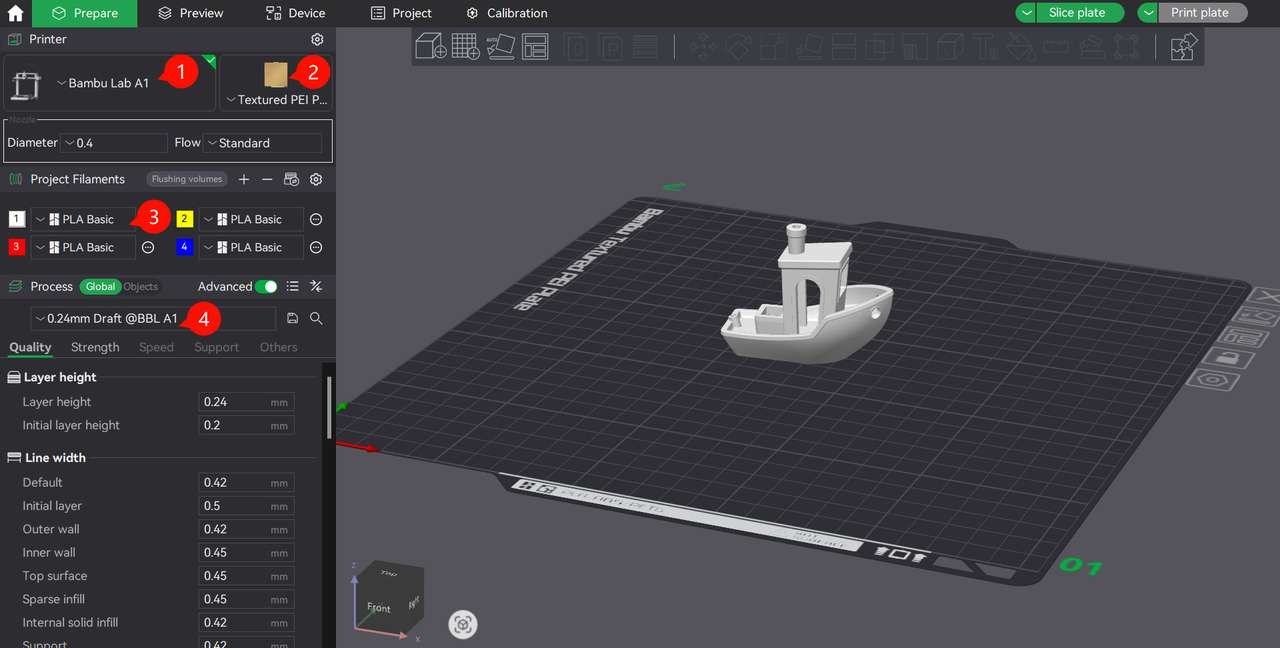
Next, ensure you have selected the correct printer model, plate type, filament type, and layer height. All these settings will impact the more advanced settings configured in the slicer and can contribute to the print quality of the finished model.
- Select the Printer Model and Nozzle Size.
- Select the type of build plate, compatible with the filament you plan to print.
- Select the type of filament.
- Select the Layer Height, which determines the quality of the print result.
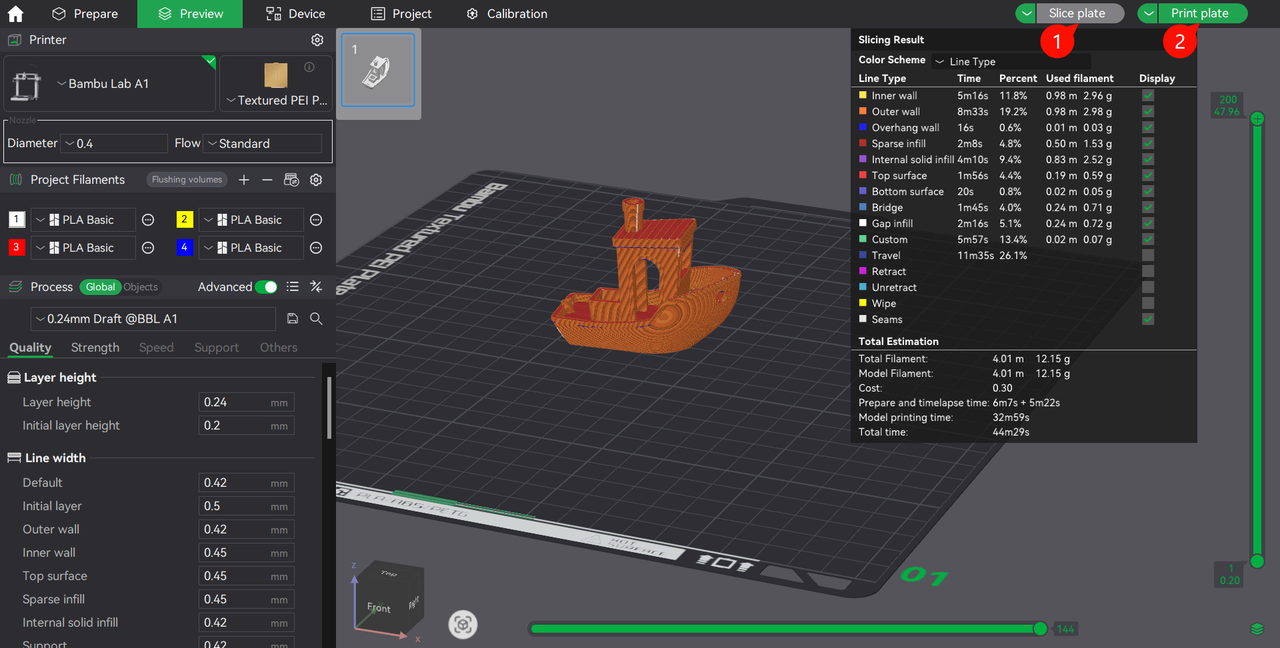
When you are ready, click on the Slice plate button (shown with step 1), which will start preparing the file and convert it into a .gcode, which the printer understands. The slicer will display a list of information related to the time it takes for the model to be printed, how much filament is used, and other more advanced details.
To send the model to the printer and begin the printing process, simply click on the Print plate button (shown in step 2). This will bring up another window:
- Select the printer from the list.
- Click the Send button.
Once you click Send, the file transfer between your computer and the printer will begin. In a few minutes, the A1 will start printing the model, and all that’s left is to wait for the model to be completed!
A video that explains the process is also available below: