Potential mechanical problems and solutions
The first layer is inconsistent
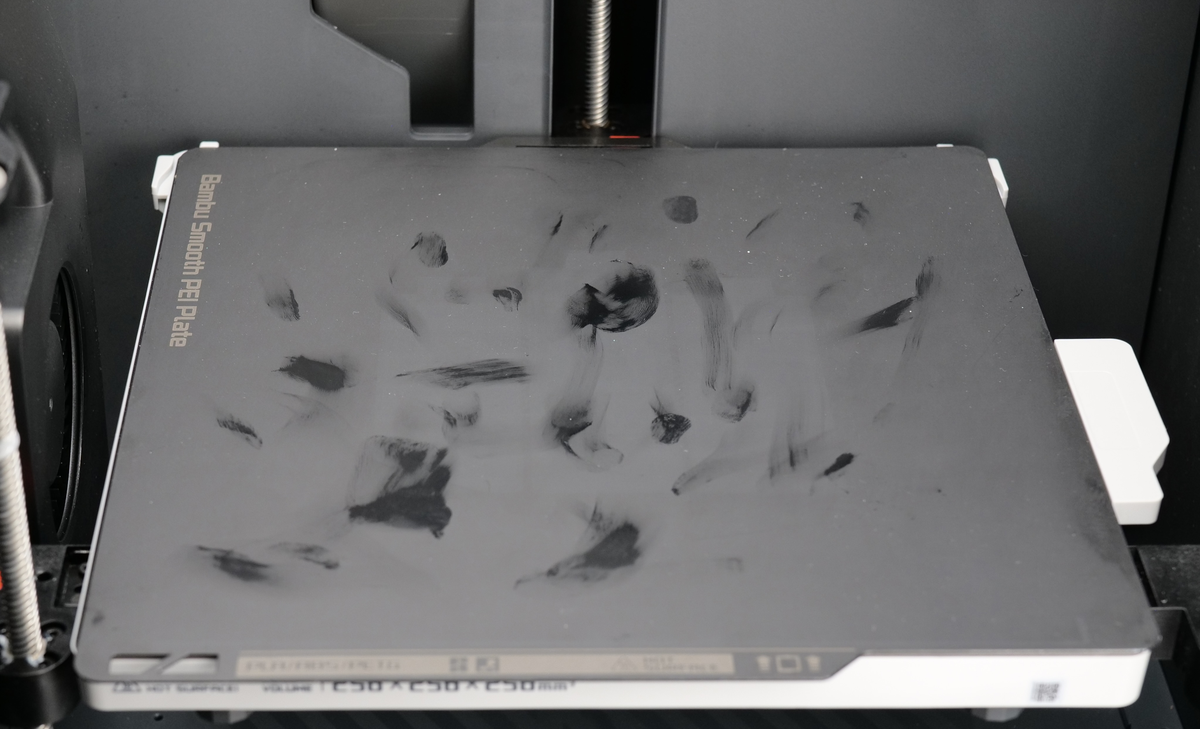
If the first layer appears inconsistent, with small waves or uneven adhesion, the first thing to do is clean the build plate thoroughly with warm water and detergent to remove any dust, oils, or residue.
After cleaning, perform a full bed-level calibration to ensure the printer correctly compensates for any height variations. Once calibration is complete, start a test print to check if the first layer has improved.
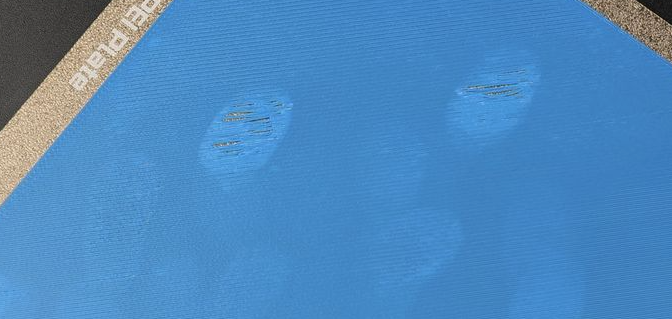
In the example below, you can see the Smooth PEI plate with clear signs of grease contamination, which should be cleaned thoroughly to avoid print adhesion issues. The Textured PEI plate will hide such contamination, which is not as easy to see.
If the problem persists, there may be an issue with the nozzle installation. Verify that the nozzle is properly installed by checking the two screws holding the nozzle in place. If they are loose, try to tighten them before performing a new bed leveling procedure.
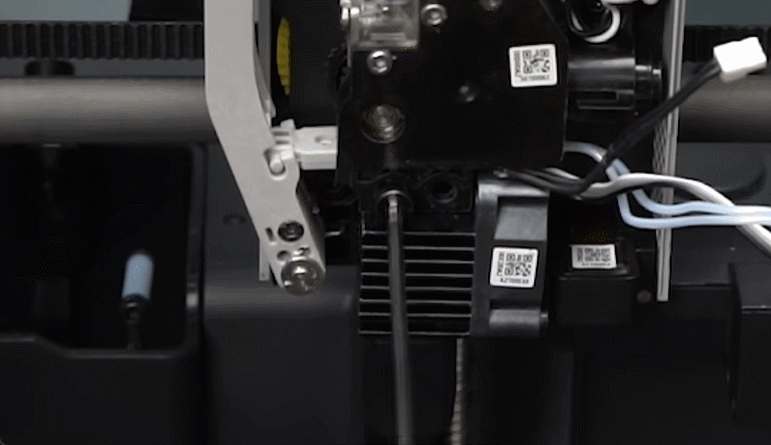
It’s also worth checking that the nozzle is straight. If there was a print failure, the nozzle might be bent, which can lead to printing issues and also bed leveling problems. If you confirm the nozzle is bent, it is recommended to stop using it and replace it with a new one, to minimize the chances of a print failure that can cause additional damage.
Filament is attached to the nozzle after a failed print
In certain cases, you may notice that filament has accumulated around the nozzle instead of adhering to the build plate. The example below shows how the problem can occur, and it is also commonly referred to as Nozzle Clumping, where the filament can be wrapped around the nozzle, potentially leading to print failure and damage to the printer. This issue can arise due to poor first-layer adhesion or other printing inconsistencies.
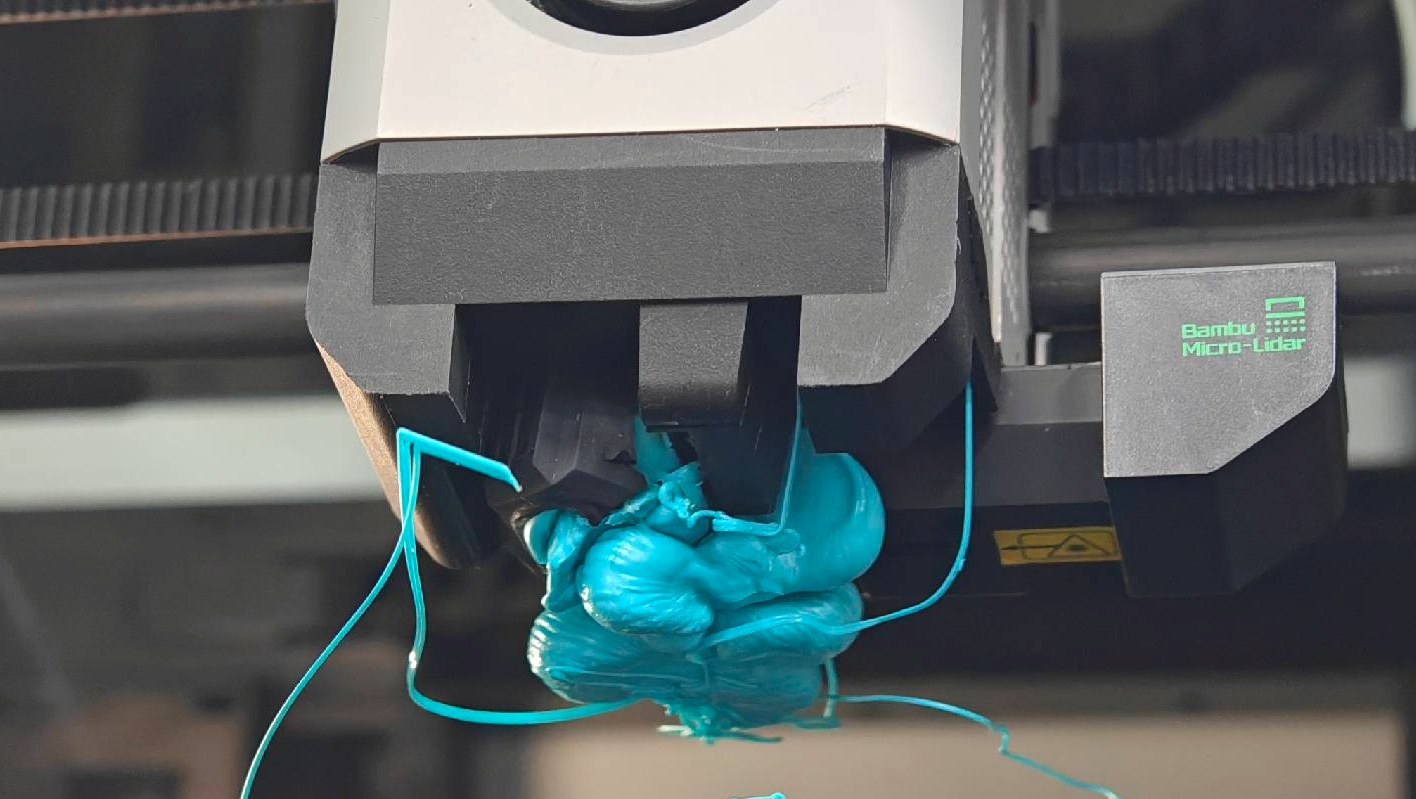
If you encounter such a problem, it is recommended to follow the video guide below to remove the filament blob, then clean the hotend. A written guide is also available in the Bambu Lab Wiki.
Extruder clicking and no filament is coming out from the nozzle
If you have just started a print, and you notice the extruder clicks every ~1 second, while nothing is coming out of the nozzle, there is a chance your extruder or nozzle is clogged.
The main reason for an extruder clog is when the printer is used with filament that melts at a lower temperature, like PLA, TPU or PETG in some cases, or in an environment that has a high temperature. If the front door or top glass cover is kept closed when printing with such filaments, it can lead to an extruder or nozzle clog.
To solve the problem, you can follow the unclogging guidance provided in this course, or by following the Wiki article guide and try to pring again with the chamber open.
Vertical lines present on the printed model
If you encounter vertical line artifacts on printed models, it is usually a sign that the CoreXY motion system has some issues. The problem could be related to either the carbon rods needing to be cleaned, or the belt tension is incorrect.
Considering these two issues are linked, it’s best to perform both the carbon rods cleaning procedure and the belt tensioning procedure at the same time, then performing a full calibration. This should help solve the problem.
It’s worth noting that some vertical artifacts could show up due to the resonance of the printer at certain printing speeds. If you still encounter some of these artifacts after performing the cleaning procedure, you can try adjusting the print speed – either increase it or decrease it. This can help avoid the resonant frequency produced by the printer at certain speeds, which can help minimize this effect.
Squeaking noises are present during printing
Such noises can be present in a CoreXY 3D printer like the Bambu Lab X1C and can result from the belt rubbing against the top or bottom flange of the idler pulleys.
To fix this, you can apply a very small amount of grease to the belt’s top and bottom edges, avoiding the teeth to prevent slipping. Once the grease is applied, move the print head across the X and Y axis to help the grease reach the flanges of the idler.
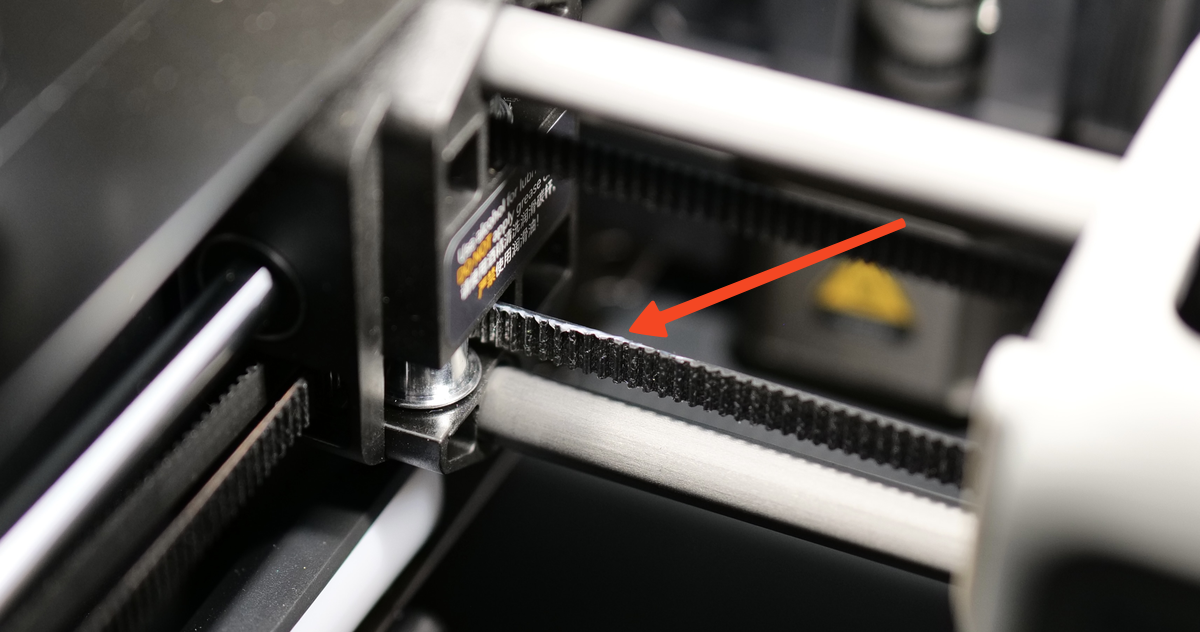
Then, simply wipe any excess grease, and use the printer normally. The previous squeaking noise should be gone. You might need to do this on the section of the belt located in the back side of the printer, if the noise is generated by the back idlers.