Converting STL Files for Editing in Fusion
If you would like to edit a simple STL file for personal use, this guide will explain how to do it in Fusion 360.
1. What Are STL Files?
STL files are mesh representations of 3D models made in programs such as Fusion 360 or SolidWorks. Cylindrical shapes have visible vertices due to less detail. Most people upload STL files online for people to 3D print as they have a smaller file size (due to less detail but just enough), are supported by all 3D printer software, have any “holes” closed, and are also difficult to edit (if the author wants to protect their property).
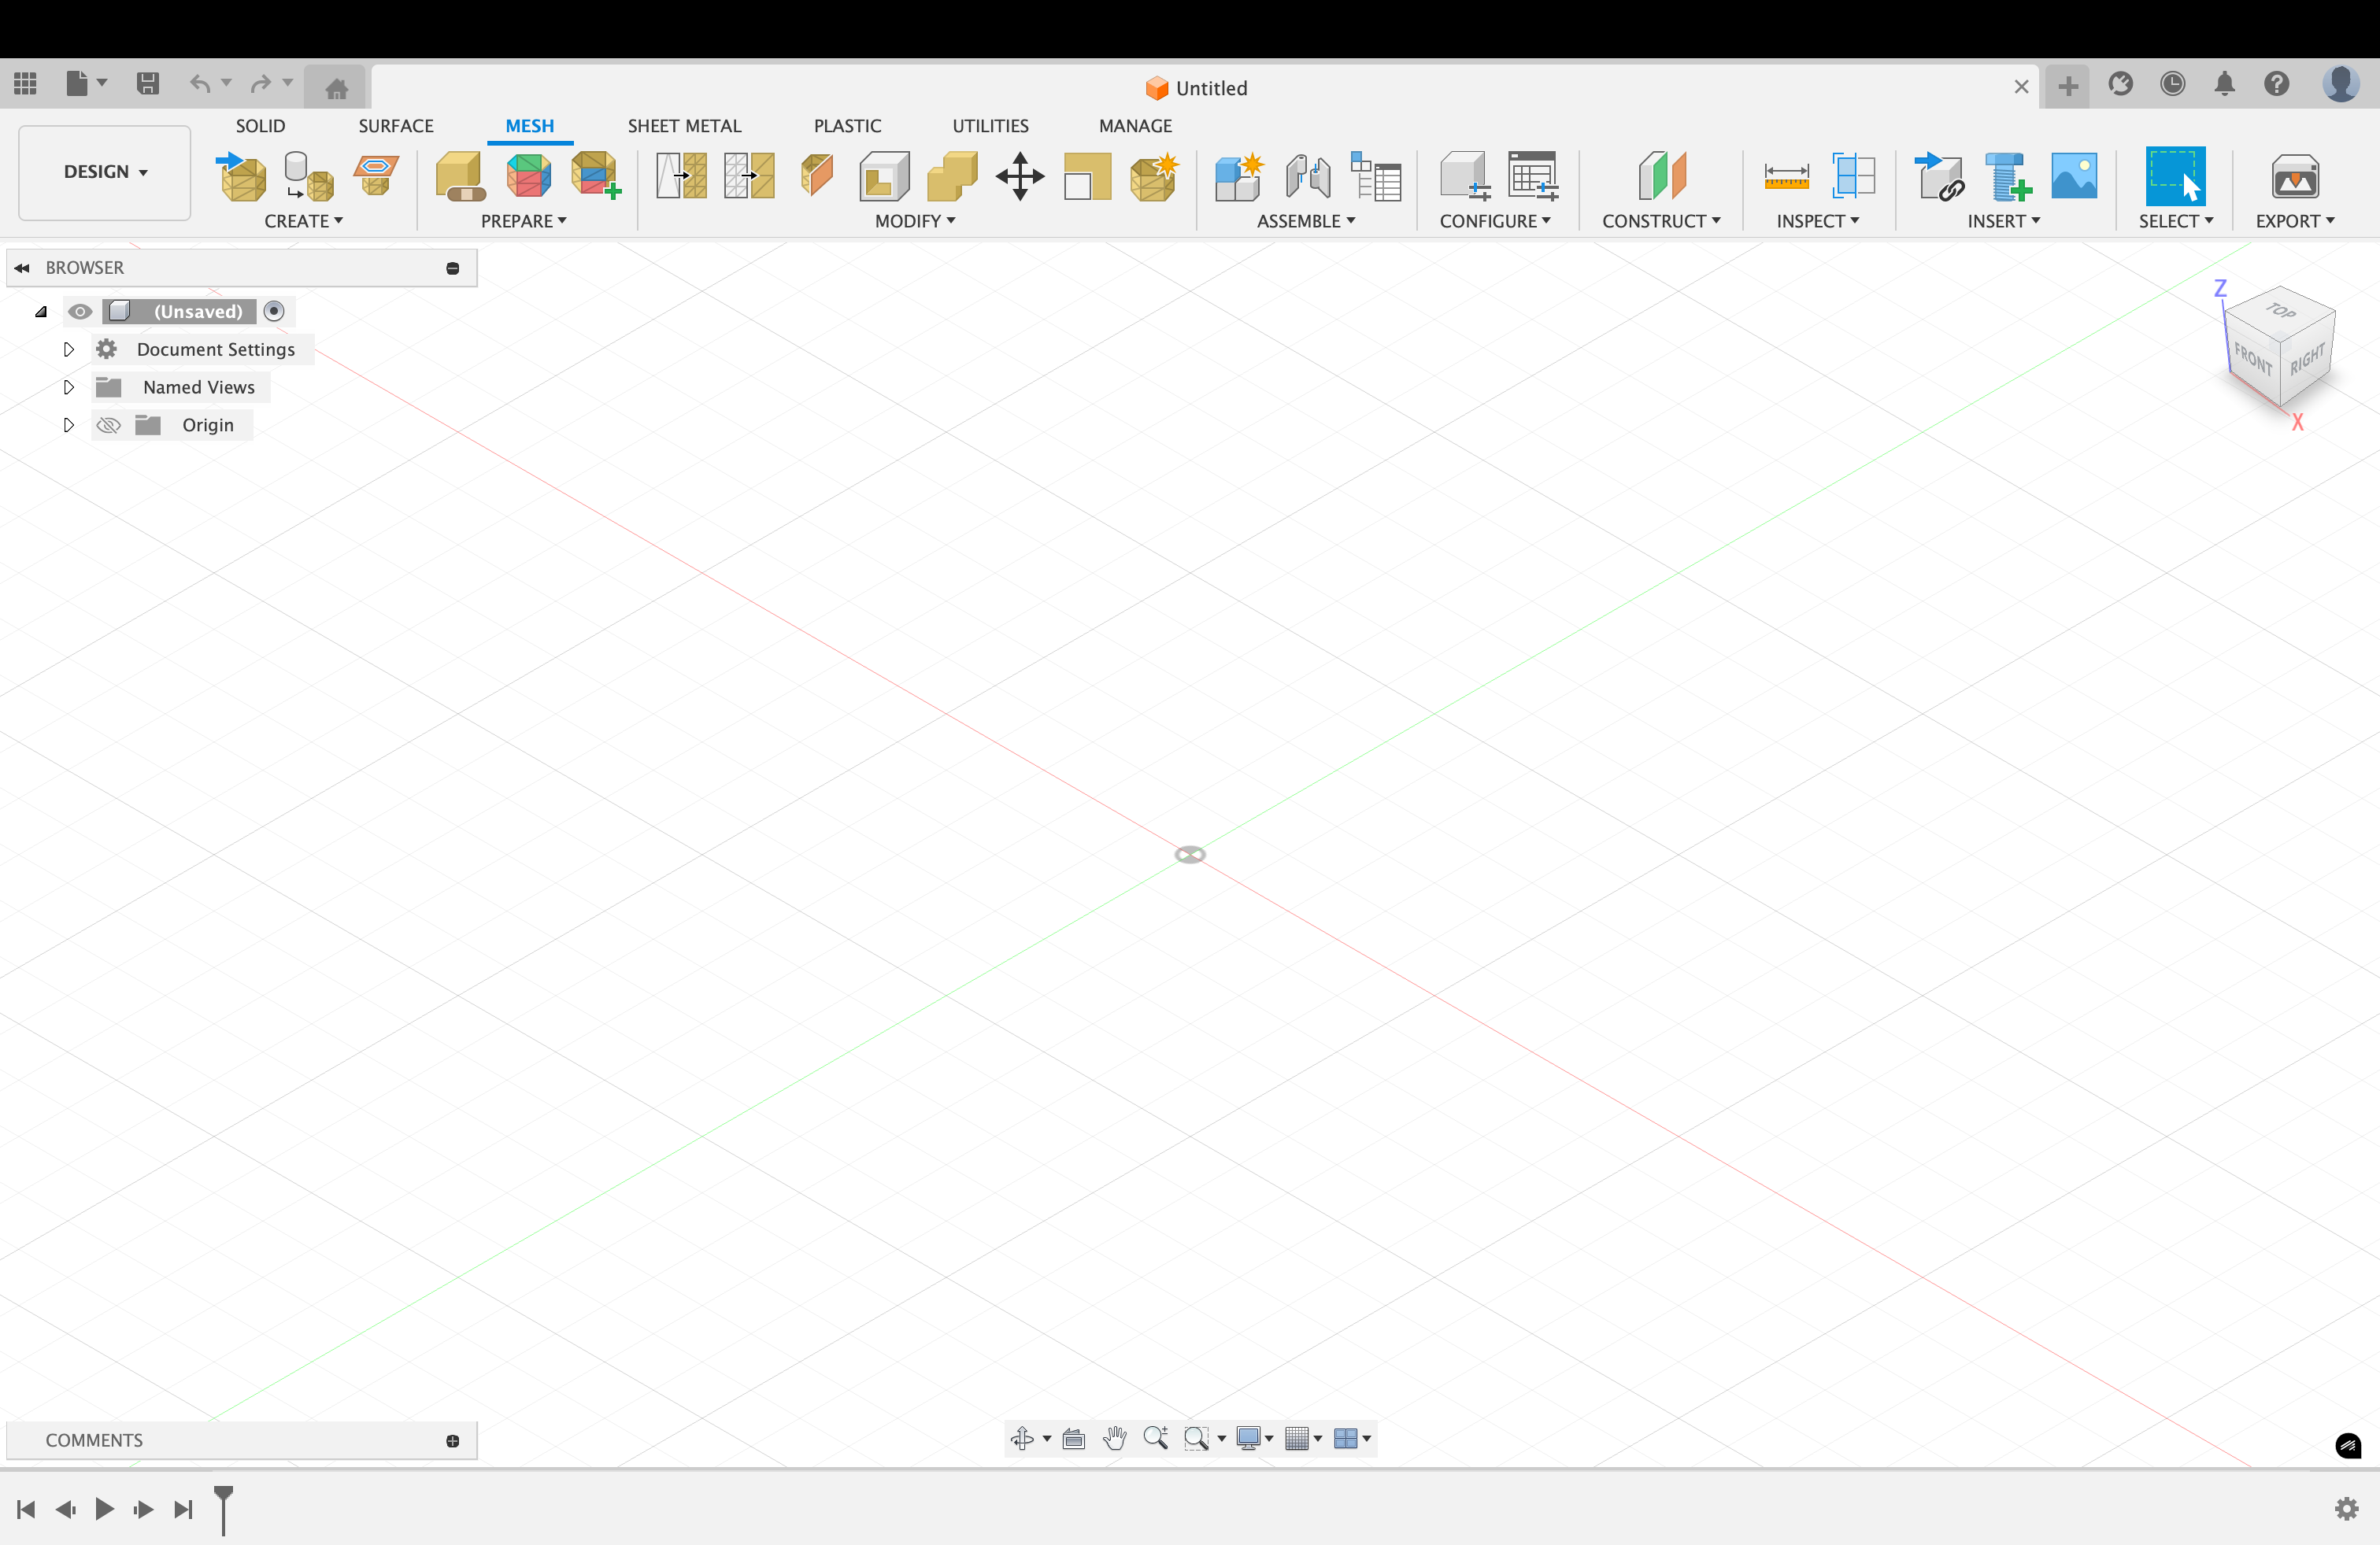
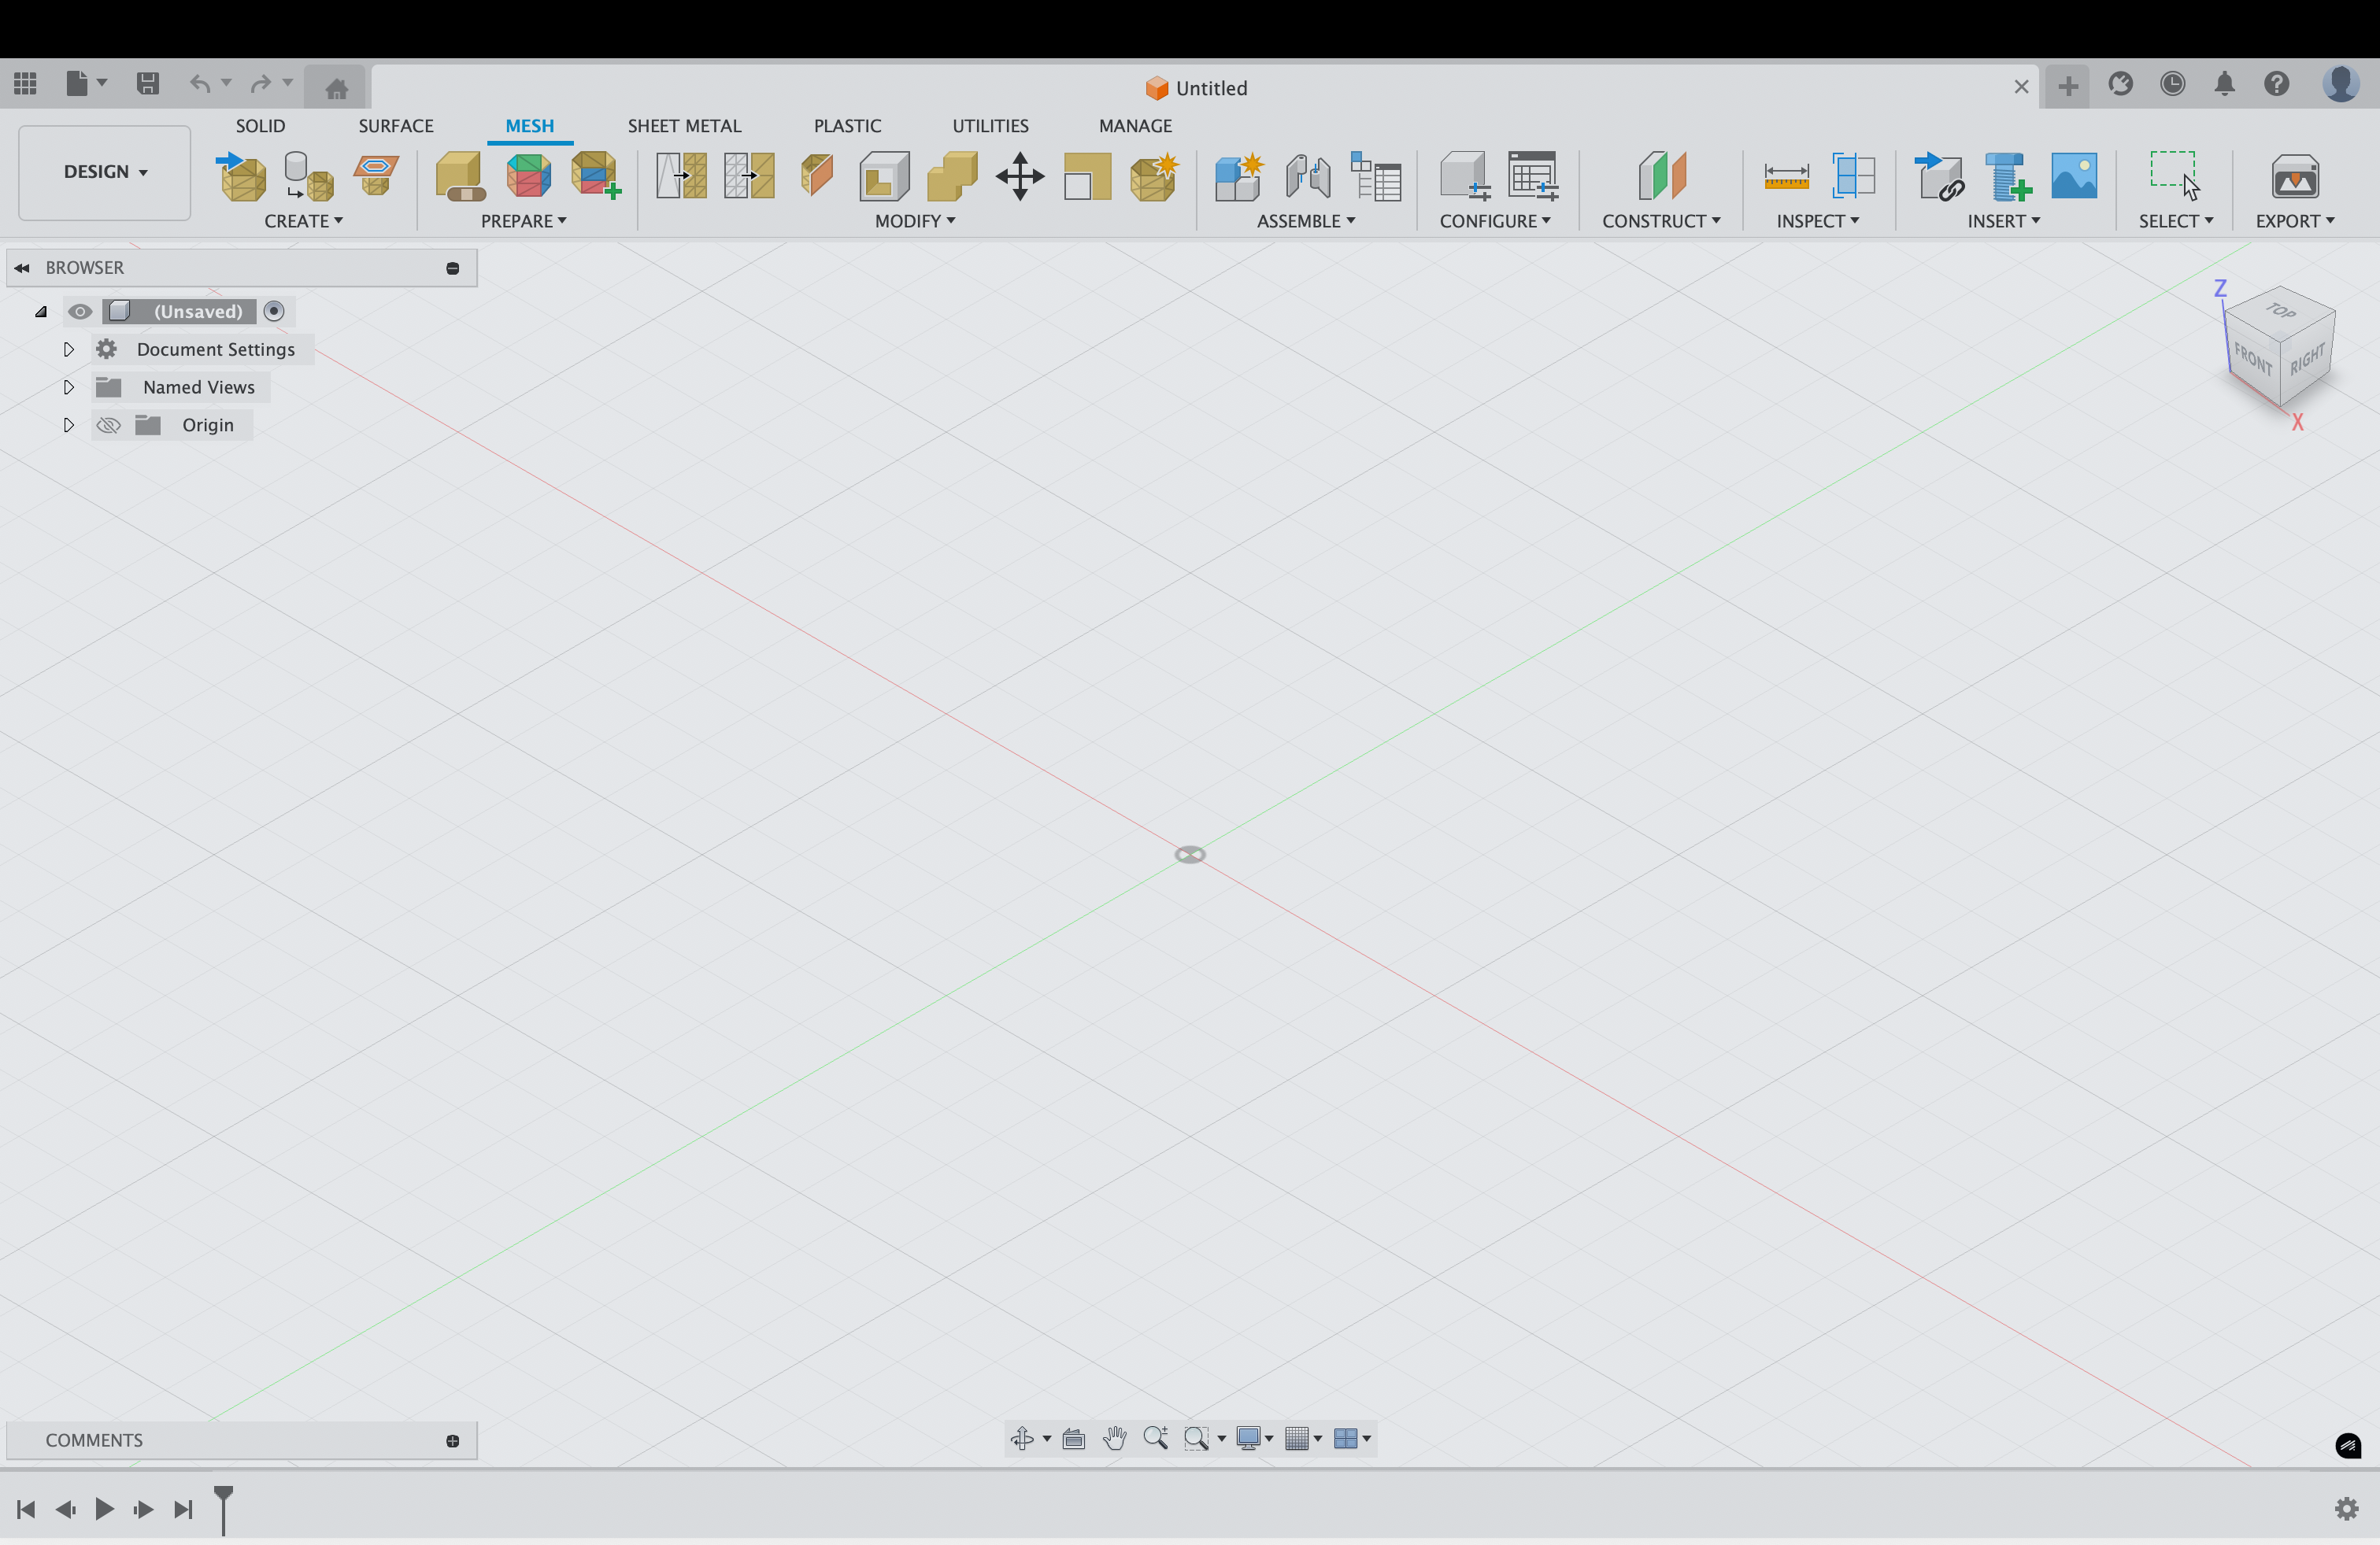
2. Go to the “MESH” Tab
In Fusion 360, navigate to the MESH tab in the top toolbar. This workspace contains all the tools needed for working with mesh files like STL.
3. Click “Insert Mesh” and “Select from My Computer…”
Use the Insert Mesh tool to browse your computer and select the STL file you want to import.
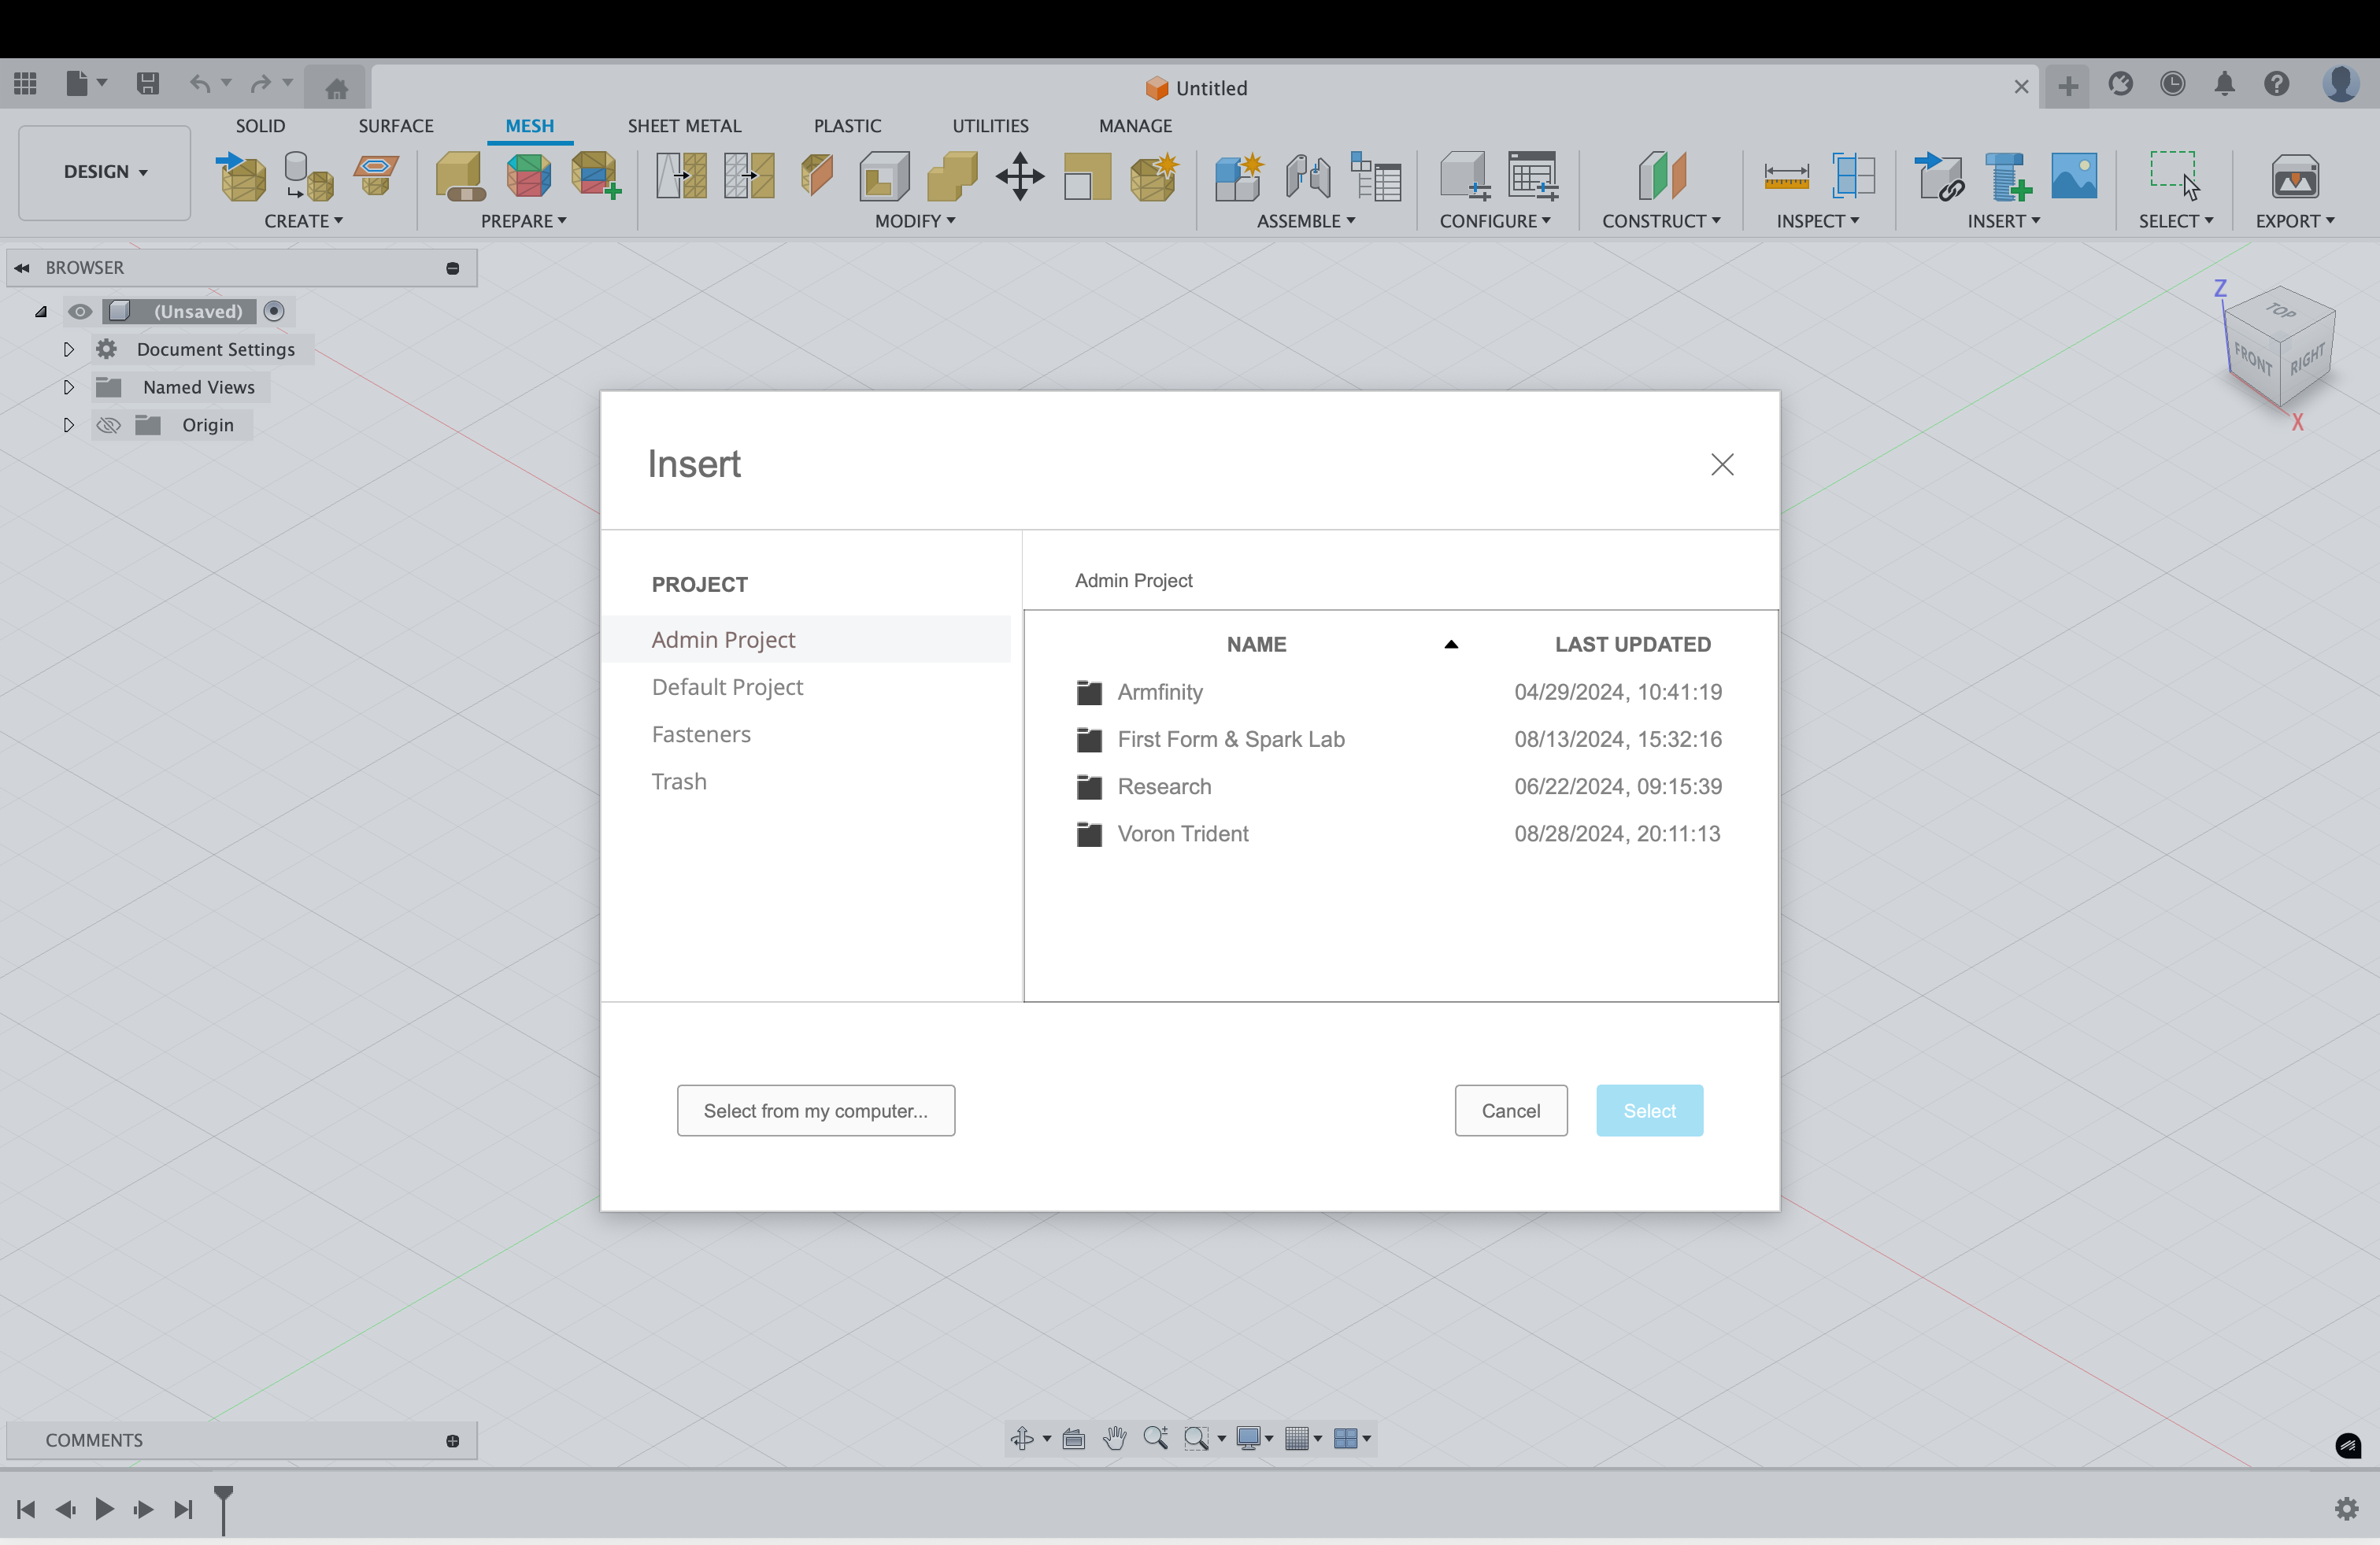
4. Open the STL File You Want to Import
Navigate to your STL file on your computer and select it. The file filter should show “Mesh Files (*.3mf *.obj *.stl)”.
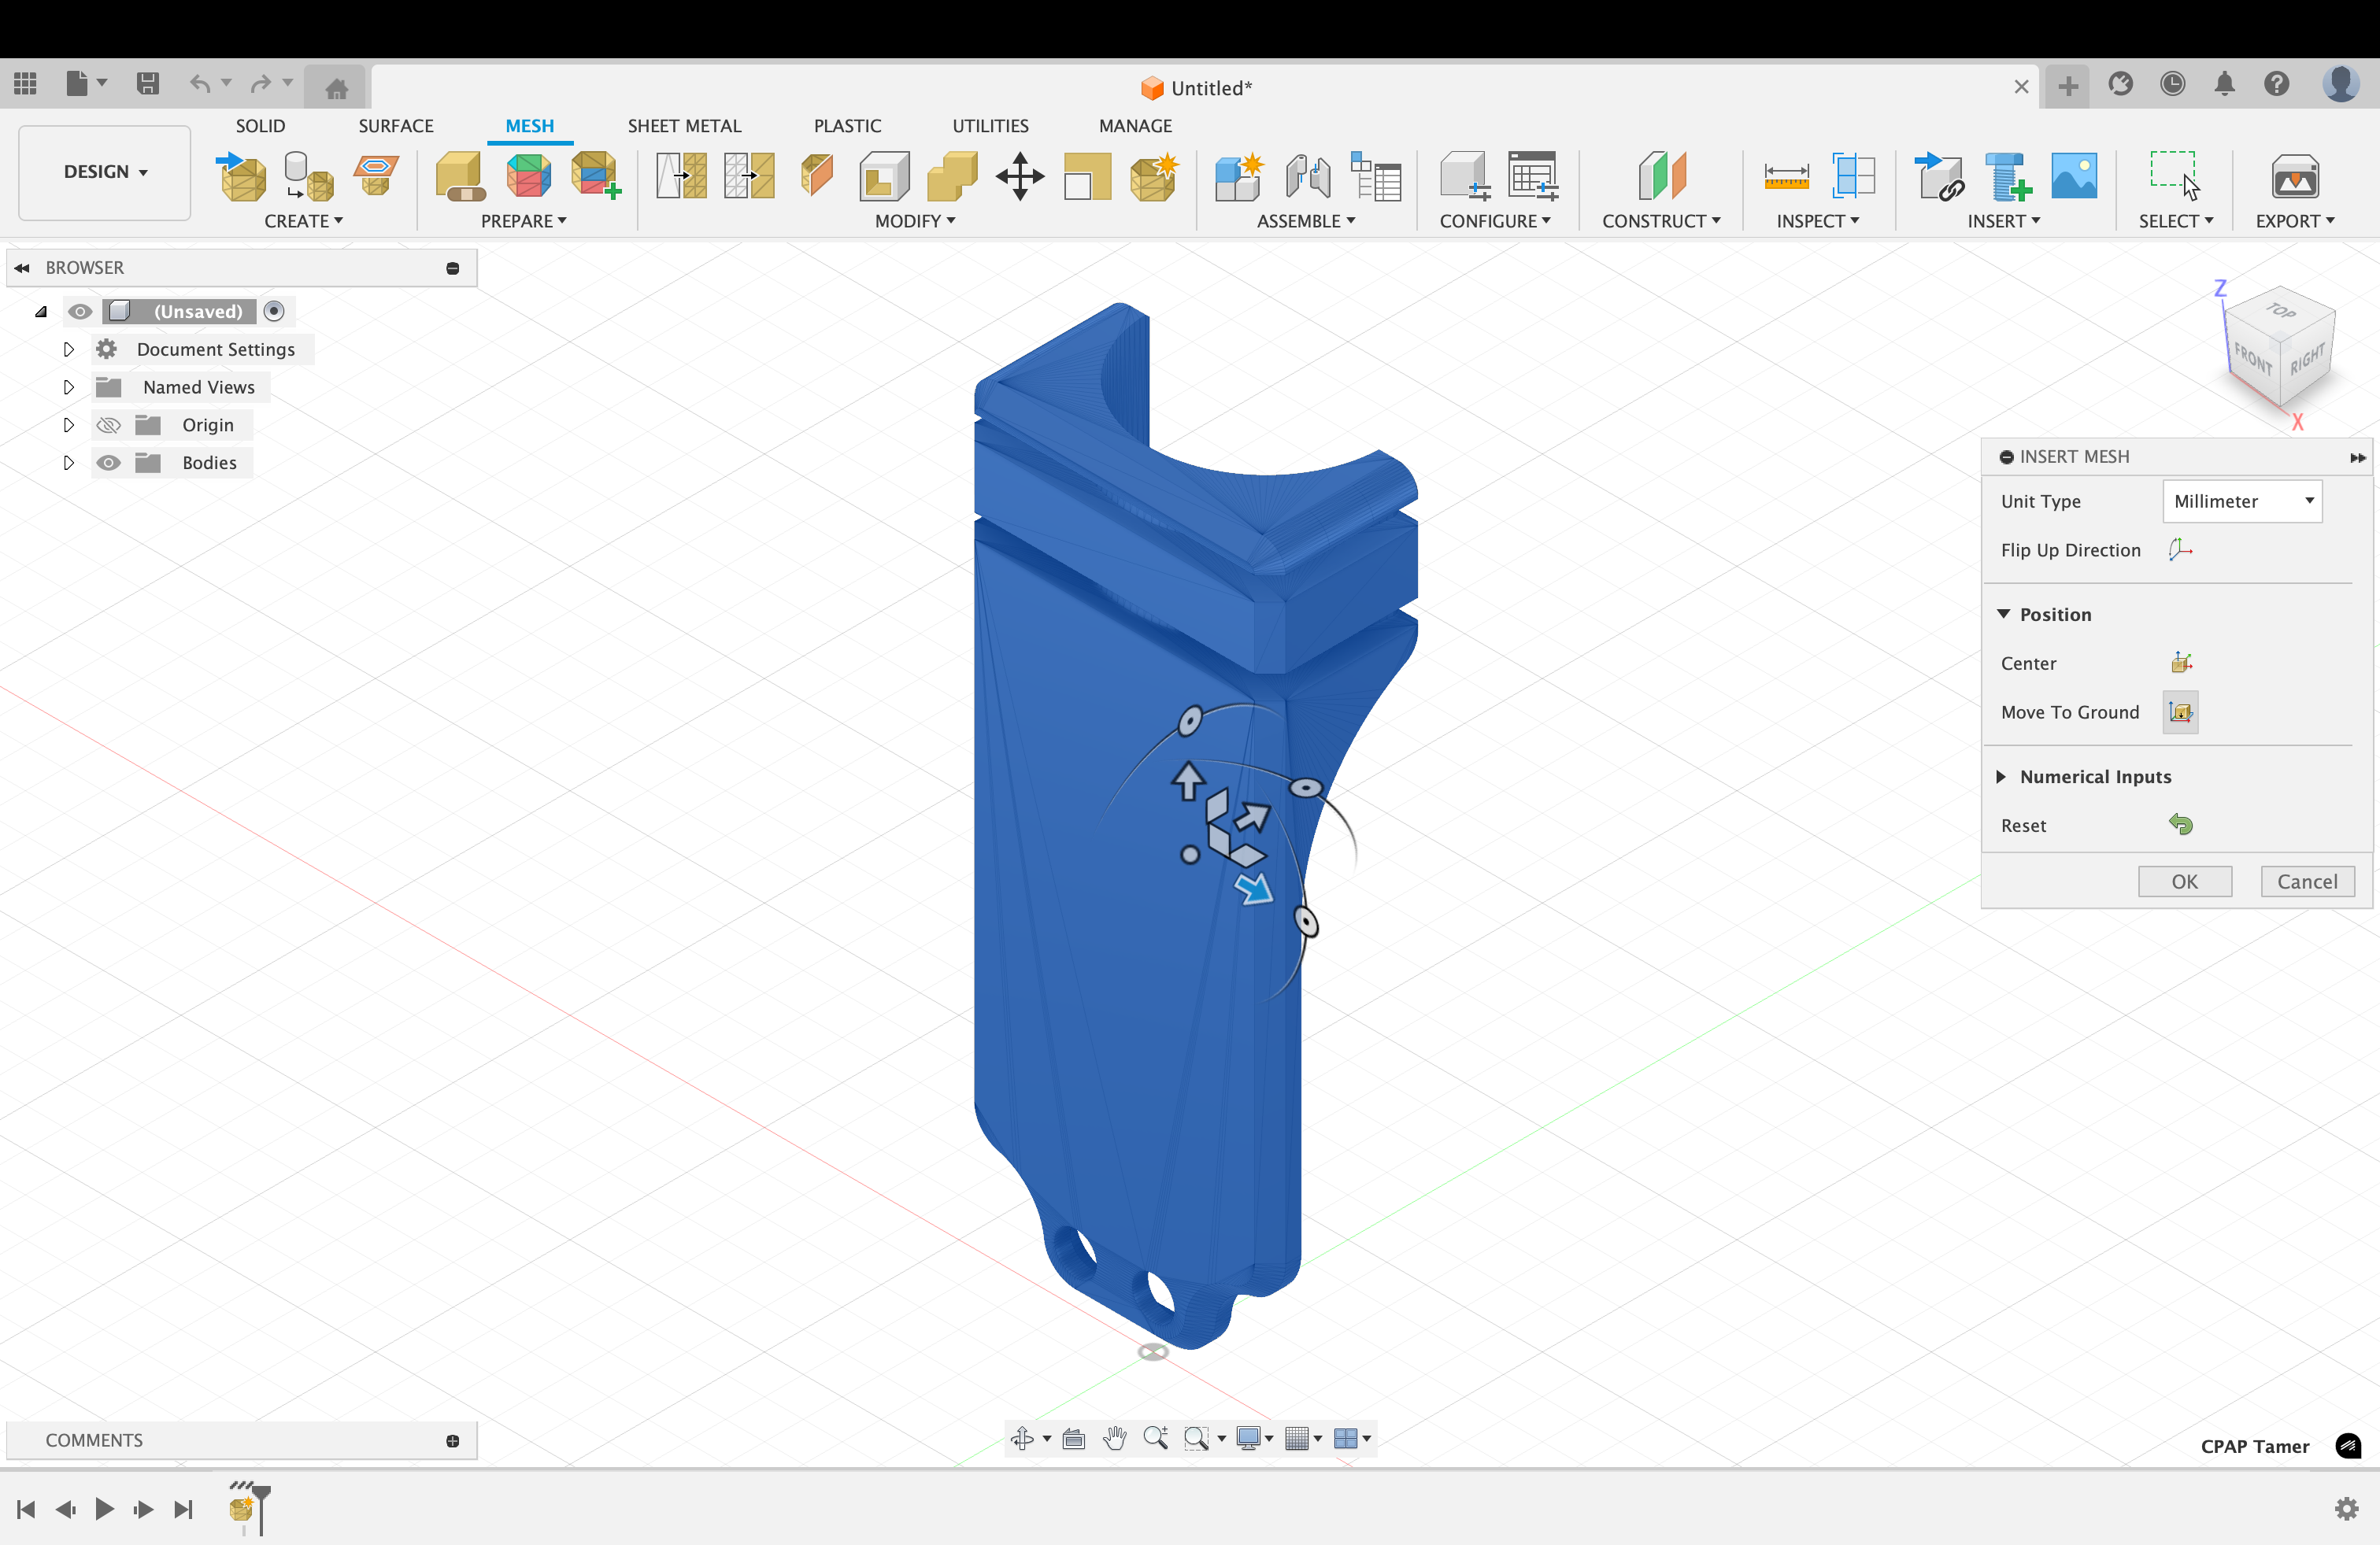
5. Click “Center” and “Move to Ground” Then Press “OK”
After importing, use the Center and Move to Ground options to position the mesh properly in the workspace, then confirm with OK.

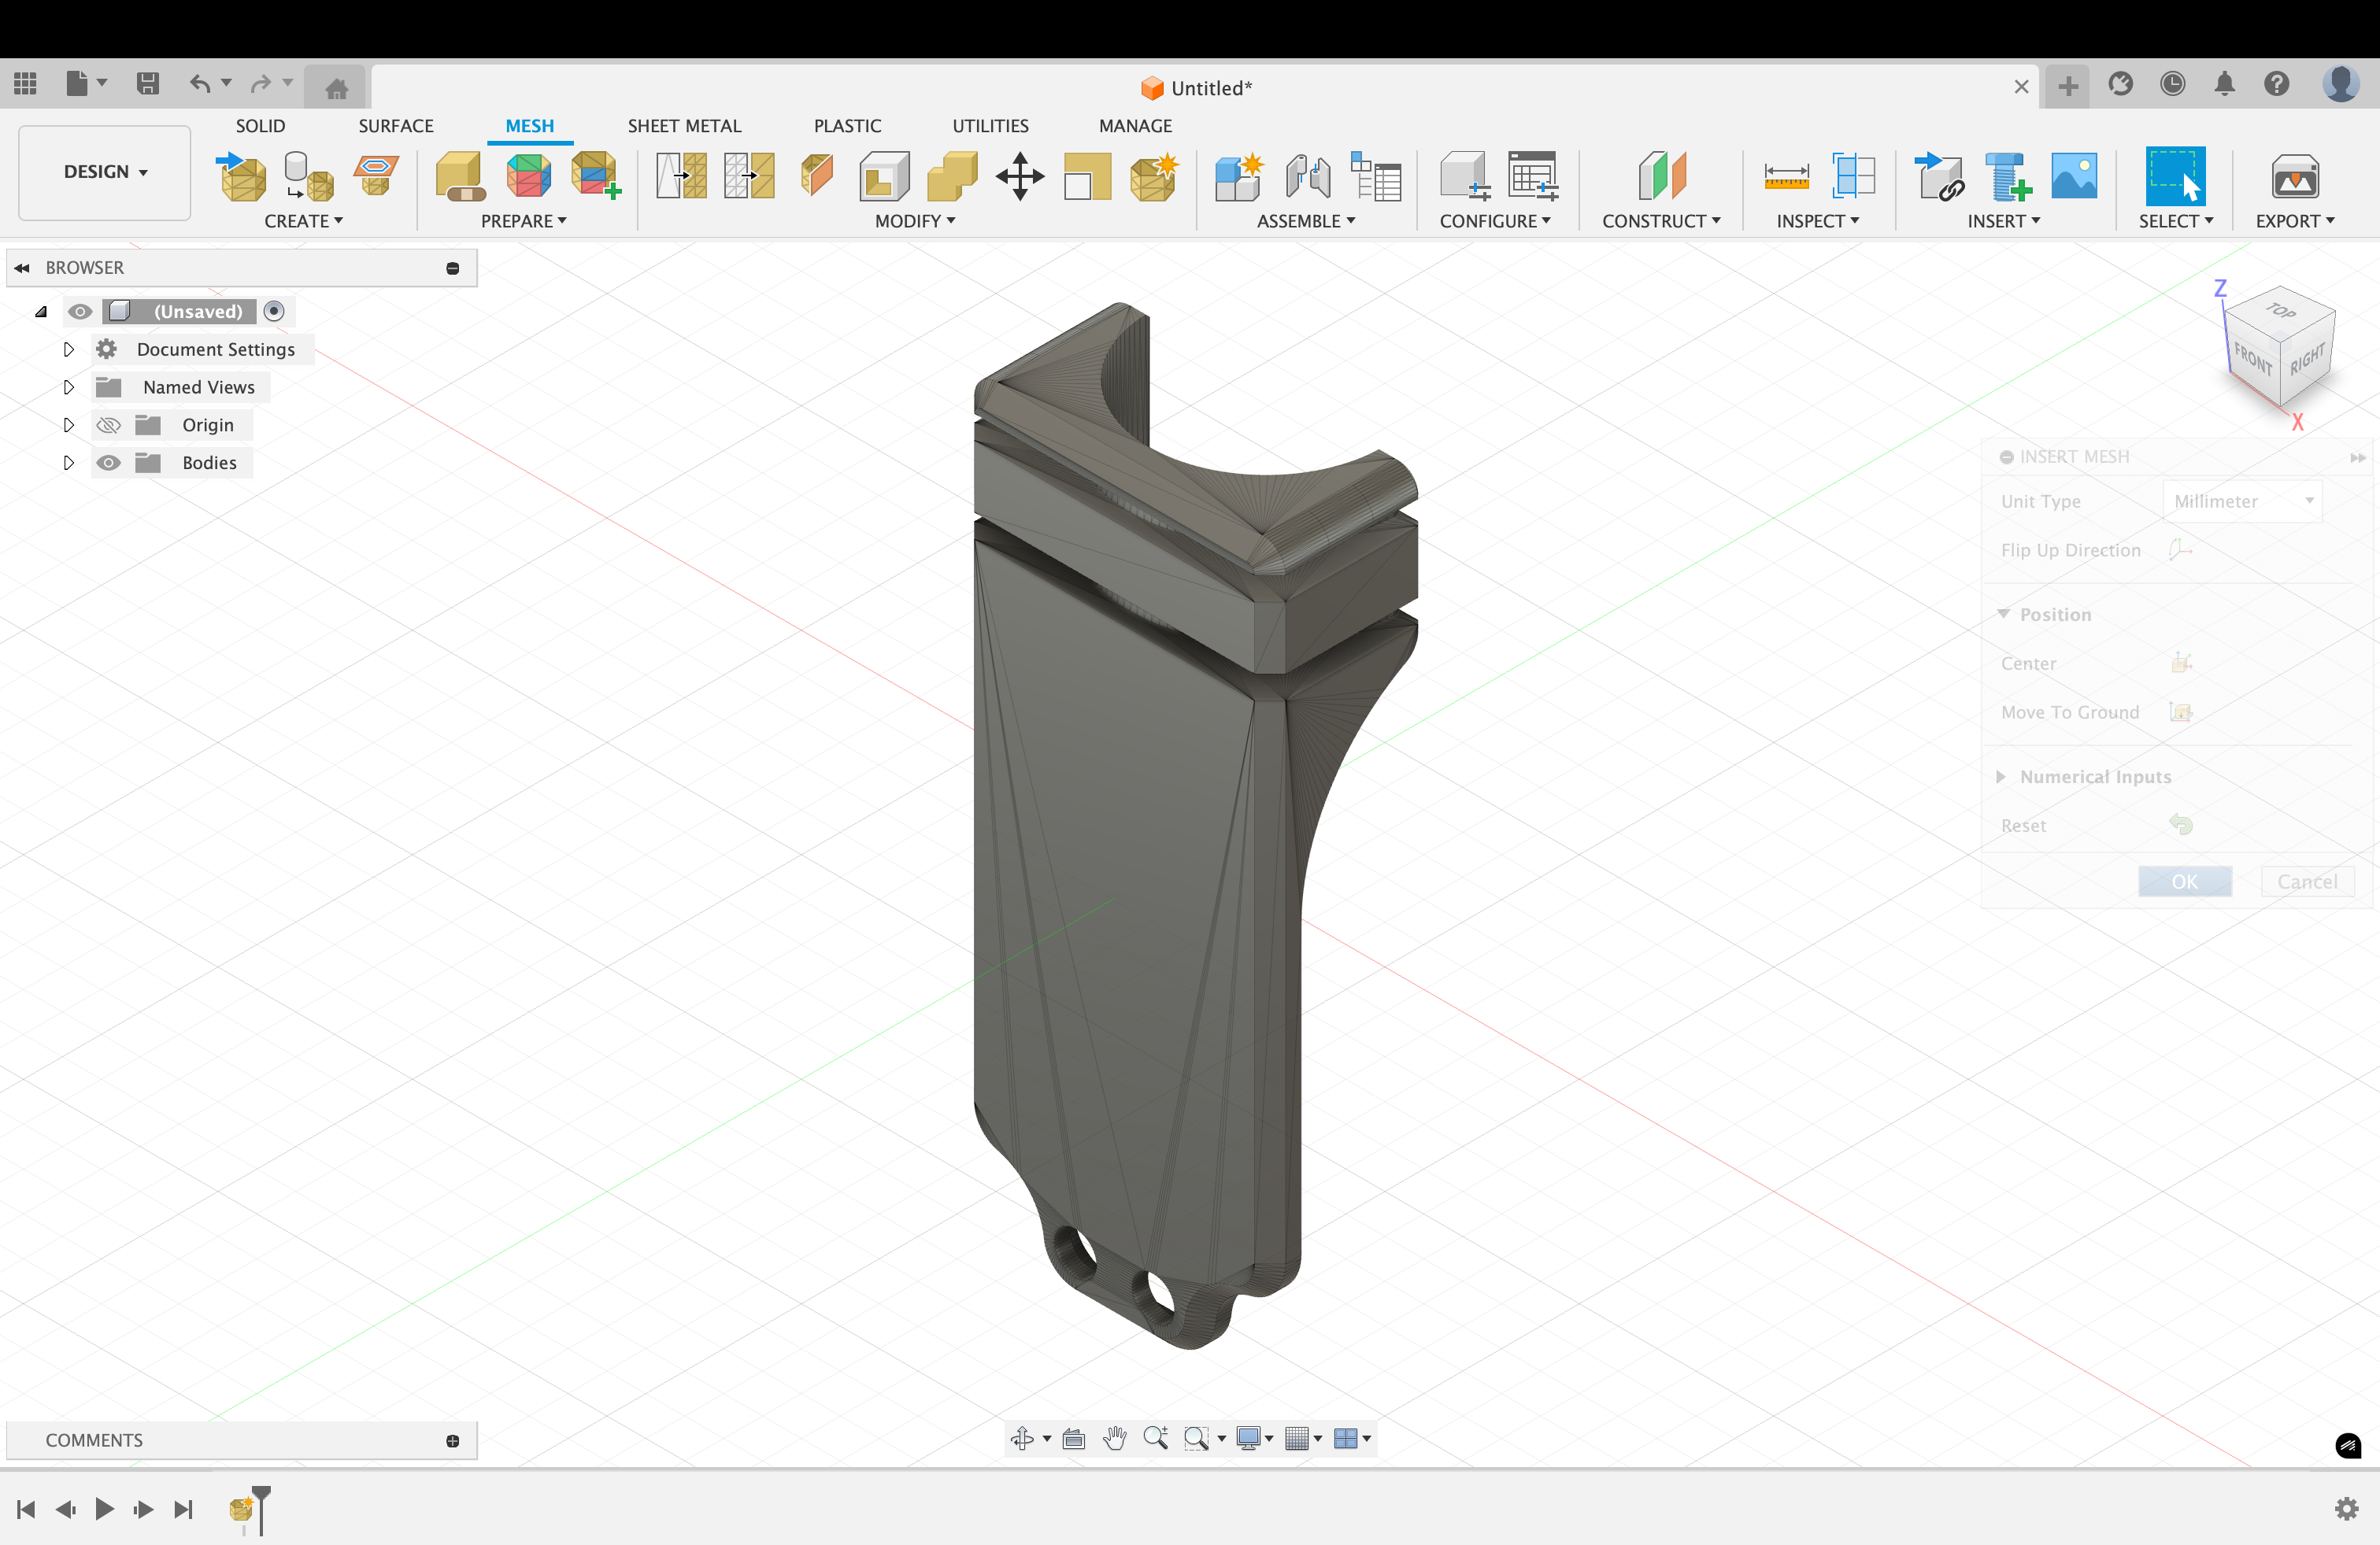
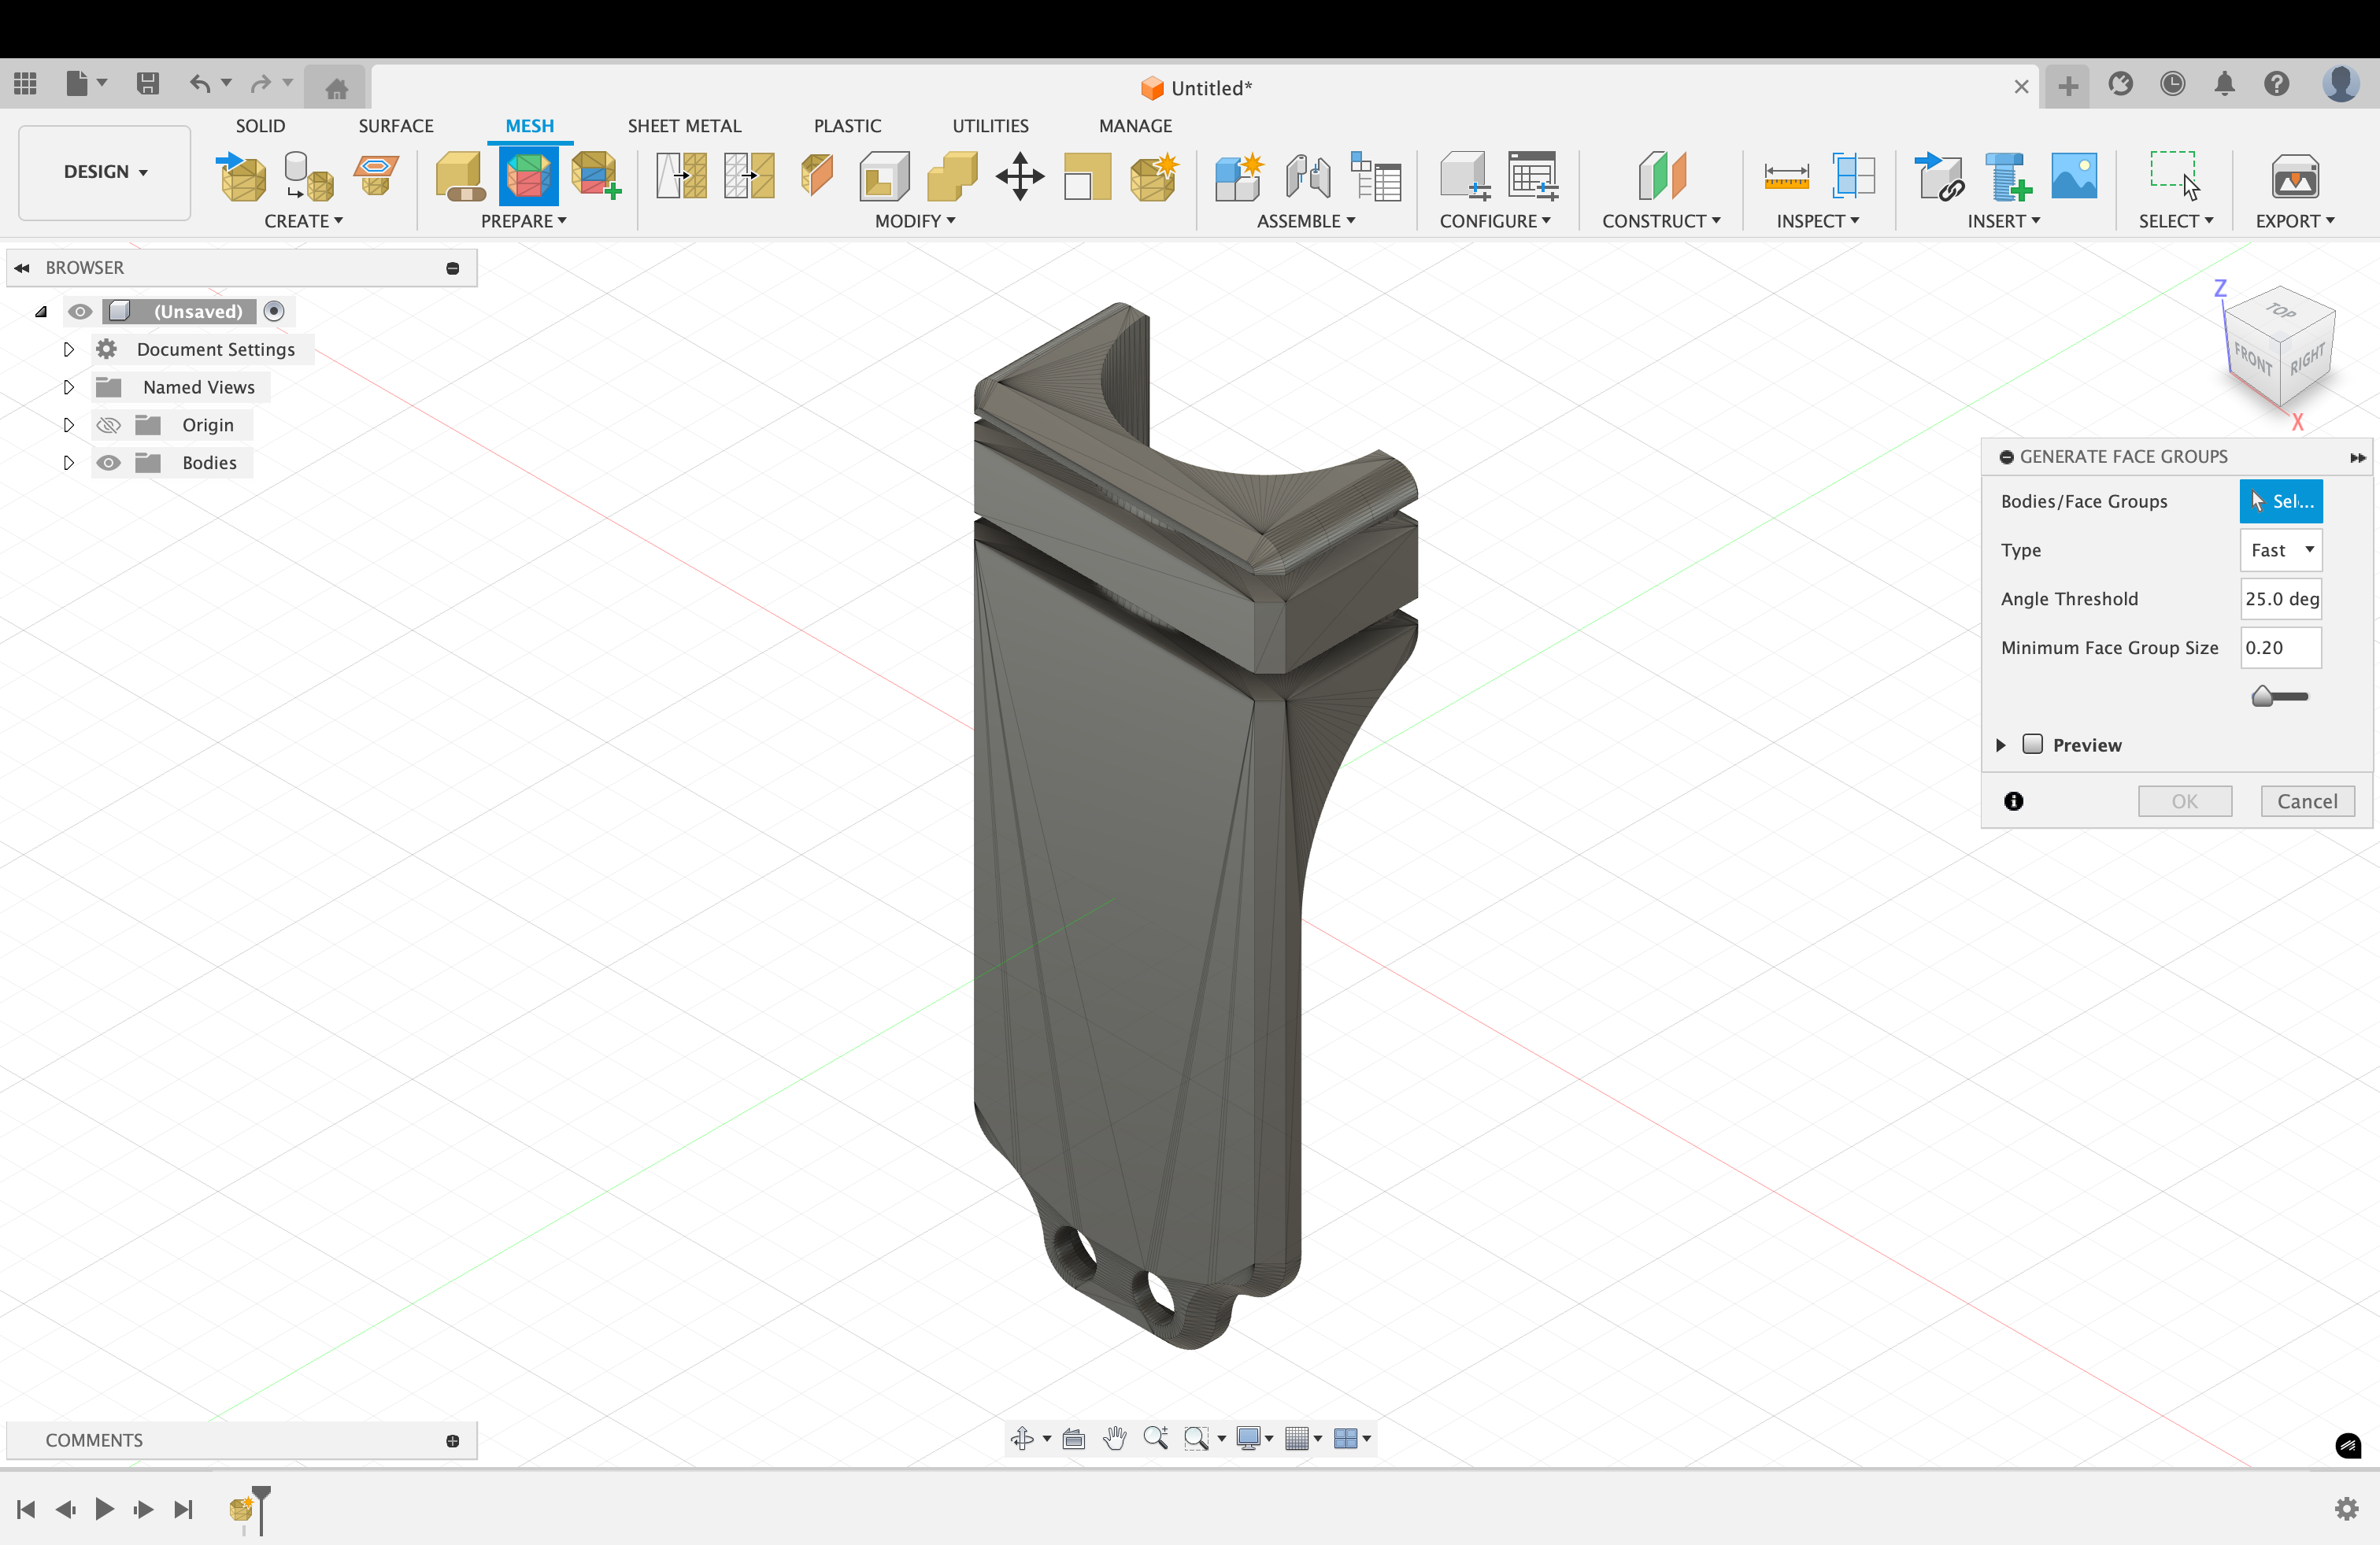
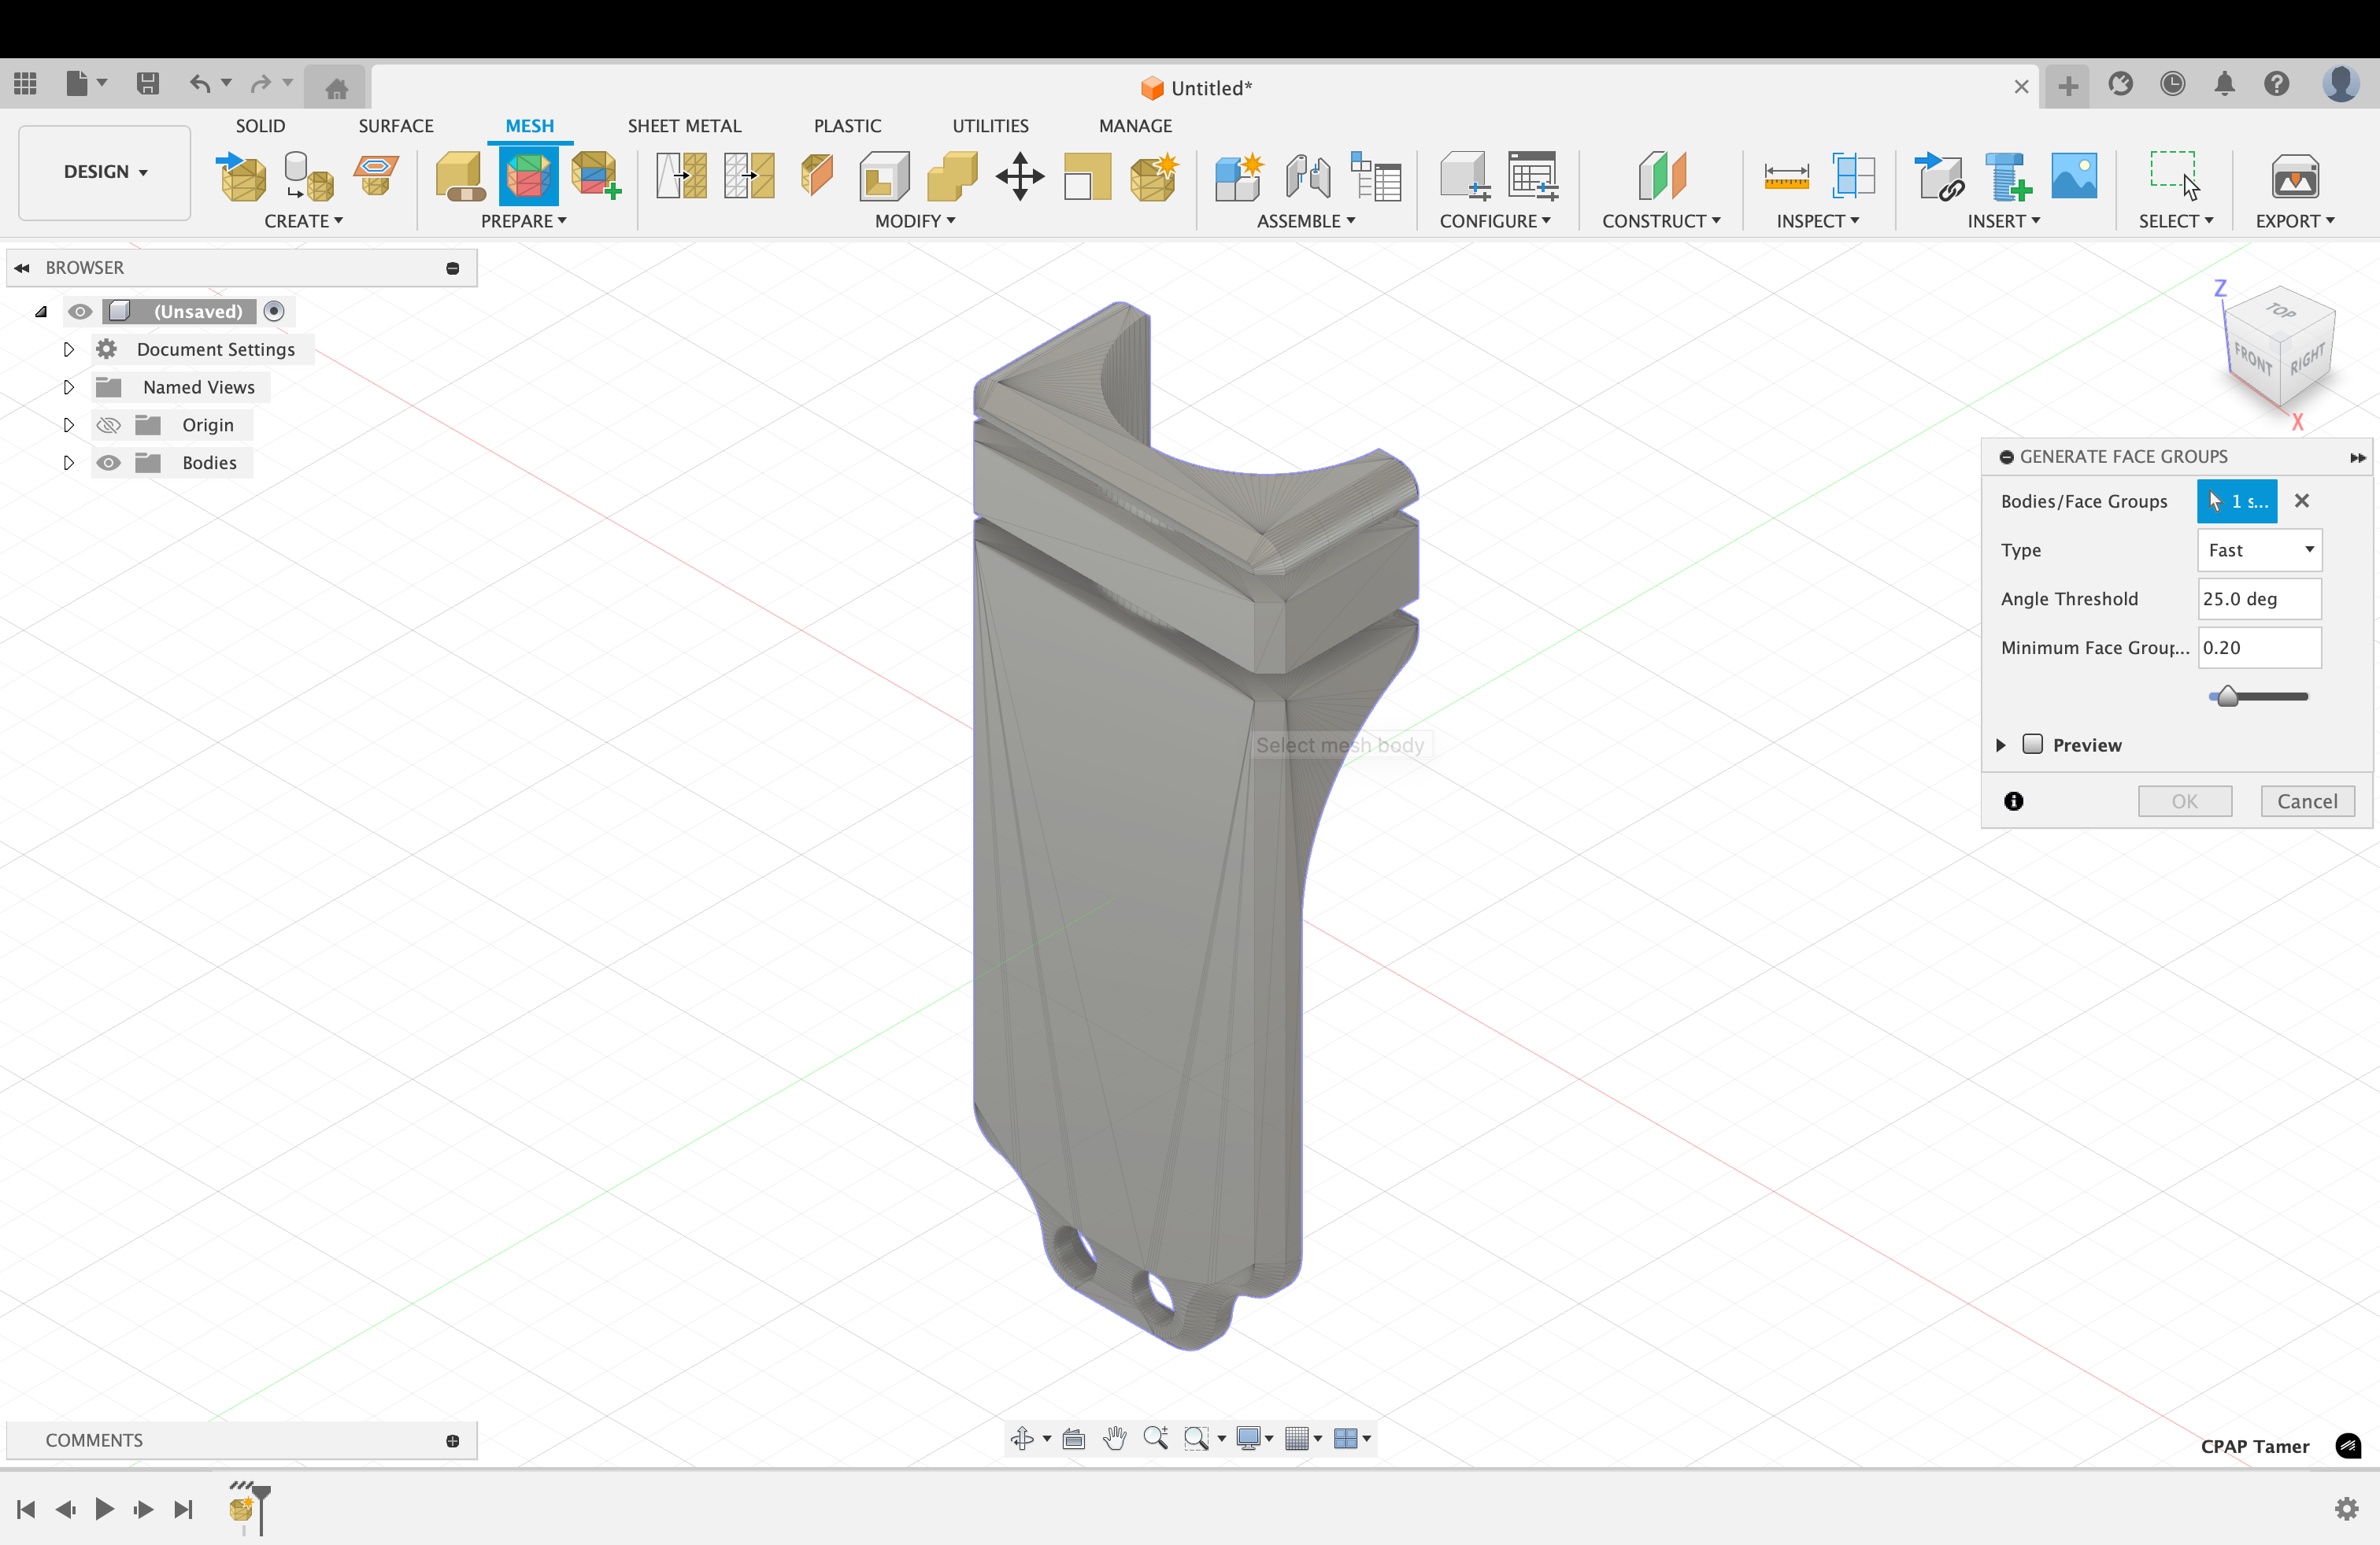
6. Click “Generate Face Groups”
In the MESH tab under PREPARE, click Generate Face Groups. This step identifies the different faces/surfaces of the mesh body, which is essential for the conversion process.
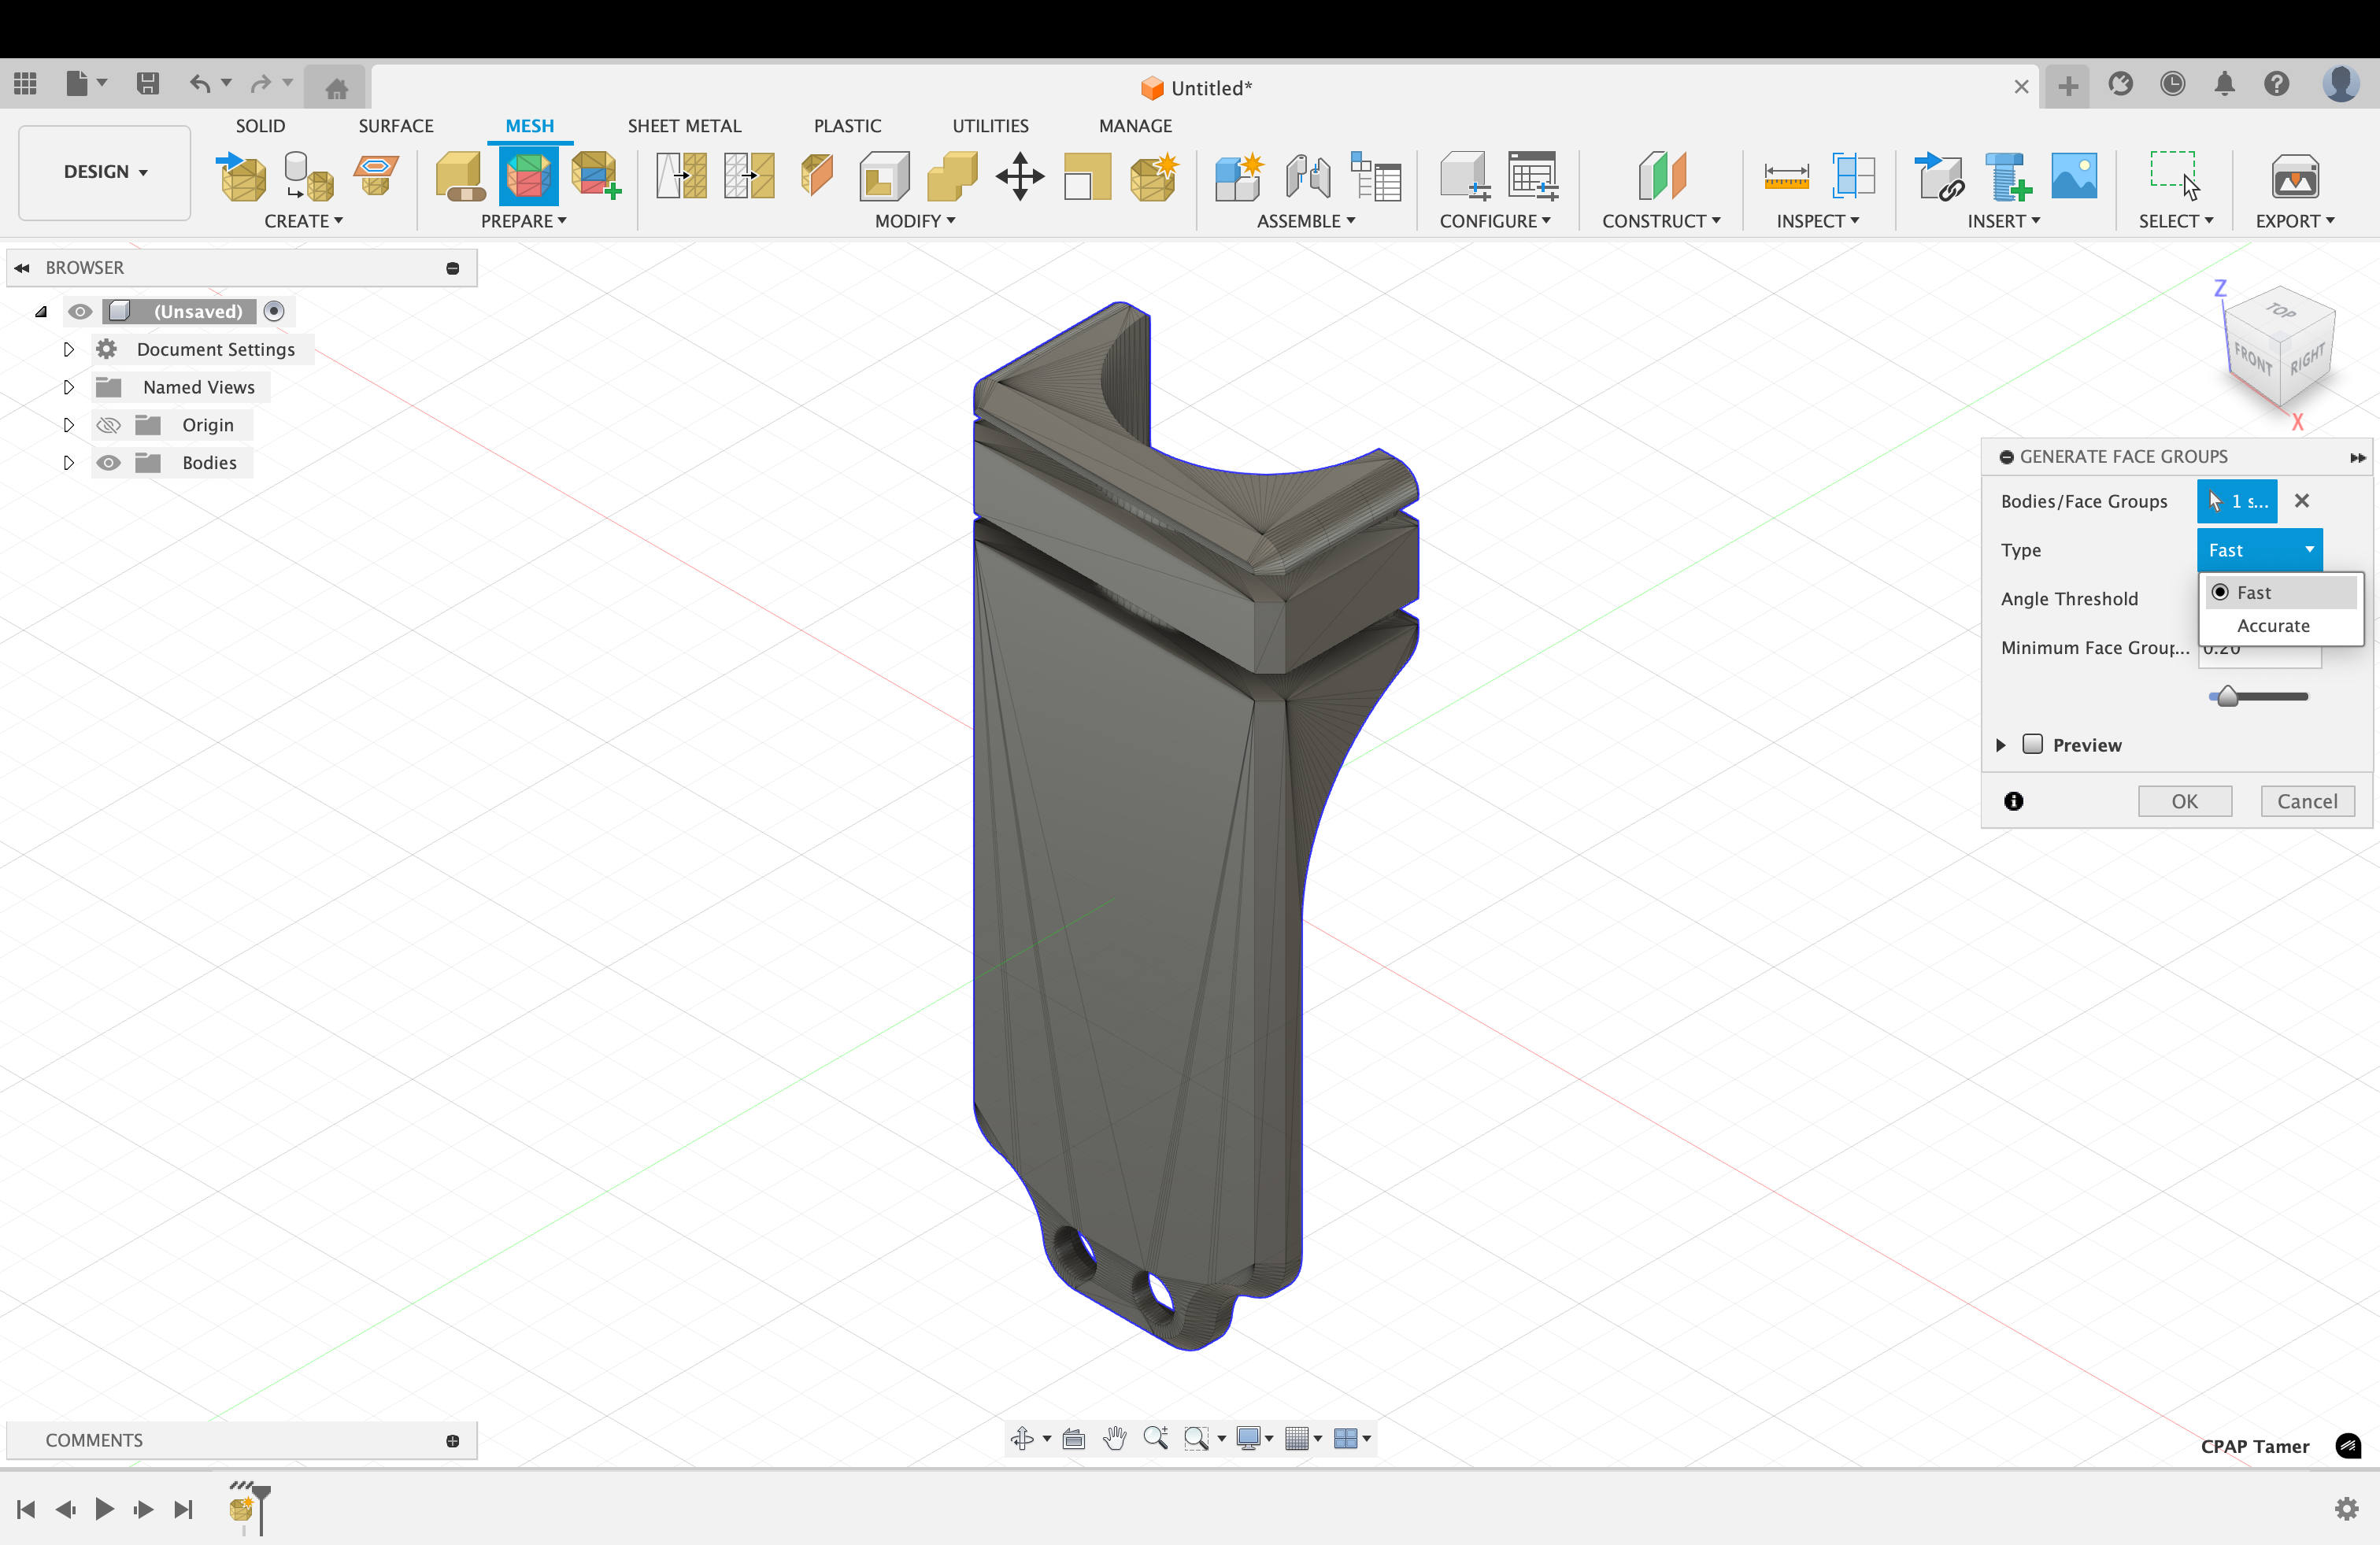
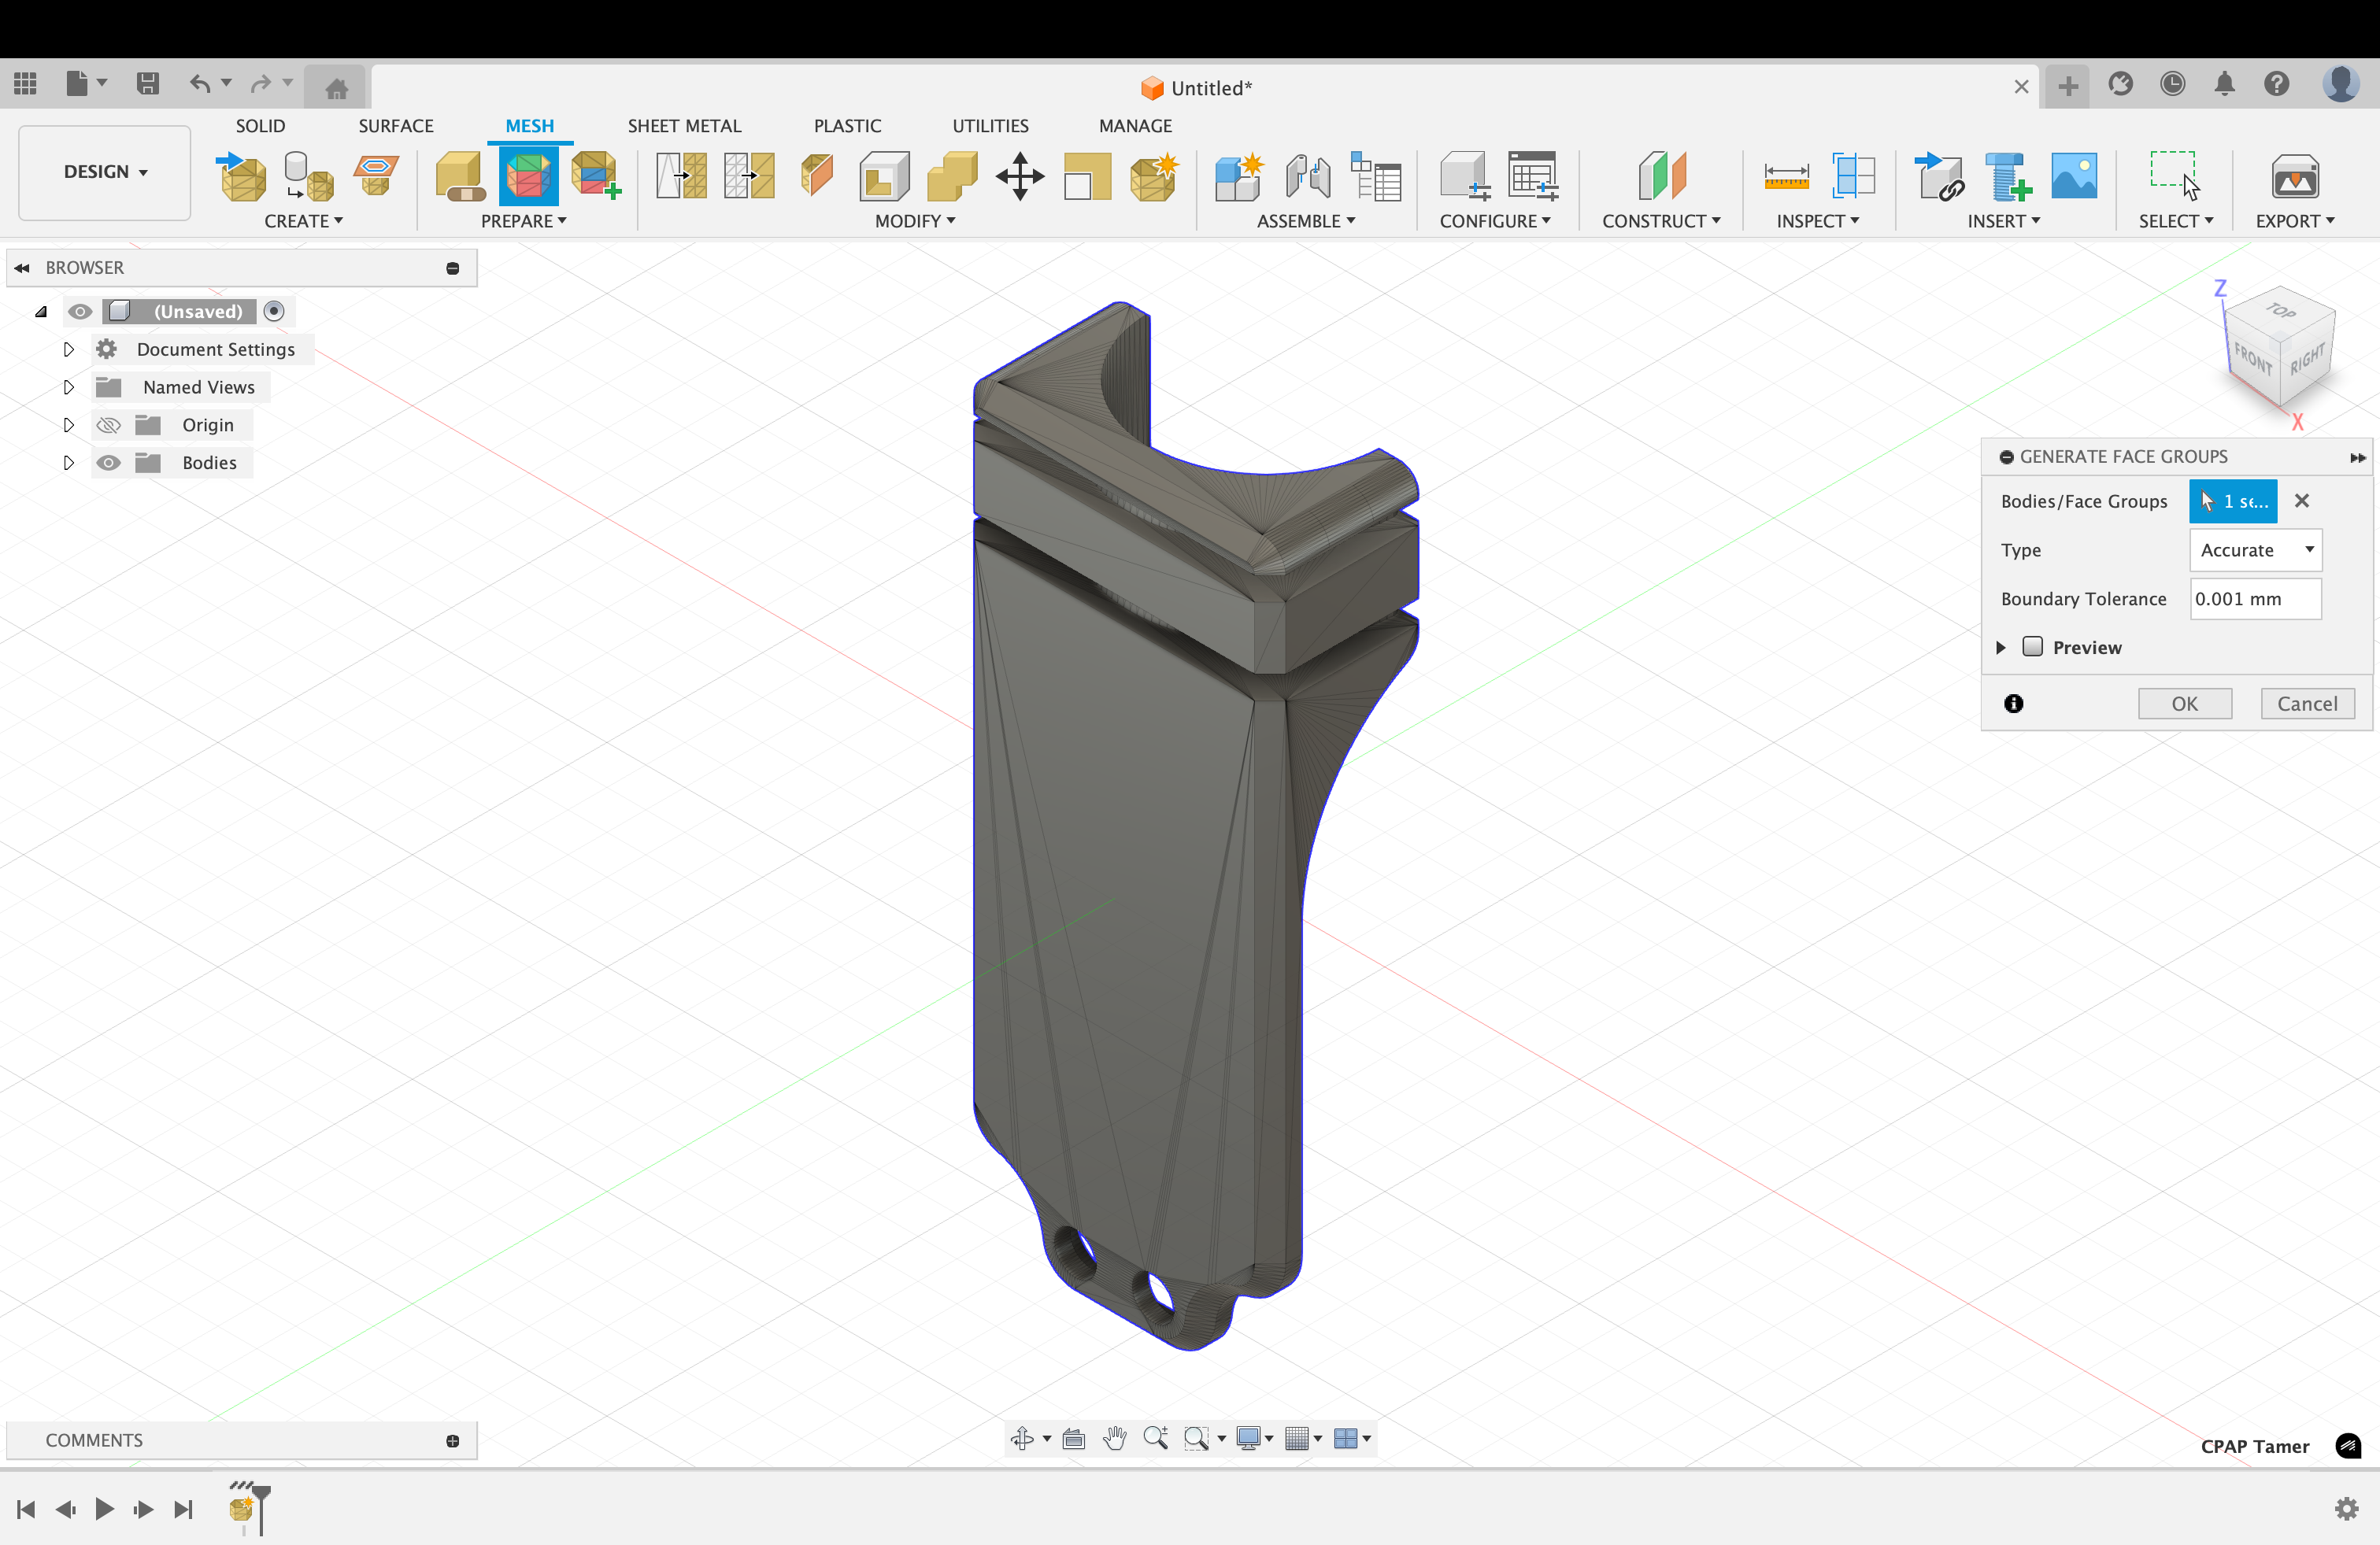
7. Select the Body and Use “Accurate” Type Then Press “OK”
“Accurate” type may take too long if the object is complicated. In this case, use “Fast”.
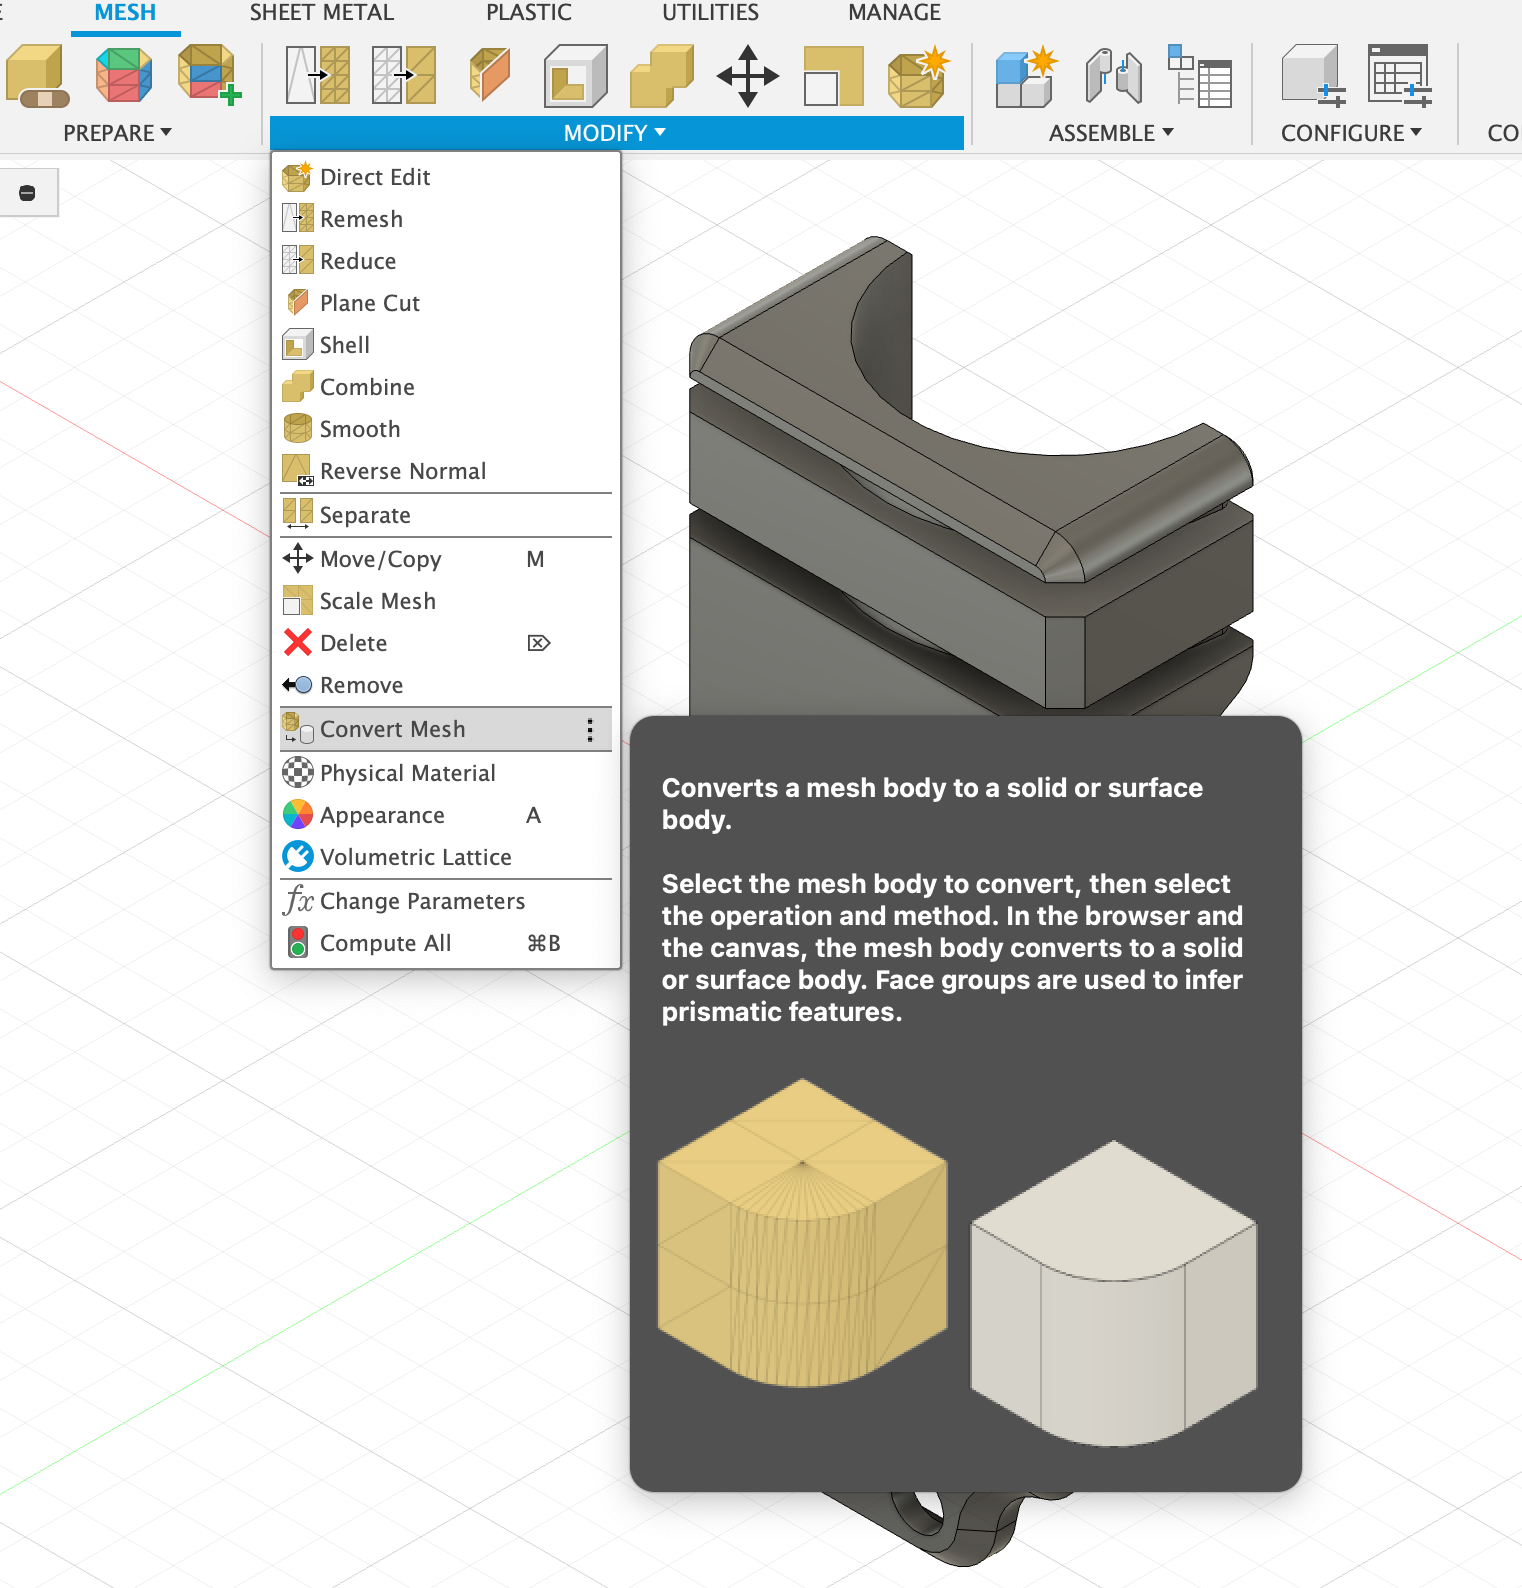
8. Click “Modify” Then “Convert Mesh”
Go to Modify > Convert Mesh. This converts a mesh body to a solid or surface body. Select the mesh body to convert, then select the operation and method. In the browser and the canvas, the mesh body converts to a solid or surface body. Face groups are used to infer prismatic features.
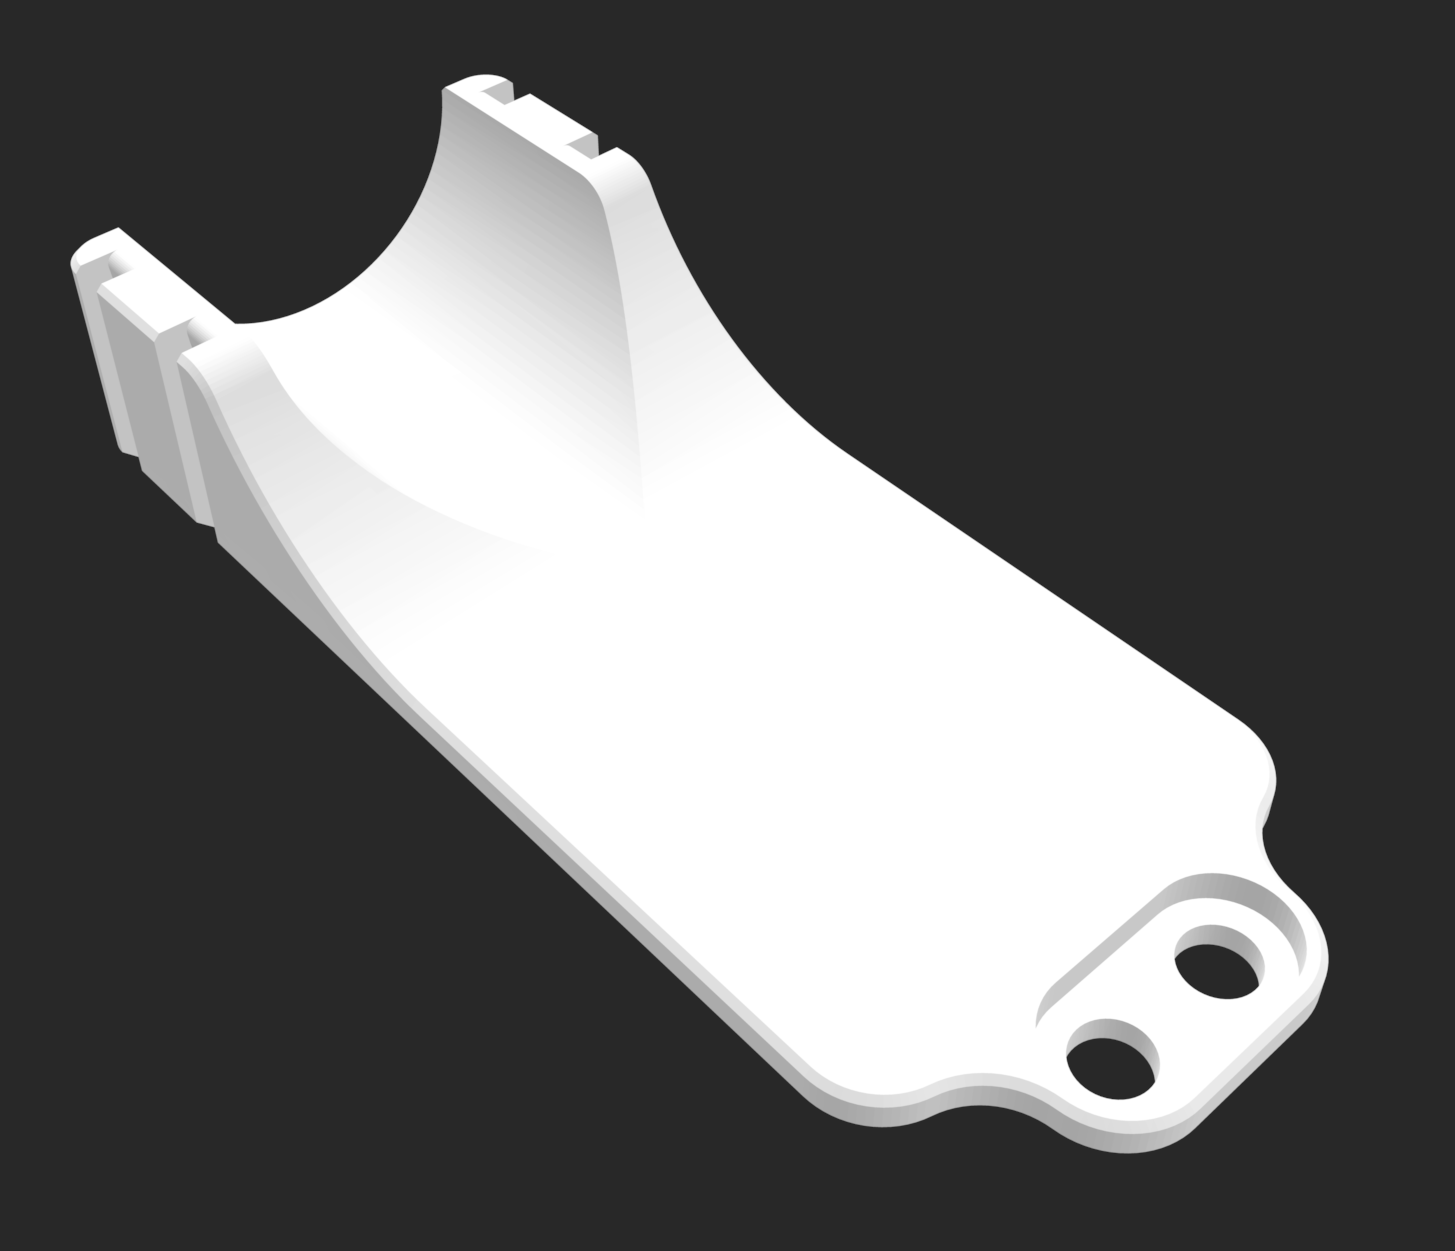
9. Successful!
If you see the solid white cylinder symbol in the bodies folder, you have successfully created a closed solid body. If not, move to the next step.
10. Prismatic Conversion May Not Work!
If you see the surface body symbol (orange open cylinder), undo the prismatic conversion and move to the next step. If you know surface modelling in Fusion, you can occasionally close the mesh and fix it.
11. Use “Faceted” Conversion If “Prismatic” Causes Errors
In the Convert Mesh dialog, change the Method to Faceted (the first icon). This approach retains the mesh facets but creates a solid body that can be edited with Fusion’s standard tools.
12. Successful!
Faceted conversion is not ideal due to facets being retained, but may be the only option for bodies with complex geometry. You can now use Fusion 360’s standard modelling tools to edit the converted body.