Creating and Submitting Print Plates
This guide walks you through creating a print plate in Orca Slicer and submitting it for printing at Spark Lab.
1. Follow the Orca Slicer Setup Guide
Please go through the Orca Slicer First-Time Setup Guide before using this guide.
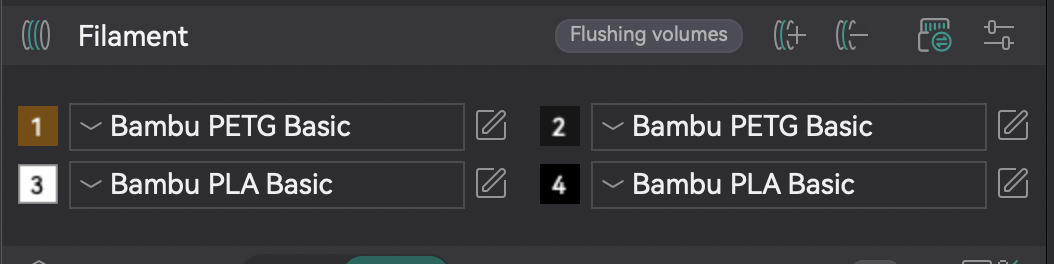
2. Sync AMS Filaments
Click the sync button in the Filament section to synchronize the available filaments from the printer’s AMS (Automatic Material System).

3. If the Material You Want Isn’t in the AMS
If the material you want isn’t in the AMS, follow the next step but make sure you don’t start the print until you have the right material and print plate on the printer. Read the “Using the AMS System with the Bambu X1C” guide.
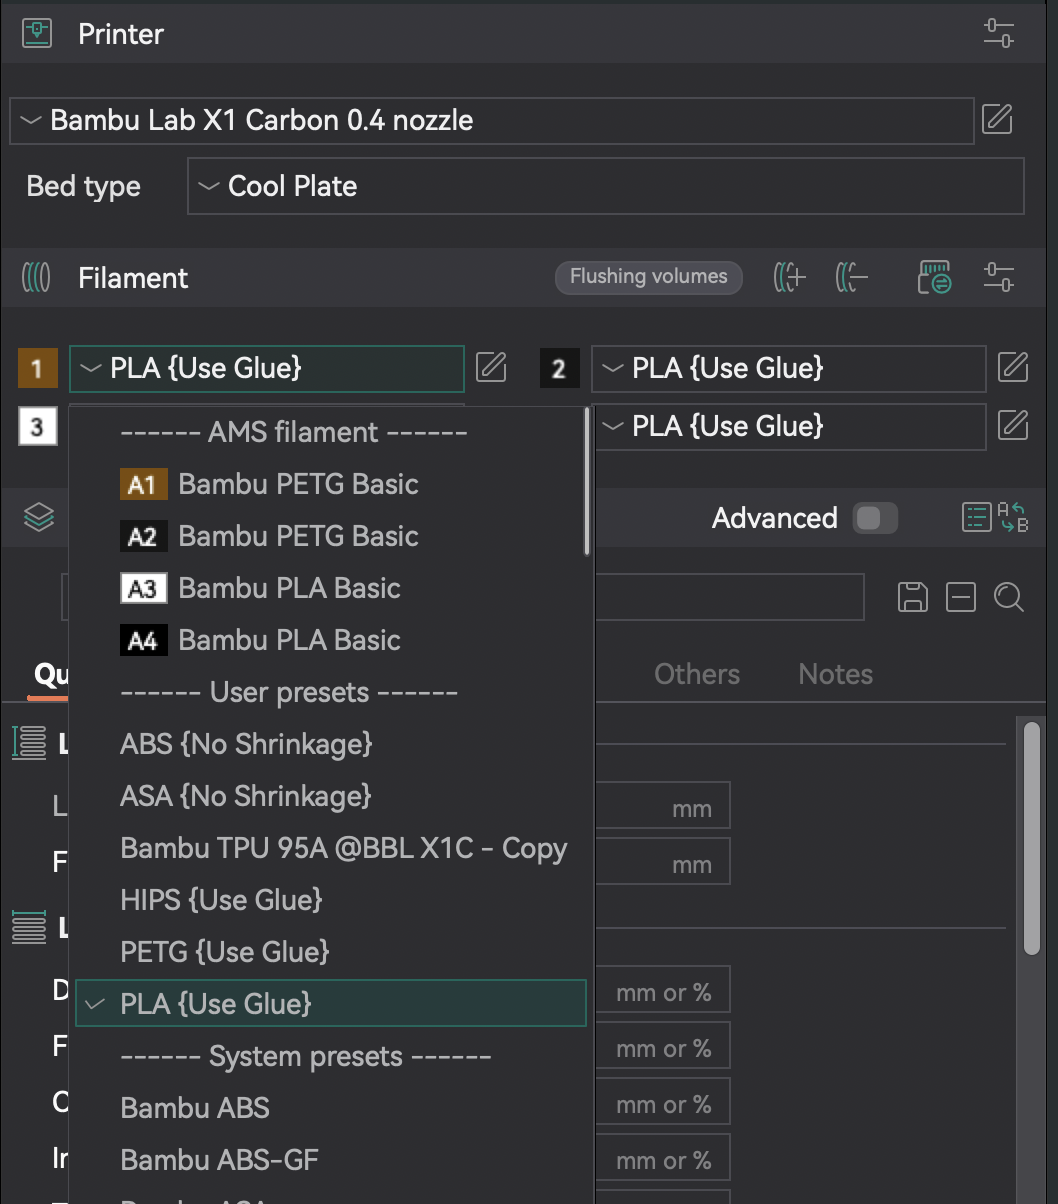
4. Change Filaments to User Presets and Change Bed Type
Change the first slot (or all of them) to the material you want in the User presets (or system if your material doesn’t have a user preset). If you use the system presets, the print may fail. Use bed “Cool Plate” for PLA, and “Engineering Plate” for everything else (or textured PEI plate if available).
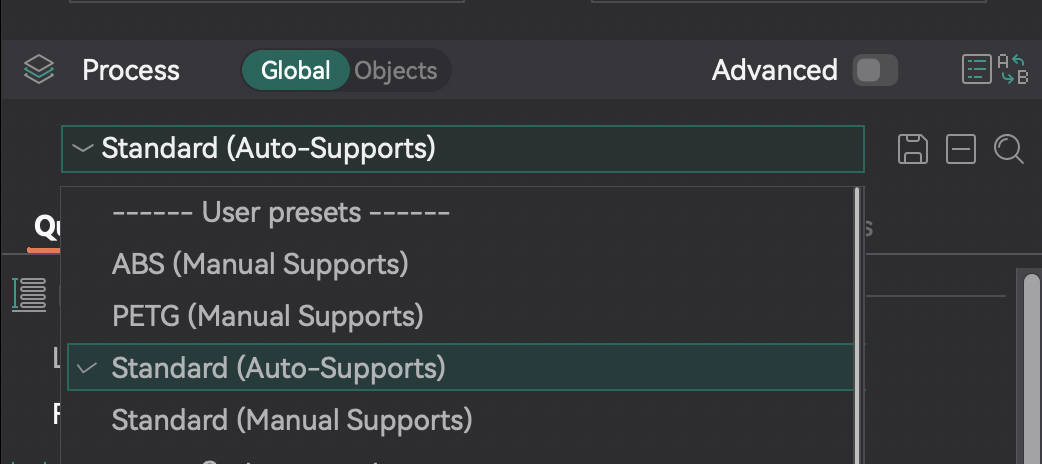
5. Use a “User Preset” Process
Usually you can use the “Standard” or “Normal” preset. Occasionally there may be a special process for materials other than PLA. More advanced users can use “Manual Supports” or create a custom print profile.
6. Add Items to Your Print Plate
If adding multiple items, select them all and press “Open”.
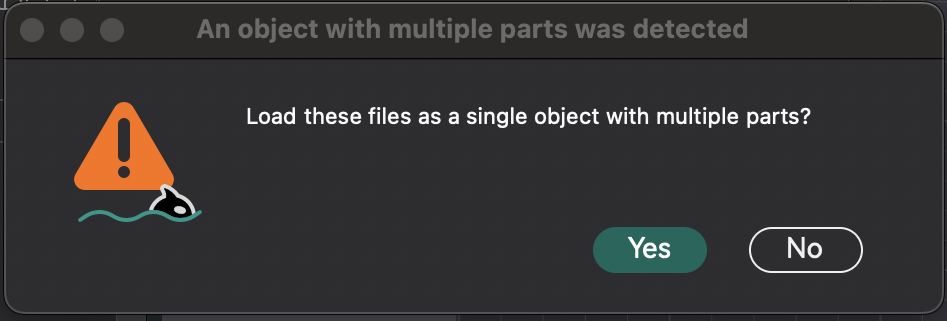
7. Select “No” If Adding Multiple Items
When prompted “Load these files as a single object with multiple parts?”, select No if they are separate objects.
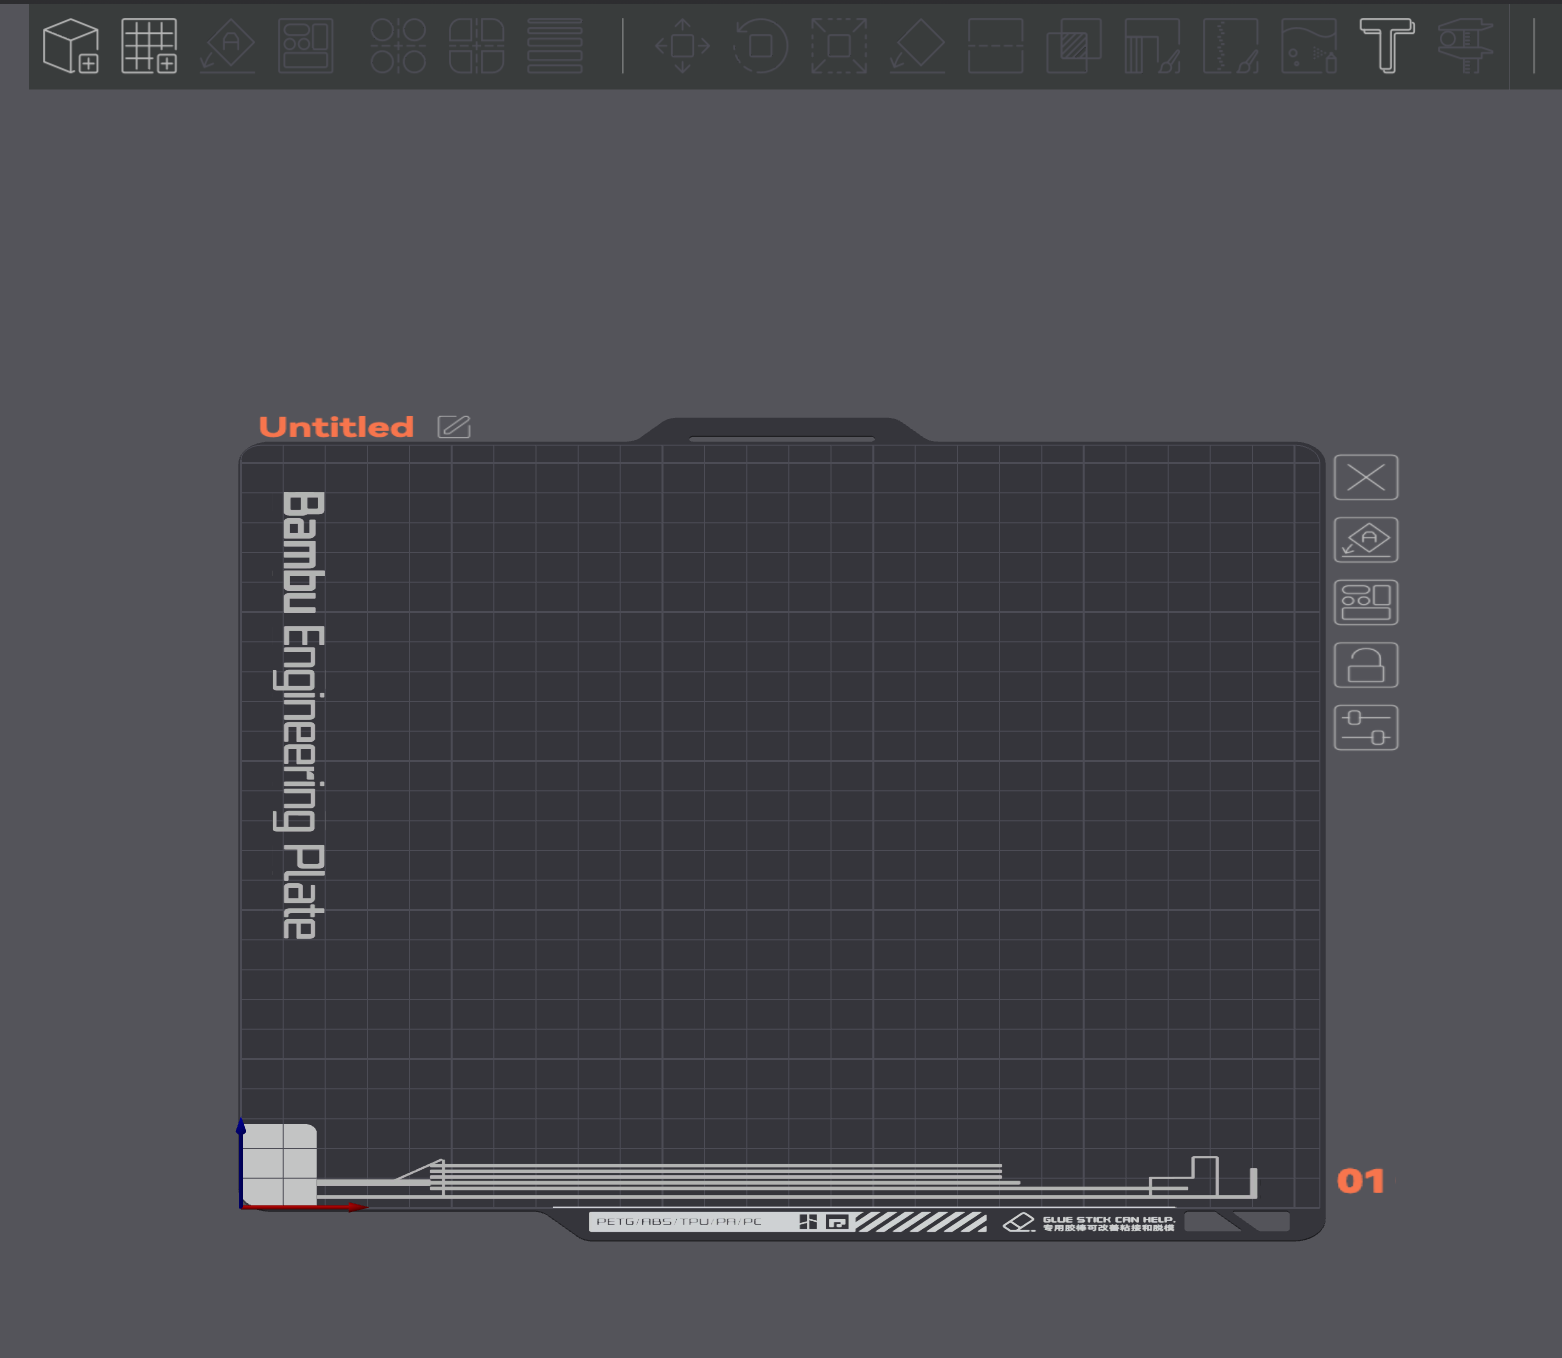
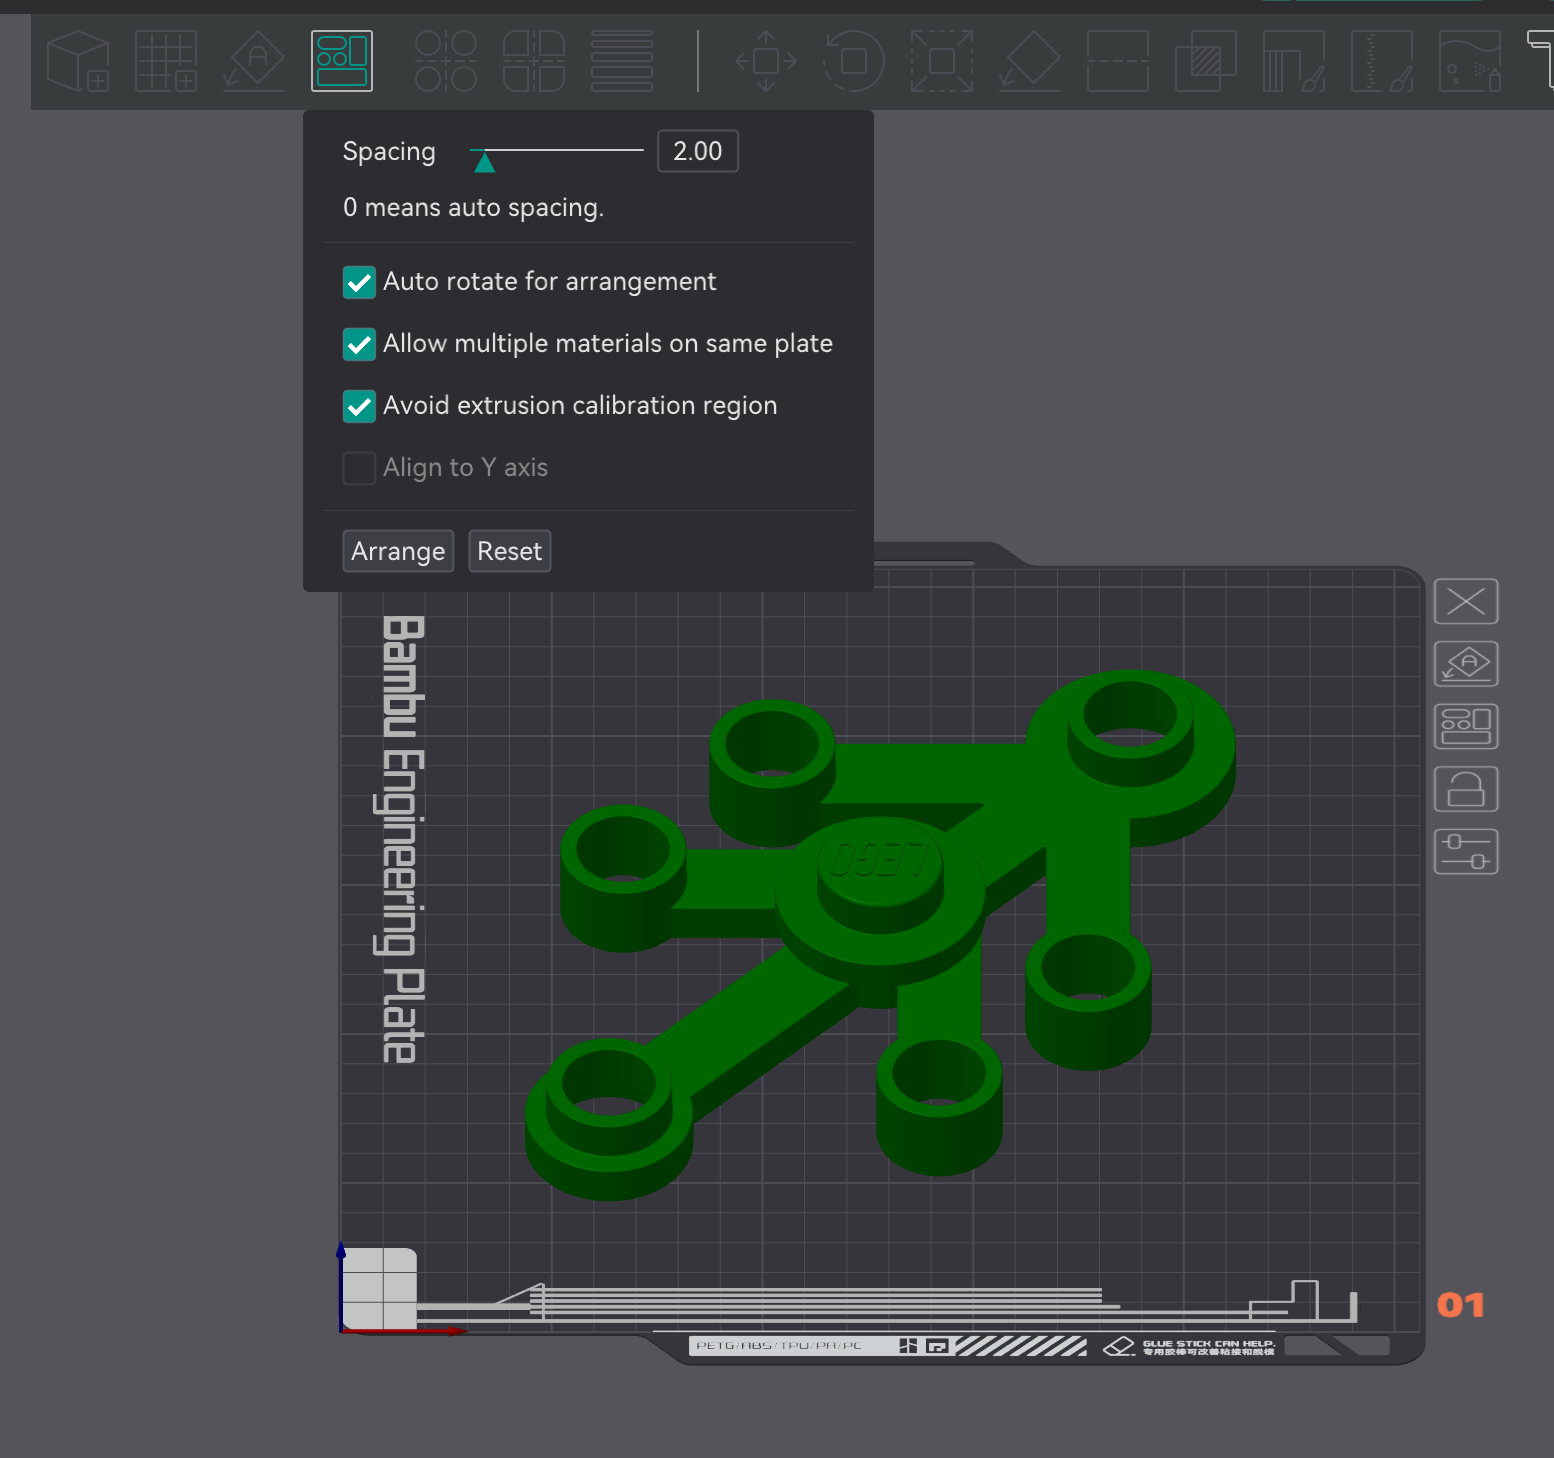
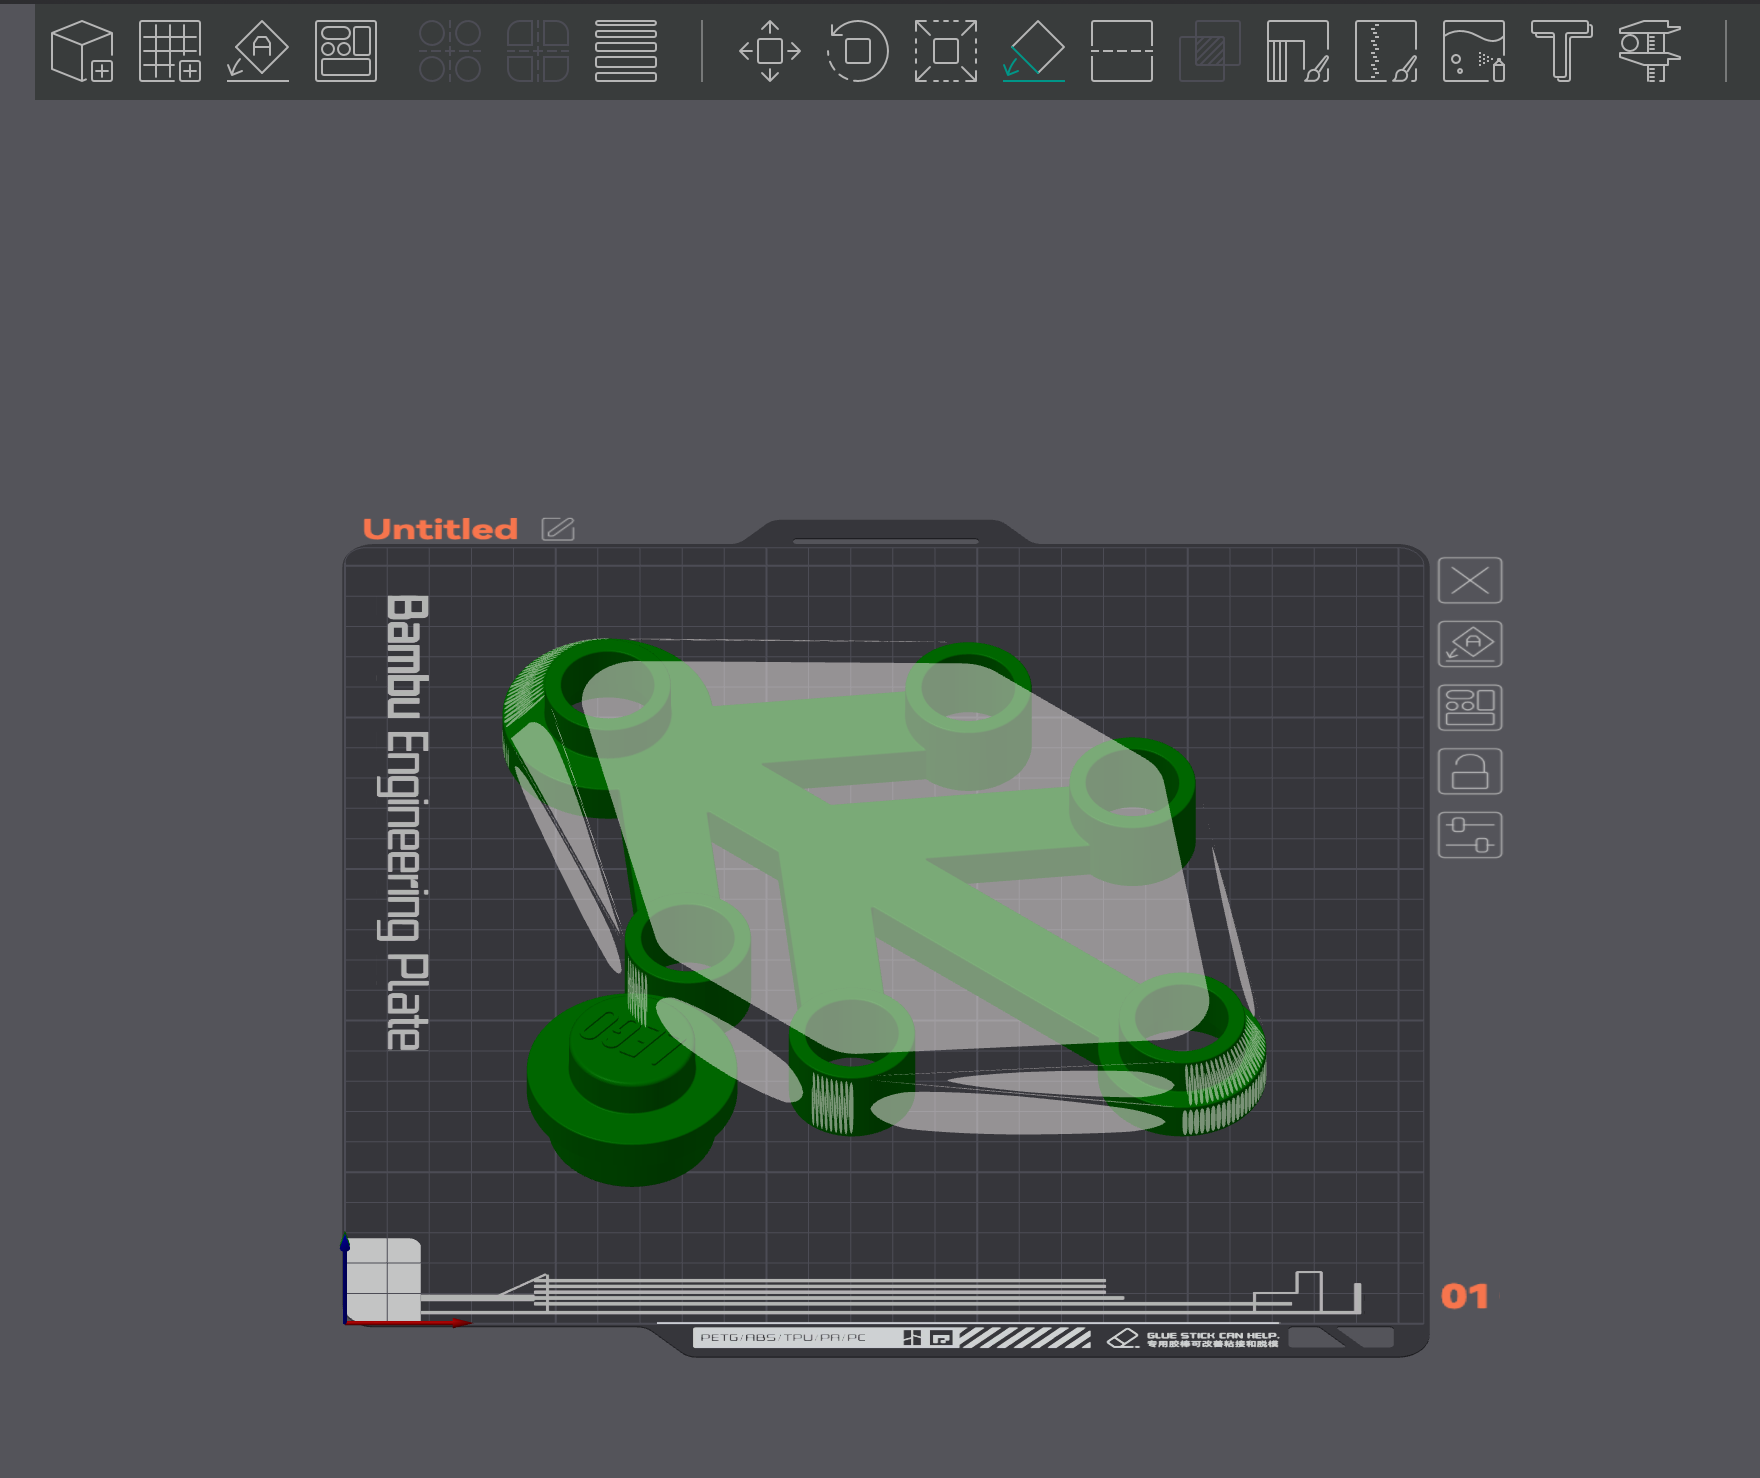
8. Press “Arrange All Objects” Button
Use at least a spacing of 2.00. The “Auto rotate for arrangement” is optional but helpful. Press “Arrange”. If you put too many items, they will be put off the build-plate.
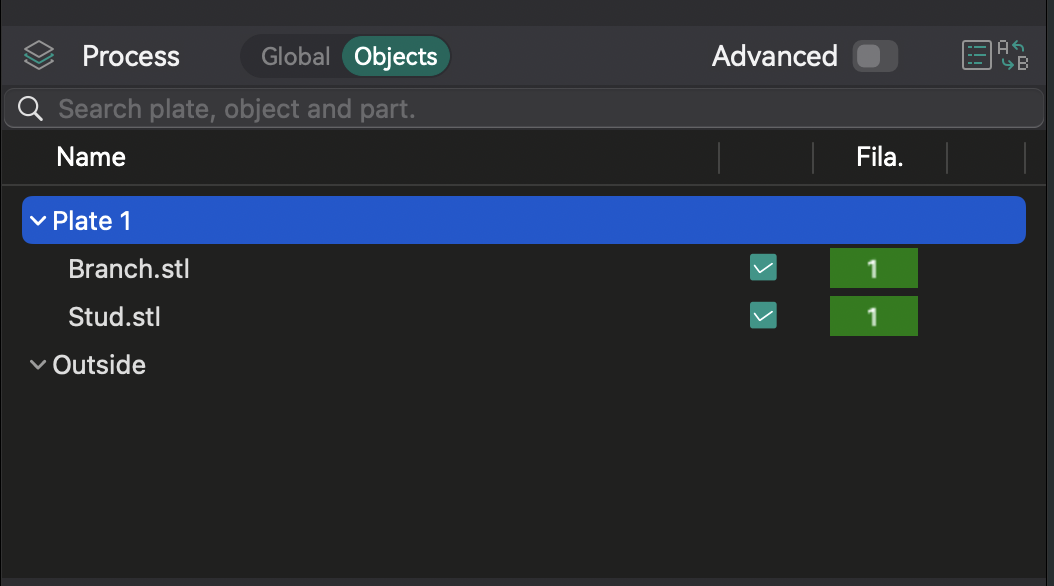
9. If Some Items Disappear After Auto-Arrange
This means you may have to manually arrange your items, or you have too many items. They will be put in the “Outside” section in “Objects” in the “Process” section.
10. Press “Auto Orient”
This may help with printing objects in the correct orientation.

11. Use “Lay on Face” for a Specific Orientation
Orca Slicer isn’t that smart, so you may want to lay objects on a certain face to avoid unnecessary support material.
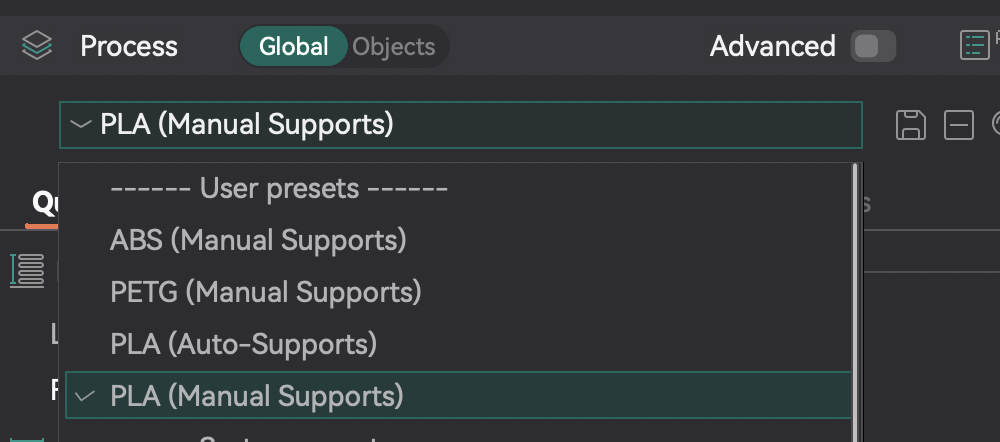
12. (Optional) Add Manual Supports – Part 1
If auto-supports look wrong to you, you can add manual supports. Switch the process to one with manual supports (e.g., PLA (Manual Supports)). Read the “Support Material in 3D Printing” guide if you are confused.
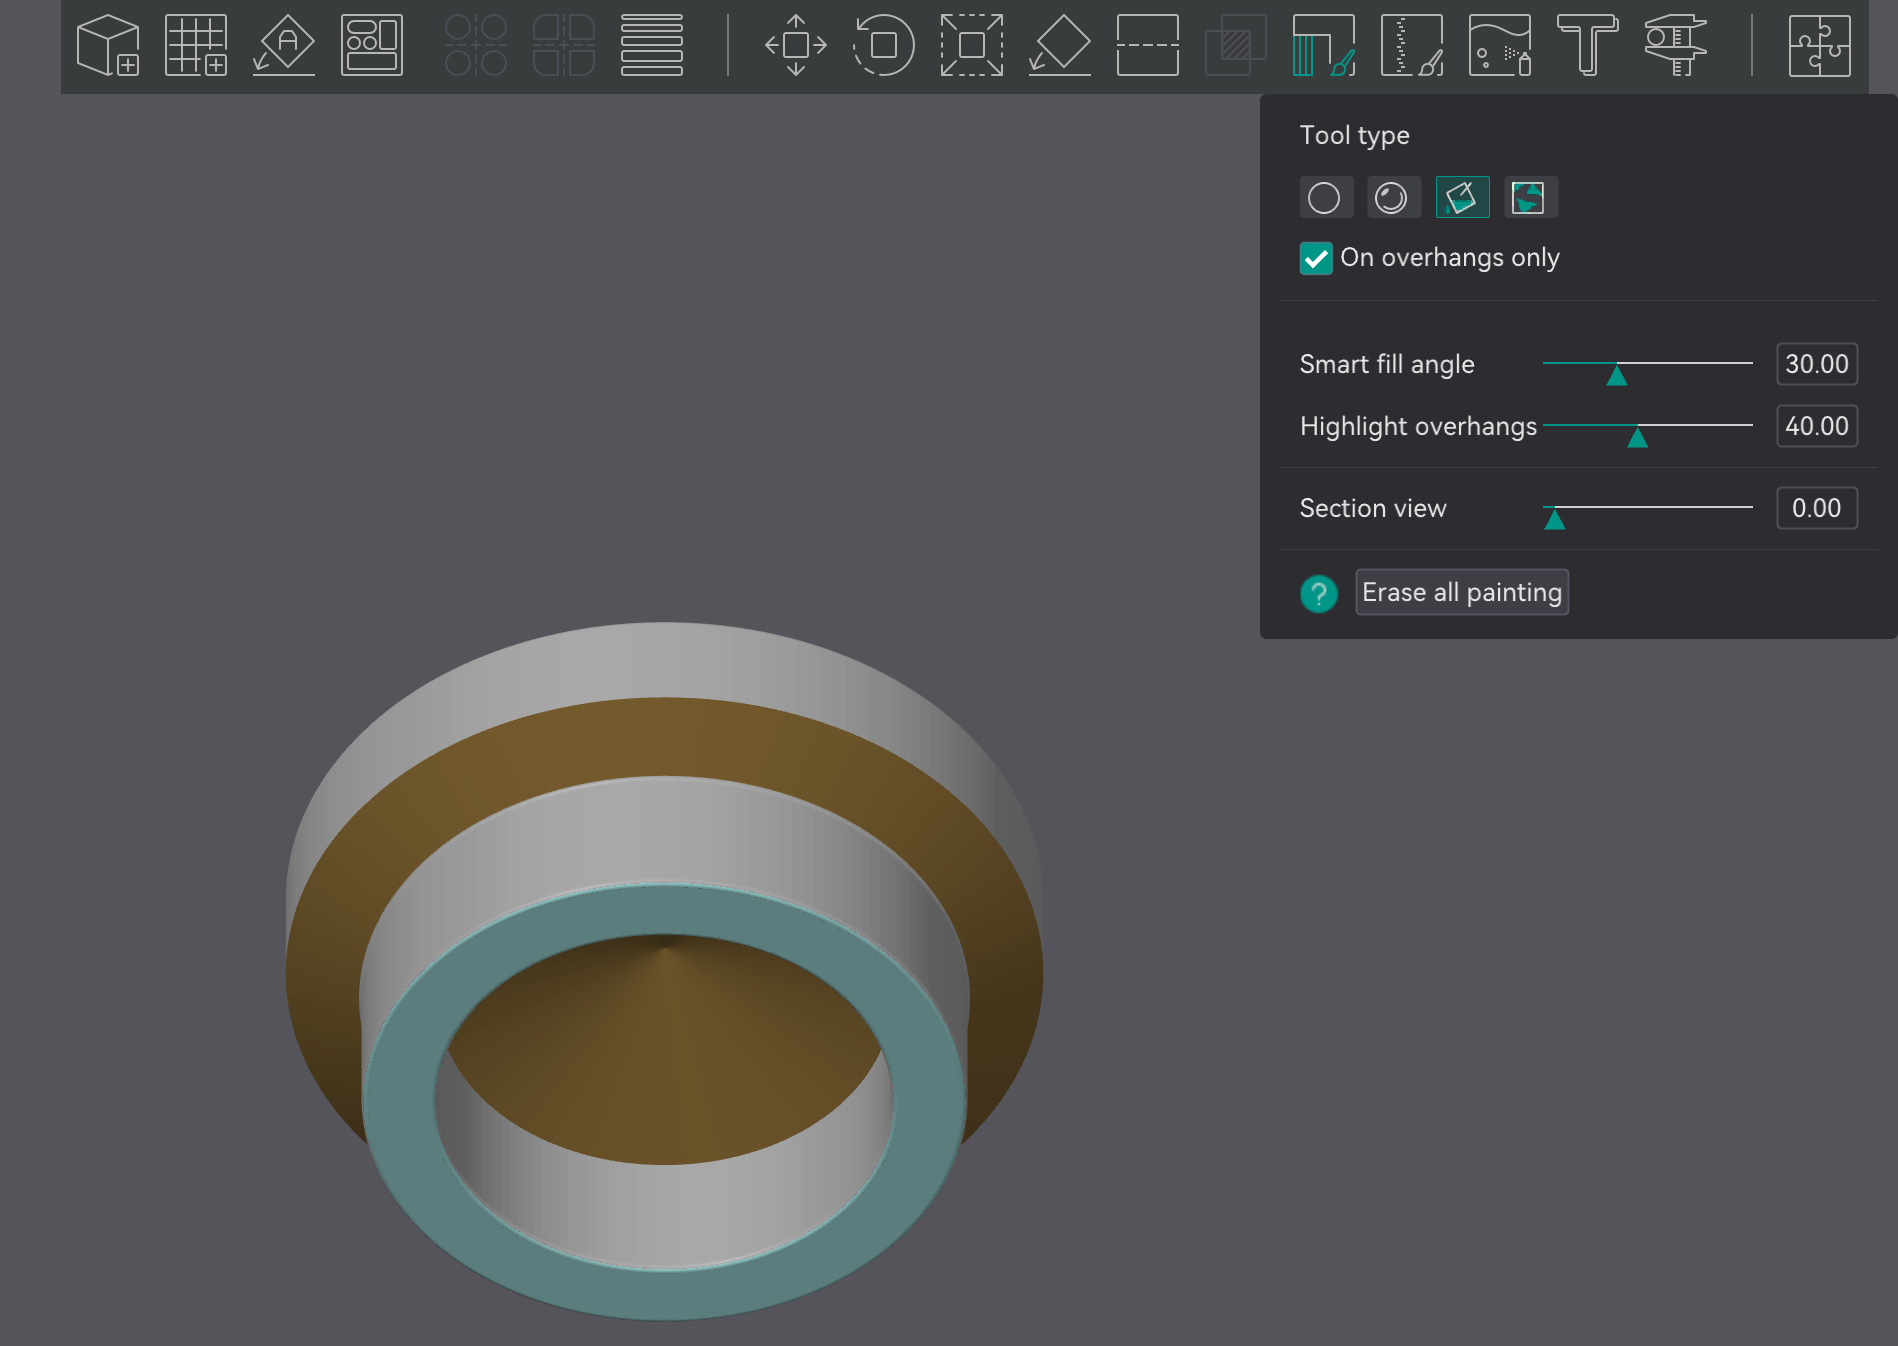
13. (Optional) Add Manual Supports – Part 2
Select the object, then press the “Support Painting” button. Select “Fill” and “On overhangs only”, then highlight overhangs to 35-40. Move your view to underneath the model and press on the red areas to make the yellow or green.
14. Press “Slice Plate”
Click the “Slice plate” button in the top right to generate the toolpath preview.

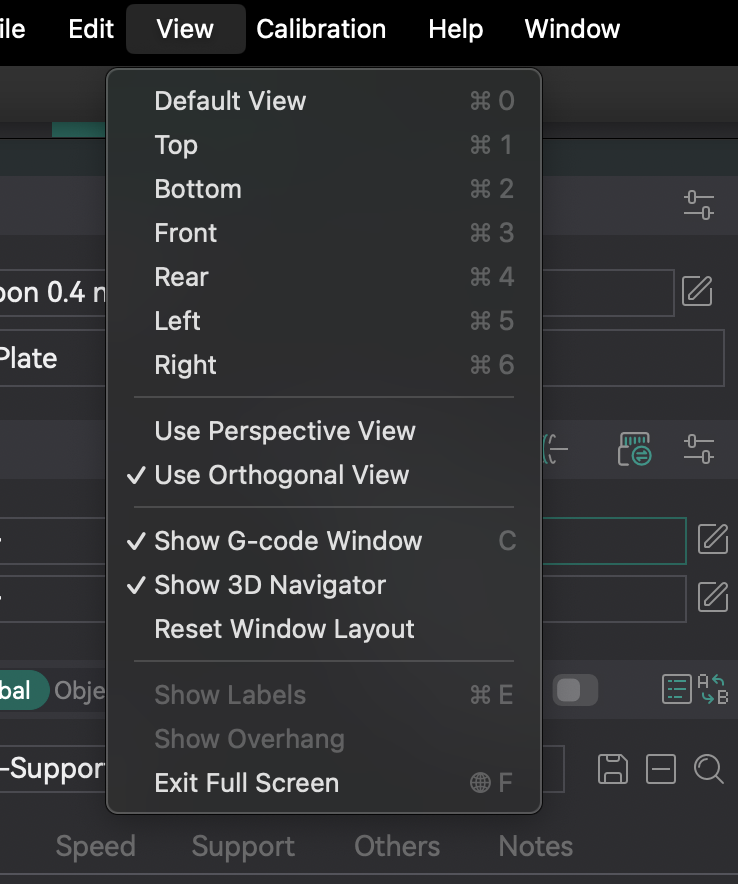
15. In “View” Settings, Turn Off G-code Window
It’s pretty annoying and unnecessary so turn it off.
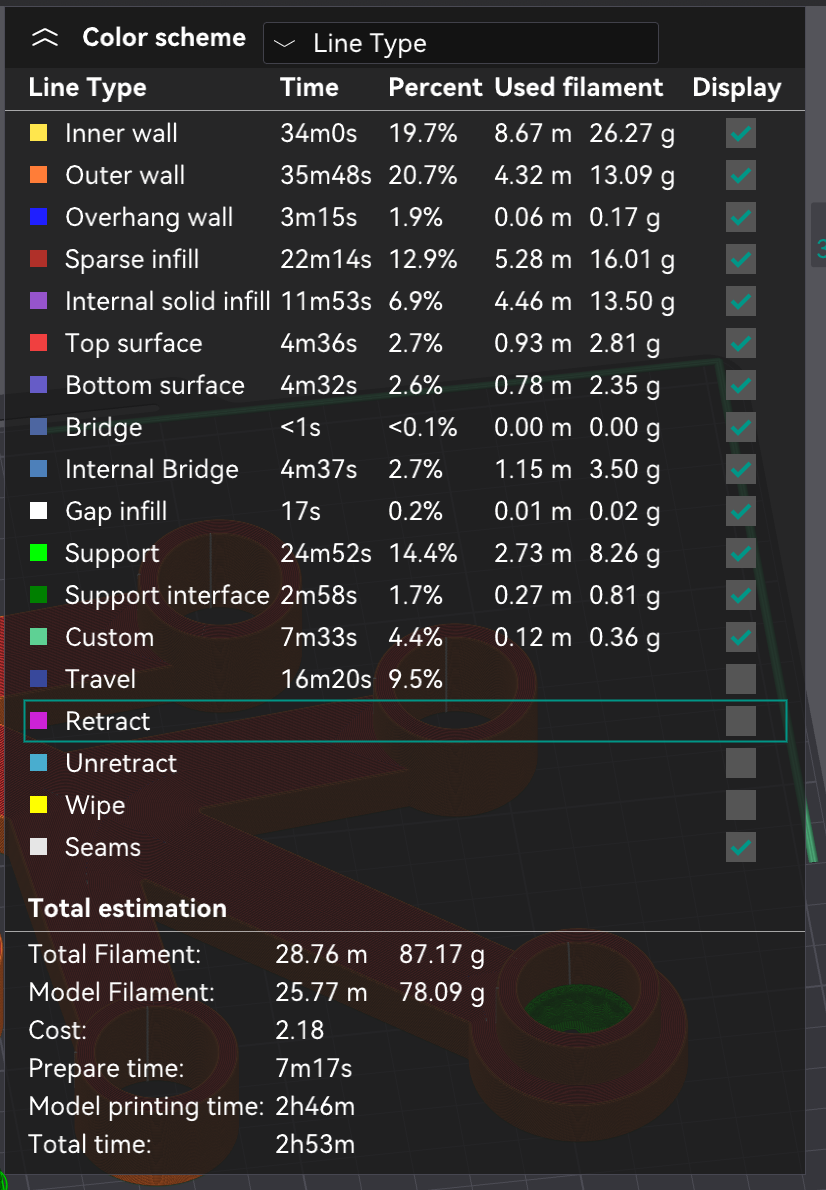
16. IMPORTANT: Get “Total Filament” Weight and “Total Time”
This will need to be submitted in the submission sheet. Check the Total estimation section for Total Filament (in grams) and Total time.
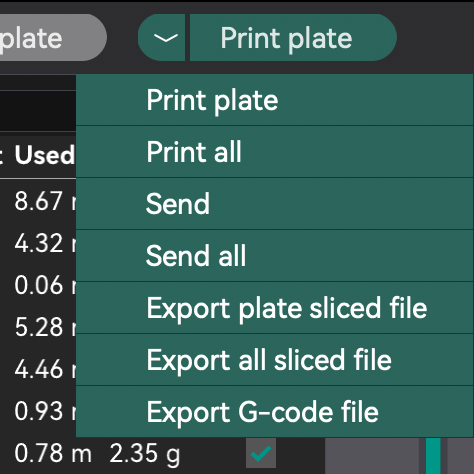
17. Save .3MF File
Press the arrow beside “Print plate” then “Export plate sliced file” to save your .3MF file.
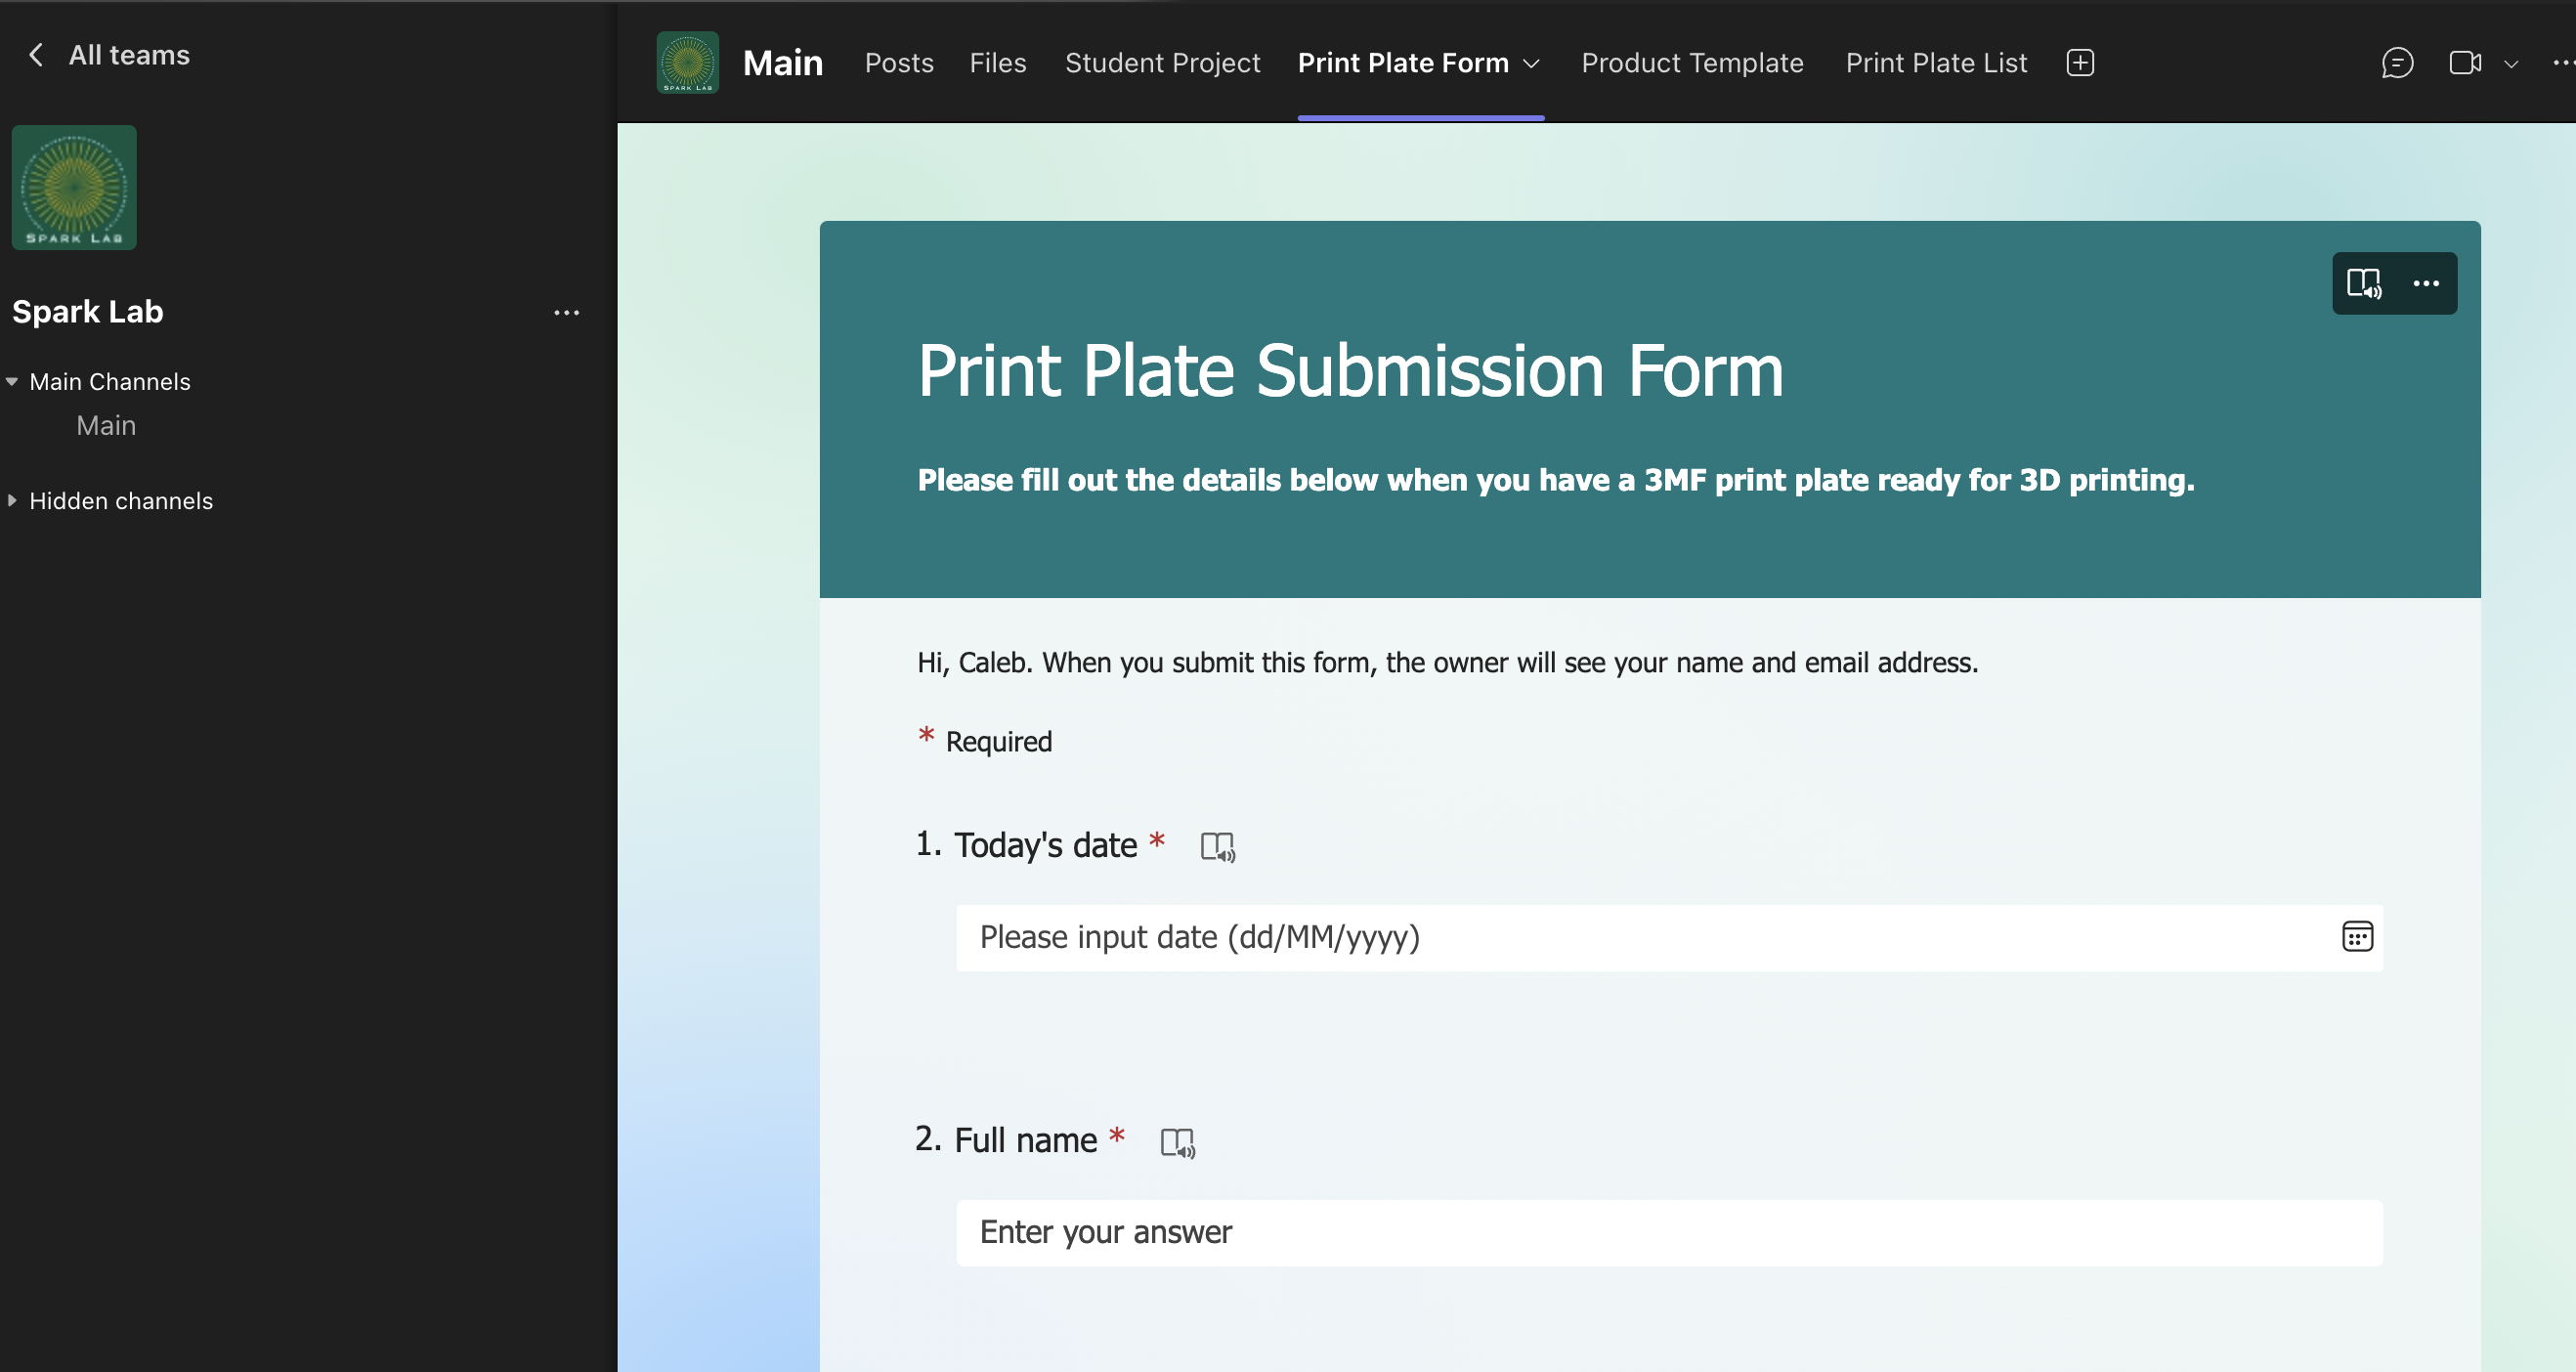
18. Go to “Print Plate Form” in Spark Lab Microsoft Teams
Use a provided Microsoft Forms link or go to “Print Plate Form” in the Spark Lab Microsoft Teams channel.
19. Enter the “Total Time” and “Total Filament” in the Form
Fill out the form and make sure to add the printing time and filament used.

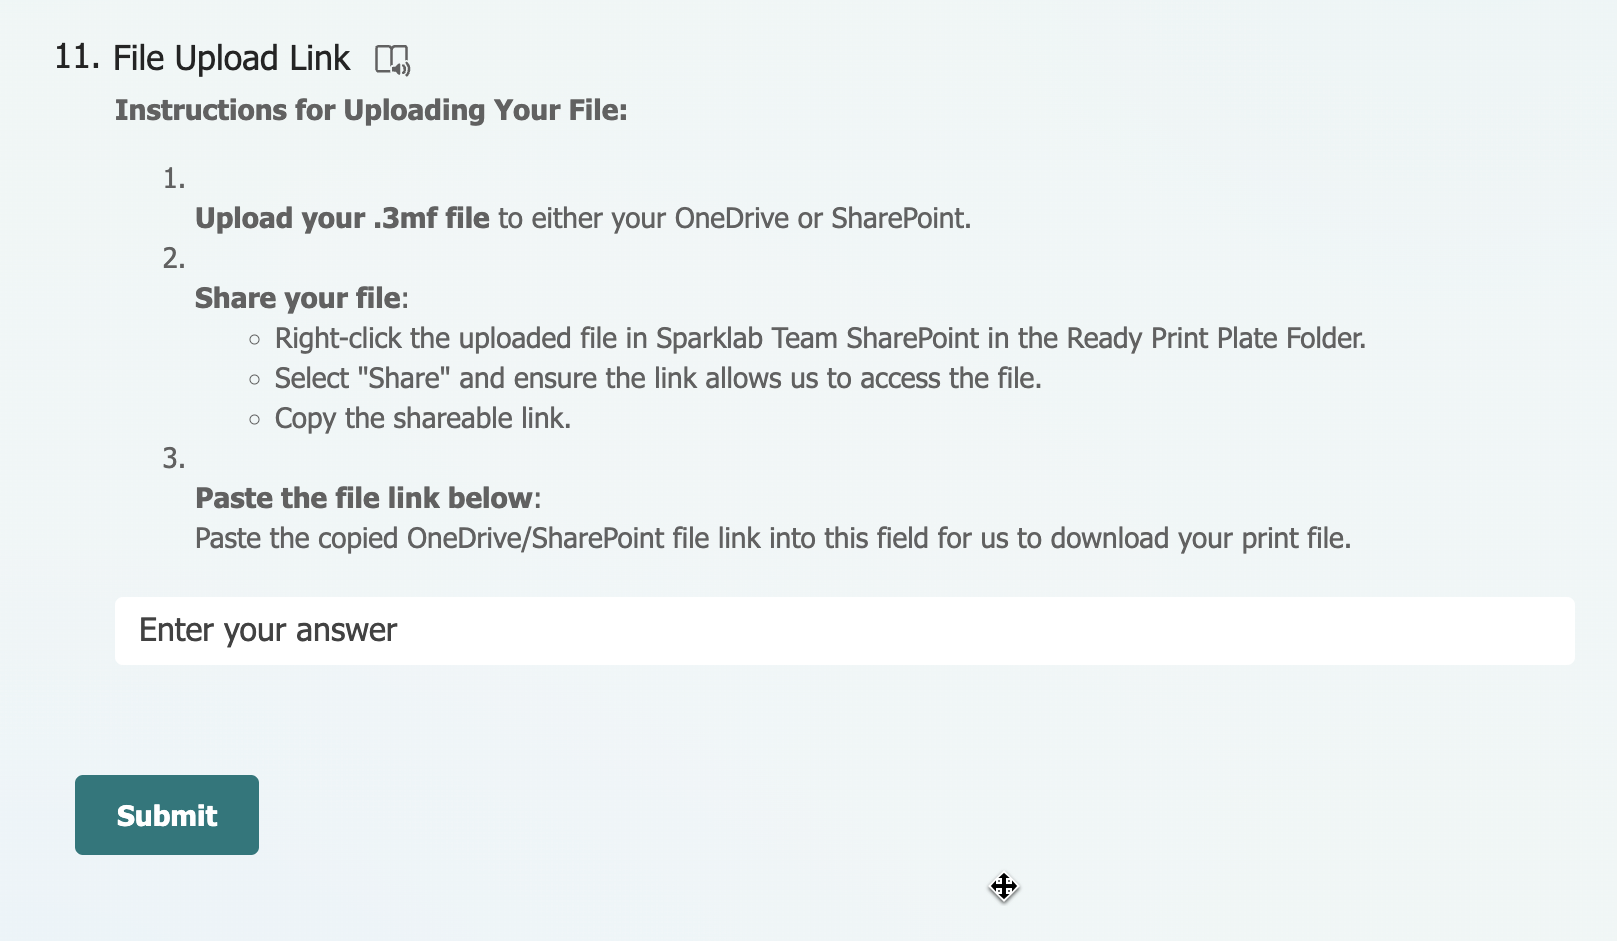
20. Upload Your File to “Ready Print Plate” Folder
If you don’t have access, upload the .3MF file to your personal OneDrive then share and copy the link. Instructions:
- Upload your .3MF file to either your OneDrive or SharePoint.
- Share your file: Right-click the uploaded file in the Sparklab Team SharePoint in the Ready Print Plate Folder. Select “Share” and ensure the link allows us to access the file. Copy the shareable link.
- Paste the file link into the form field.
21. If Printing Yourself, Ask in the Group Chat
If you are printing it yourself, ask in the WhatsApp group chat (or Teams) if you can print without waiting. There may be a large queue so check with others.
