CrealityScan Software Manual Walkthrough
Part 1 / 8
Software Manual Coverage
The Raptor series software manual is the source for how CrealityScan is organized. This lesson converts the manual into a class checklist and embeds the key interface screens students need during scanning.
Software Sections to Teach
- Installation for Windows 10/11 64-bit, macOS, and supported mobile workflows.
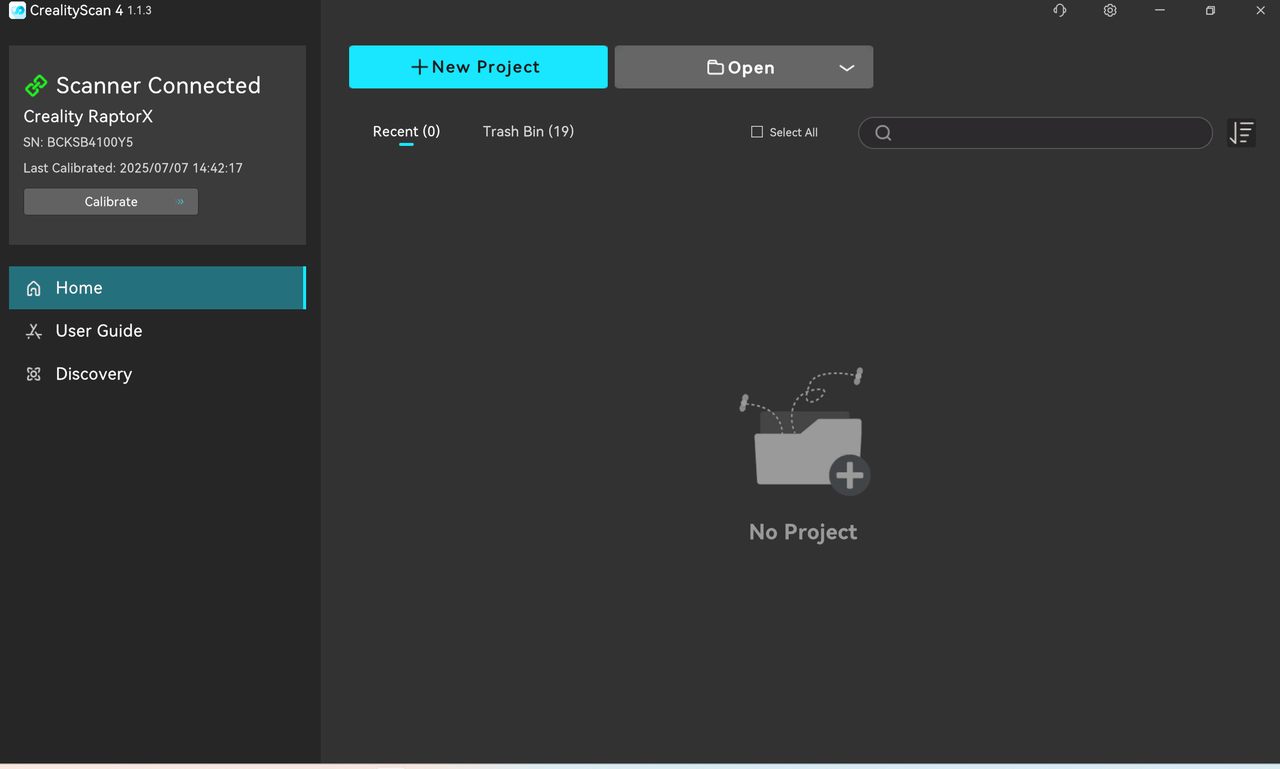
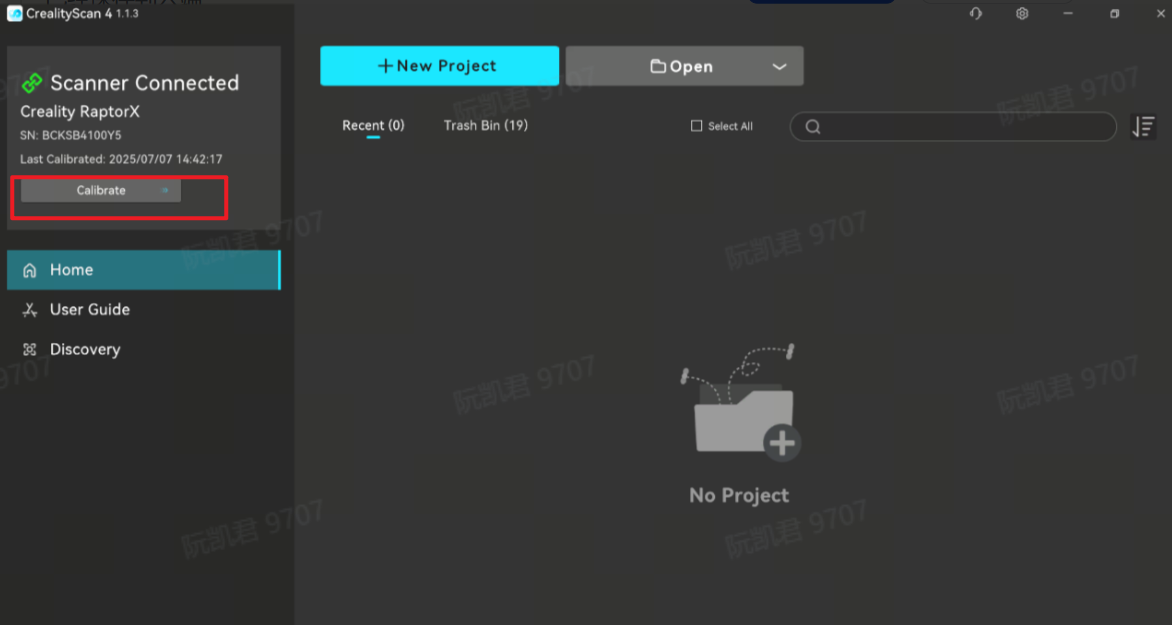
- Home page controls, scanner connection state, and quick calibration entry.
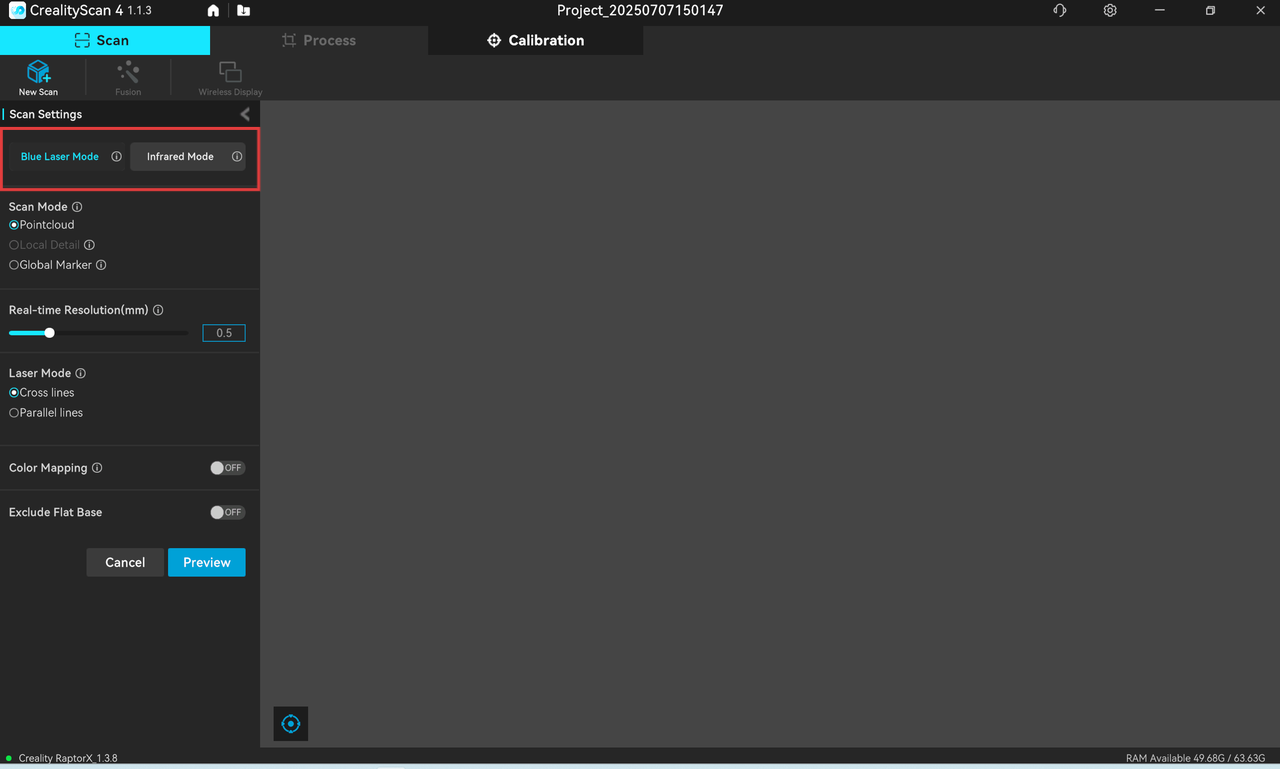
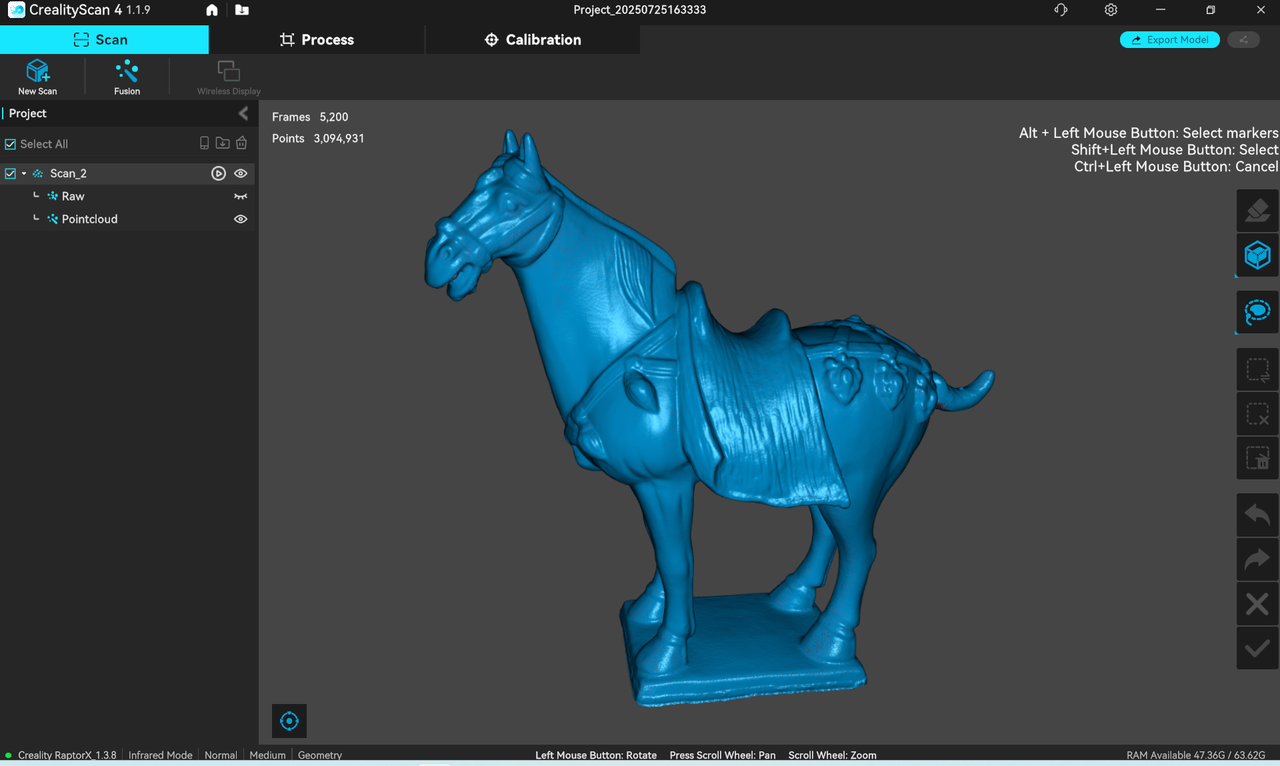
- New Project setup, project naming, storage location, and scan settings.
- Blue Laser Mode and Infrared Mode selection.
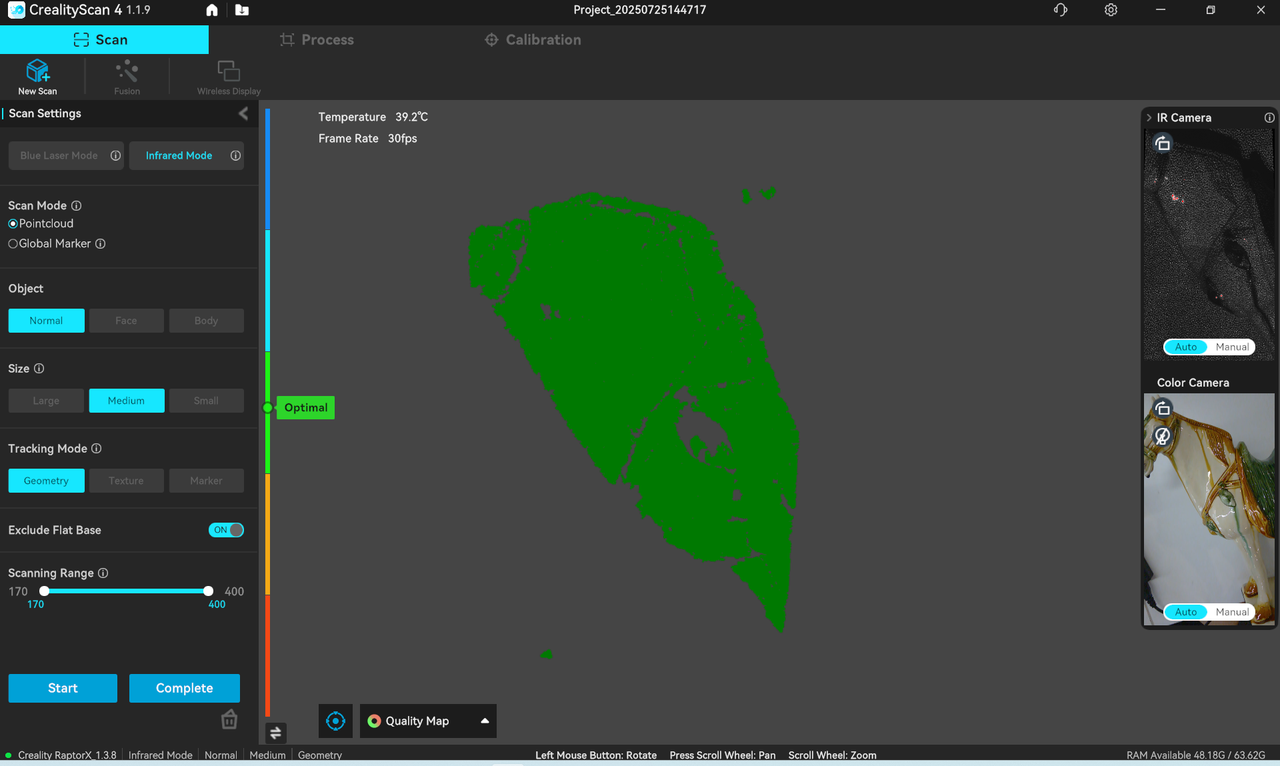
- Tracking modes: geometry, texture, and marker tracking.
- Point Cloud versus Global Marker scanning for medium-to-large objects.
- Exclude Flat Base behavior for table scans and small marker-mode scans.
- Real-time scanning preview, distance indicator, frame count, temperature, point-cloud count, and quality map.
- Blue laser and infrared scanning tips, including exposure, brightness, and optimal distance.
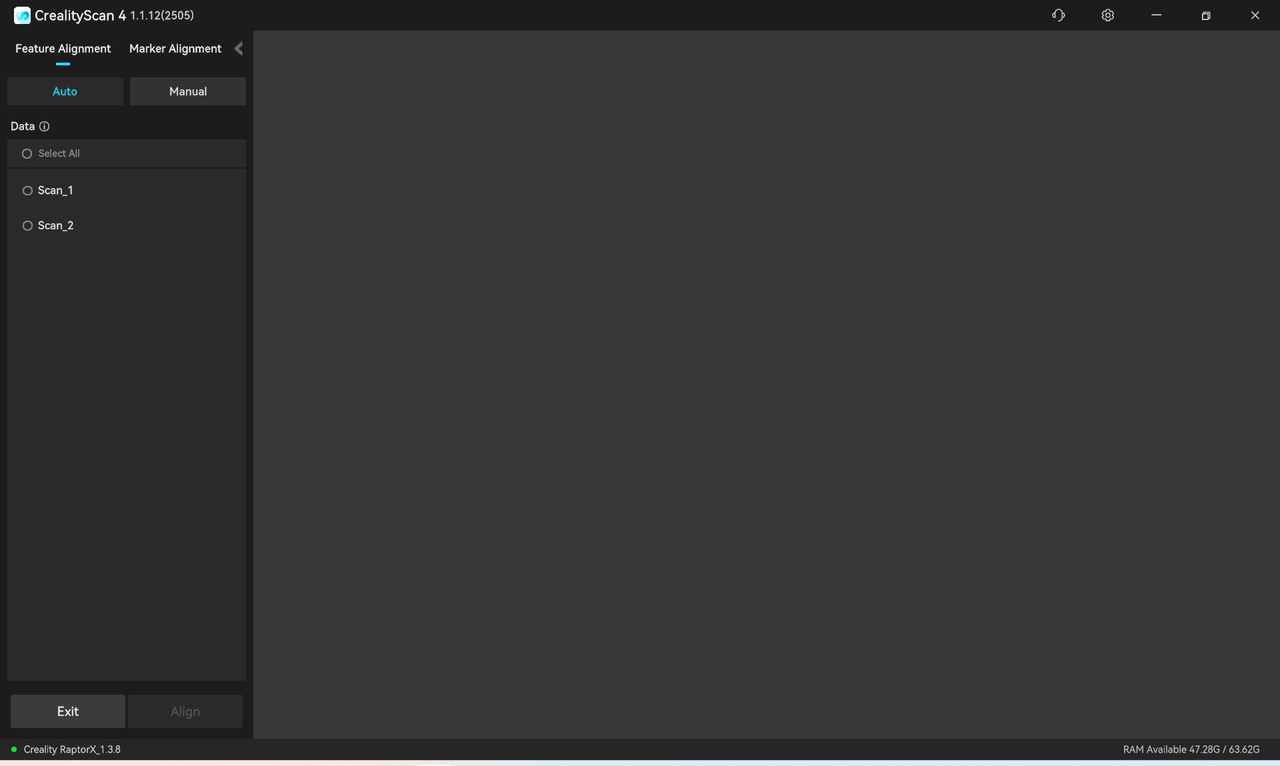
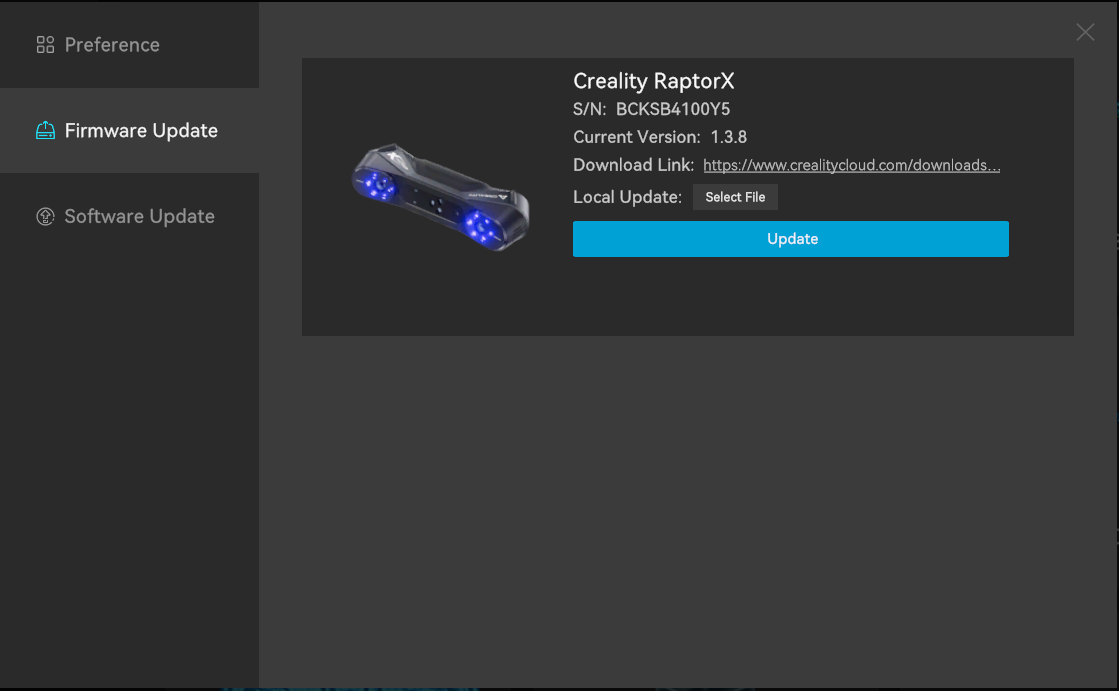
- Processing sequence: fusion, meshing, point-cloud or mesh editing, multi-project alignment, color mapping, and firmware upgrade.
Classroom Standard
Students should be able to name the current project, choose mode and tracking before preview, explain what the distance indicator means, complete the scan only after the quality map is acceptable, and process in the order Fusion, Mesh, Color Mapping when manual processing is required.